Touch Sense Shield Retail
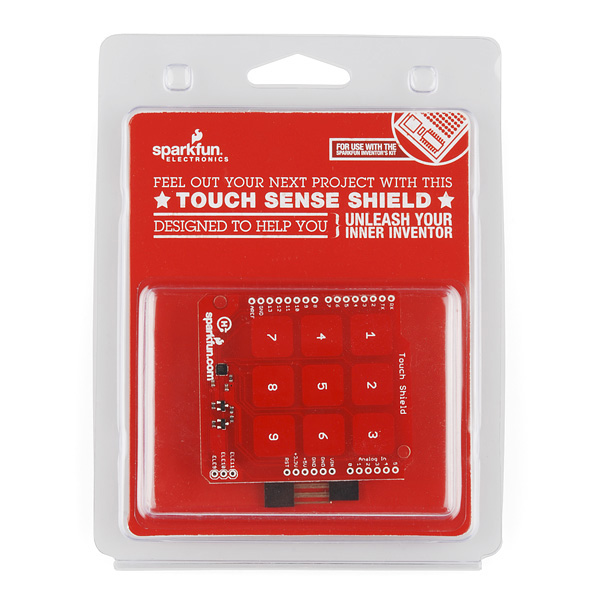
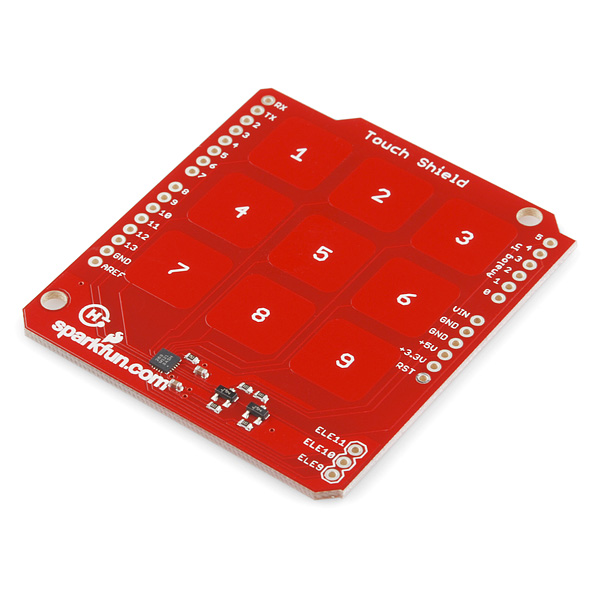
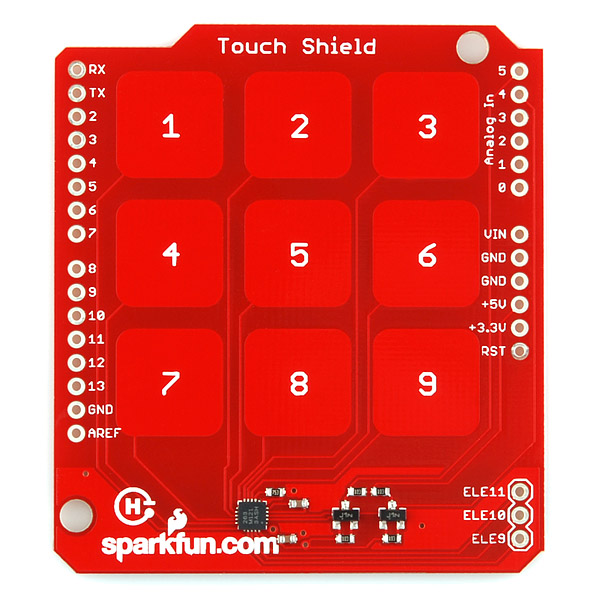
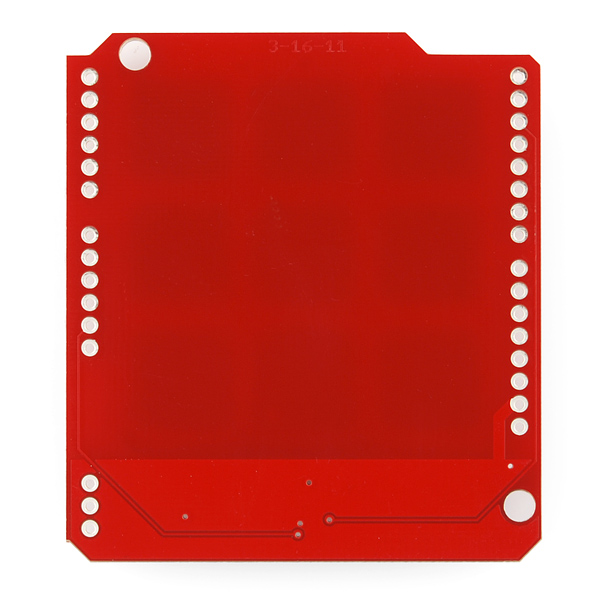
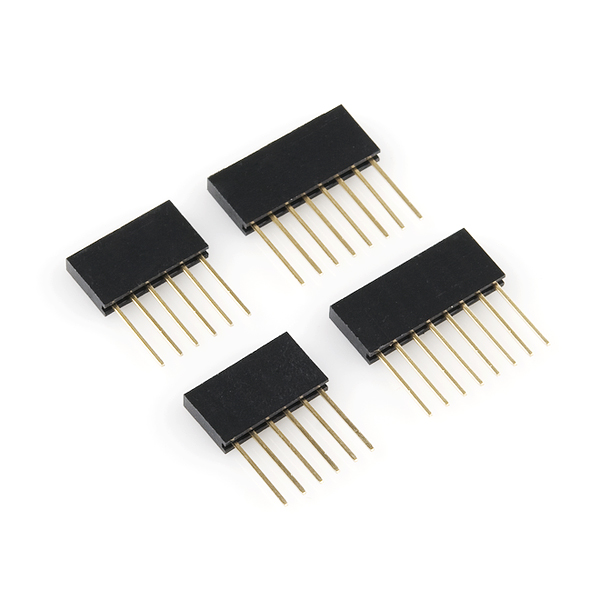
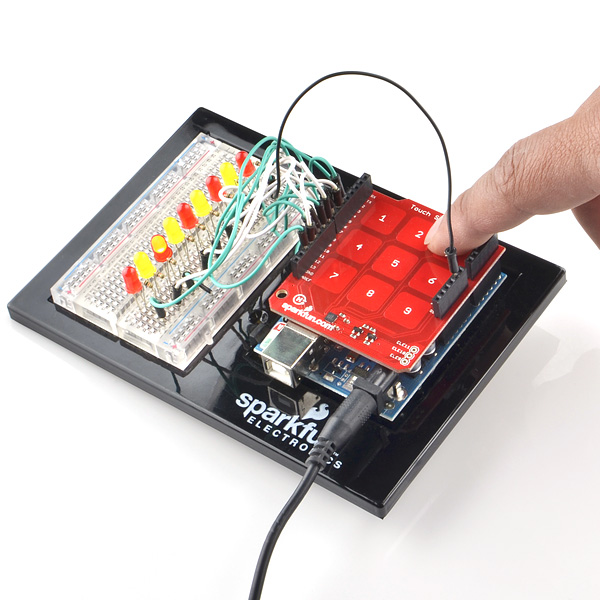
The MPR121 IC is a great way to build simple capacitive touch interfaces, and now it's even easier to incorporate into your Arduino projects with the touch shield. The touch shield has 9 capacitive touch pads, with headers for the remaining 3 electrode connections. With this shield you can have a total of 12 touch sensitive buttons. An on-board logic level converter allows it to work with 5V and 3.3V Arduino boards. Simply solder on some header pins and stack it on to your Arduino for a convenient input device. Check below for some example code to get you started.
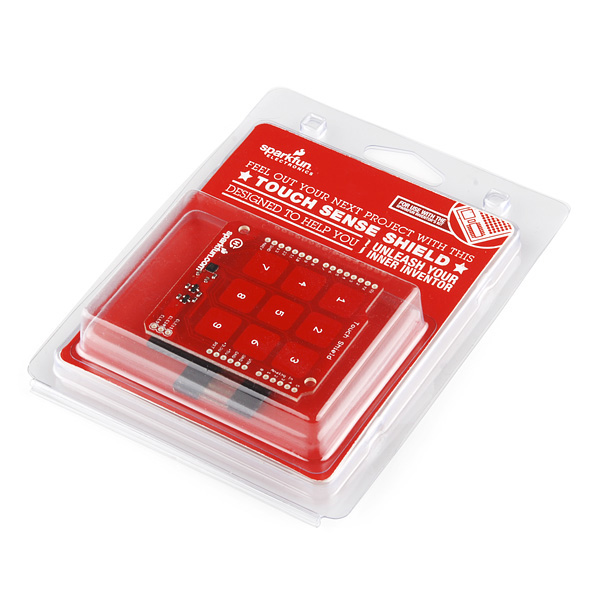
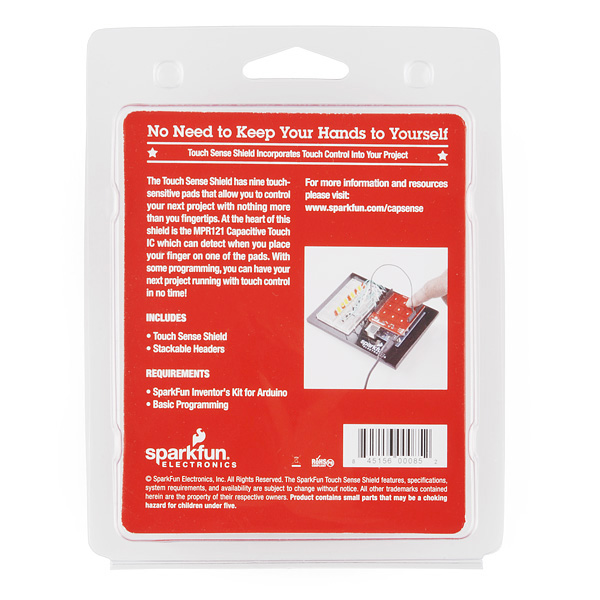
These come in fancy clamshell packaging meant for our distributors that need it. Regular customers are welcome to order, but we want to limit the amount of extra packaging finding its way into the trash heap. The version without the extra plastic can be found in the related items below.
Touch Sense Shield Retail Product Help and Resources
Core Skill: Soldering
This skill defines how difficult the soldering is on a particular product. It might be a couple simple solder joints, or require special reflow tools.
Skill Level: Noob - Some basic soldering is required, but it is limited to a just a few pins, basic through-hole soldering, and couple (if any) polarized components. A basic soldering iron is all you should need.
See all skill levels
Core Skill: Programming
If a board needs code or communicates somehow, you're going to need to know how to program or interface with it. The programming skill is all about communication and code.
Skill Level: Competent - The toolchain for programming is a bit more complex and will examples may not be explicitly provided for you. You will be required to have a fundamental knowledge of programming and be required to provide your own code. You may need to modify existing libraries or code to work with your specific hardware. Sensor and hardware interfaces will be SPI or I2C.
See all skill levels
Core Skill: Electrical Prototyping
If it requires power, you need to know how much, what all the pins do, and how to hook it up. You may need to reference datasheets, schematics, and know the ins and outs of electronics.
Skill Level: Rookie - You may be required to know a bit more about the component, such as orientation, or how to hook it up, in addition to power requirements. You will need to understand polarized components.
See all skill levels
Comments
Looking for answers to technical questions?
We welcome your comments and suggestions below. However, if you are looking for solutions to technical questions please see our Technical Assistance page.
Customer Reviews
No reviews yet.

What is the magic by which one of the red leds is glowing yellow?
What is the purpose of the BSS138s on the SCL and SDA lines?
Those are logic-level translators. It's a super-simple way to do bidirectional level translation on an open-drain line. I can't find the nice appnote that TI (I think) had on the technique, but here's an article from Maxim.