Ribbon Crimp Connector - Breadboad Friendly (2x5, Female)
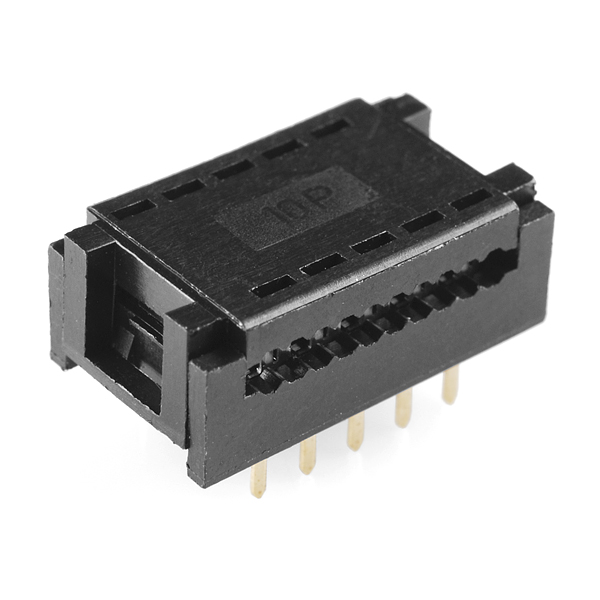
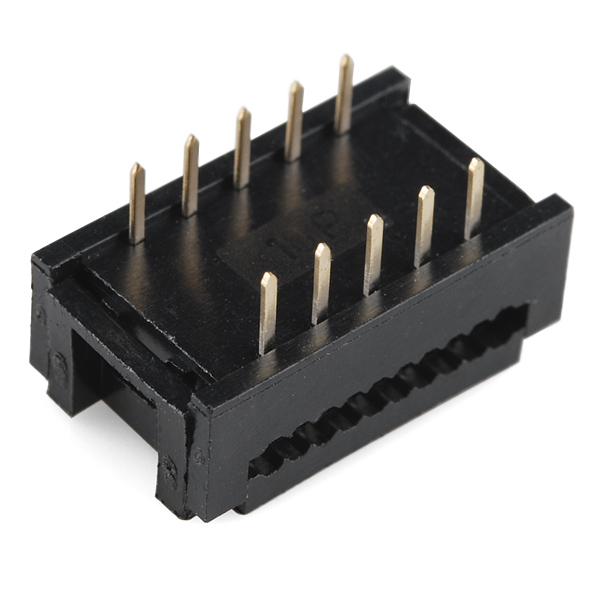
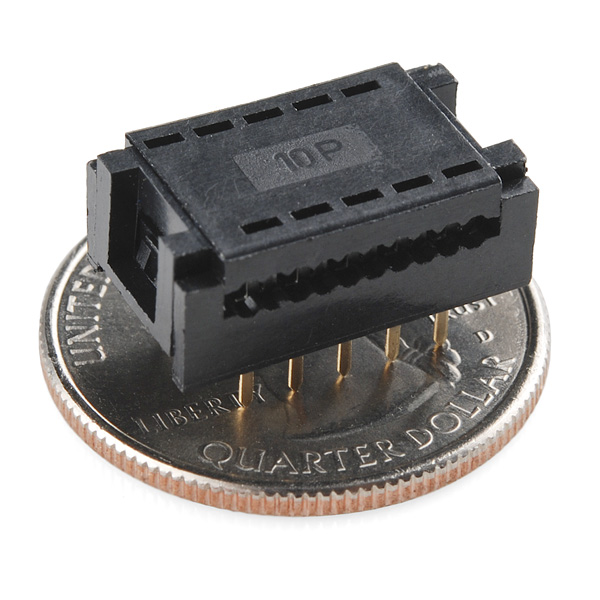
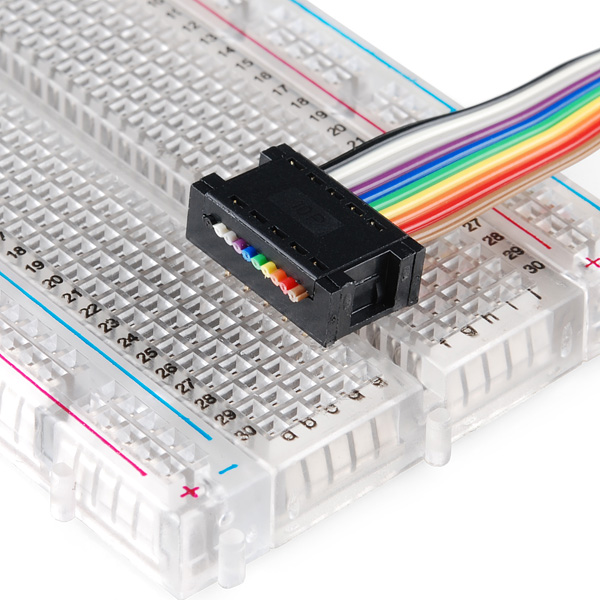
This 2x5 crimp connector snaps onto a 10-pin ribbon cable to form a dual-inline connection that can be pushed right into a breadboard.
Ribbon Crimp Connector - Breadboad Friendly (2x5, Female) Product Help and Resources
Core Skill: Soldering
This skill defines how difficult the soldering is on a particular product. It might be a couple simple solder joints, or require special reflow tools.
Skill Level: Noob - Some basic soldering is required, but it is limited to a just a few pins, basic through-hole soldering, and couple (if any) polarized components. A basic soldering iron is all you should need.
See all skill levels
Comments
Looking for answers to technical questions?
We welcome your comments and suggestions below. However, if you are looking for solutions to technical questions please see our Technical Assistance page.
Customer Reviews
No reviews yet.


Yay! It's "breadboad" friendly! This will go great with my "breadboad"!
What, you don't have a "breadboad"? pfff
Sure seems like the gender should be specified when the thing is assembled in its intended fashion. The crimped part is intended to be done once, whereas the male pins are the part of the connector intended to be the part plugged and unplugged.
Agreed, and the weird thing is it's listed as "(2x5, Female)" the 2x5 portion are certainly male pins. If you were even going to try and refer to it as female it would be by the 1x10 crimp array.
Wouldn't be the first time I've seen a gender-confused connector though.
This is awesome.
Pin1 is upper-right corner and pin2 is upper-left corner!!! This is non-standard from many headers, ICs, etc. Be aware...
A couple of notes about the datasheet:
The columns in the dimension table at lower right are mislabeled. Column "A" should be labeled "B" and vice versa.
If you're using this on a PCB, take note that the pins are not round. Make your holes 0.75mm dia for a good fit.
Is there a 2x10 version of this connector?
To crimp these you need a lot of force. I tend to sacrifice a matching IC socket, remove all the pins, insert the header pins into the shell of the IC socket (to protect them) and put it in a bench vice. You can also cut two slot in a piece of wood and place the rows of pins in the slots to protect them.
I have had more success with these when I heat the plastic a little with a heat gun (hair dryer should work) to allow the "knife" edges to pierce the insulation a little easier. Good luck, I plan on two of these to get one working.
Stupid questions probably, but...
1 - Even pressing full-down on this thing with the ribbon cable inserted, it doesn't snap into place. It does without the ribbon cable easy enough. Does that mean my wires are not likly to have proper contact?
2 - What is the wire to pinout? Hard to tell where to wire up to the breadboard if you don't know which color on the ribbon cable is associated with which pin on the connector. I think I know based upon looking at it, but would have expected that info in the datasheet.
Hey, anyone have any experience uncrimping these?
Let's just say a small curiosity accident occurred when they arrived.
You may be able to gently pry open the latches on the narrow ends just enough to slip the top back off, but be careful as the plastic can be brittle. You'll need a very thin flathead screwdriver or X-Acto blade. I've been able to get some open again, others not so much. Good luck!
It worked! Thank you so much! I actually started wrong, and ended up mangling the little bumps on one side, but then the other side came up nicely. I thought the mechanism holding it in place was different. Anyways, thank you again!
P.S. The data sheet is wrong. It appears to be for a crimp connector with rows of 20 pins.
Great, glad that helped! The drawing in the datasheet shows 20 pins, but this datasheet is generic for all the sizes that this connector comes in. The table on the right-hand side has the dimensions for all the different parts.
I am looking for something similar to this, but with 1mm (50 mil) pitch, and about 5mm row spacing. any suggestions are welcome.
Have fun trying to find that. Nothing close on Digi-Key.
The two rows of pins are spaced 0.3 inch apart so they can also be plugged into a 10-pin DIL IC socket.
They're also perfect for plugging across the valley of a breadboard.