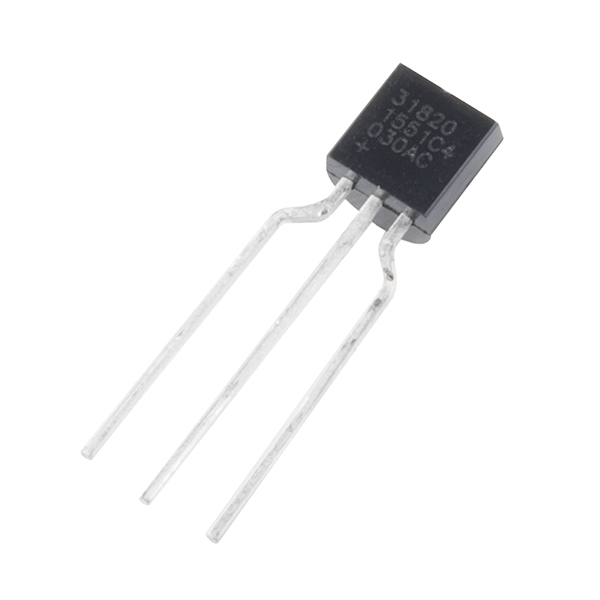
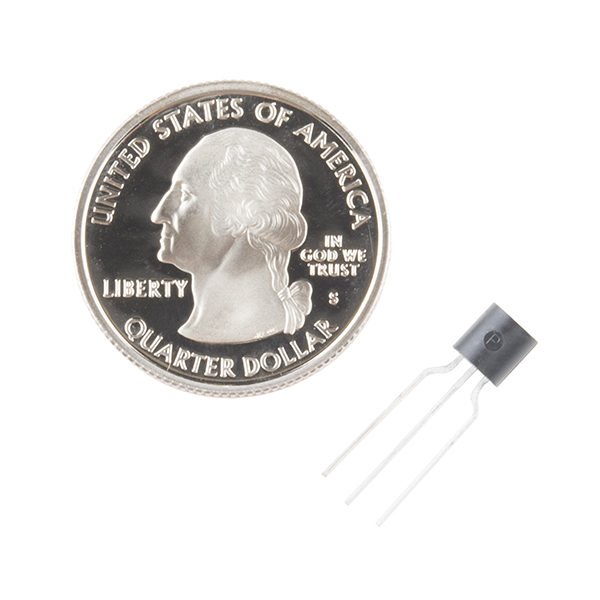
One-Wire Ambient Temperature Sensor - MAX31820
The MAX31820 ambient temperature sensor provides 9-bit to 12-bit Celsius temperature measurements with ±0.5°C accuracy over a +10°C to +45°C temperature range. Over its entire -55°C to +125°C operating range, the device has ±2.0°C accuracy.
The device communicates over a one-wire bus that, by definition, requires only one data line (and ground) for communication with a central microprocessor. In addition, the device can derive power directly from the data line, eliminating the need for an external power supply. Requiring so few pins enables the device to be placed in a 3-pin TO-92 package. The form factor of this package allows the device to be placed above the board and thus measure the ambient temperature of a system, as opposed to the board temperature that a surface-mount package would measure.
Each MAX31820 has a unique 64-bit serial code, which allows multiple MAX31820 devices to function on the same one-wire bus. Therefore, it is simple to use one microprocessor to control many devices distributed over a large area.
- Unique one-wire interface requires only one port pin for communication
- Each device has a unique 64-bit serial code stored in onboard ROM
- Multidrop capability simplifies distributed temperature-sensing applications
- Requires no external components
- Can be powered from data line; 3.0V to 3.7V power-supply range
- Measures temperatures from -55°C to +125°C (-67°F to +257°F)
- ±0.5°C accuracy from +10°C to +45°C
- Thermometer resolution is user-selectable from 9 bits to 12 bits
- Converts temperature to 12-bit digital word in 750ms (Max)
- User-definable nonvolatile (NV) alarm settings
- Alarm search command identifies and addresses devices whose temperature is outside programmed limits (Temperature Alarm Condition)
- Available in 3-pin TO-92 package
- TO-92 package allows measurement of ambient temperature
- Software compatible with the DS1822 and DS18B20
One-Wire Ambient Temperature Sensor - MAX31820 Product Help and Resources
3 of 3 found this helpful:
Code compatible with the DS18B20
The MAX31820 is code compatible with the DS18B20 sensor. Keep in mind that the MAX31820 is a 3.3 volt part where the DS18B20 is a 5 volt part. You can use both on the same bus at 3.3 volts though.
You can find a good tutorial for the DS18B20 and MAX31820 at the link below. * How to measure temperature with your Arduino and a DS18B20
bildr.org also has a good tutorial at this link.
Core Skill: Electrical Prototyping
If it requires power, you need to know how much, what all the pins do, and how to hook it up. You may need to reference datasheets, schematics, and know the ins and outs of electronics.
Skill Level: Rookie - You may be required to know a bit more about the component, such as orientation, or how to hook it up, in addition to power requirements. You will need to understand polarized components.
See all skill levels
Comments
Looking for answers to technical questions?
We welcome your comments and suggestions below. However, if you are looking for solutions to technical questions please see our Technical Assistance page.
Customer Reviews
5 out of 5
Based on 1 ratings:
4 of 4 found this helpful:
With the right libraries, it's easy to use.
There are Arduino libraries that make this almost trivial to talk to (see my note in the Comments section for links). So far, it's working great for my work-in-progress water tank depth project.
I like this part because it's designed for situations where there is a long cable between the processor and the temperature sensor. Think home temperature monitoring and control, gardening, monitoring equipment for overheating, etc.


i accidentally wired mine up backwards. turns out the side view on the datasheet is the bottom view, not top. facing the front flat side, ground is the left pin.
Great tip for other users! This is also illustrated a little better in the last two tutorial links in the Support Tips section, above.
I've successfully read 12 of these on a single 1-wire bus, using an ESP8266 Thing Dev board, Arduino IDE, OneWire library from https://github.com/PaulStoffregen/OneWire and Temperature Sensors library from https://github.com/milesburton/Arduino-Temperature-Control-Library. My Open Source code, using those libraries, is at https://github.com/bneedhamia/WellDepthTemperature
Thanks @Brad10 for your comment on how to use the Libraries for this Sensor. I was getting worried since I couldn´t find any information on how to use it with ESP8266.
This is a 3.3V device.
If you're trying to link this to an Arduino, it looks like you're going to need some sort of a line-level converter since the Analog lines on the Arduino are still 5V. Yes, there is a 3.3V rail, but it's a voltage source. SparkFun does offer this line level voltage converter. However, it's not linked to this product at all (from what I can tell).
I've heard people say on the internet that you can use a converter/inverter circuit with two transistors, but the MOSFET is bidirectional.