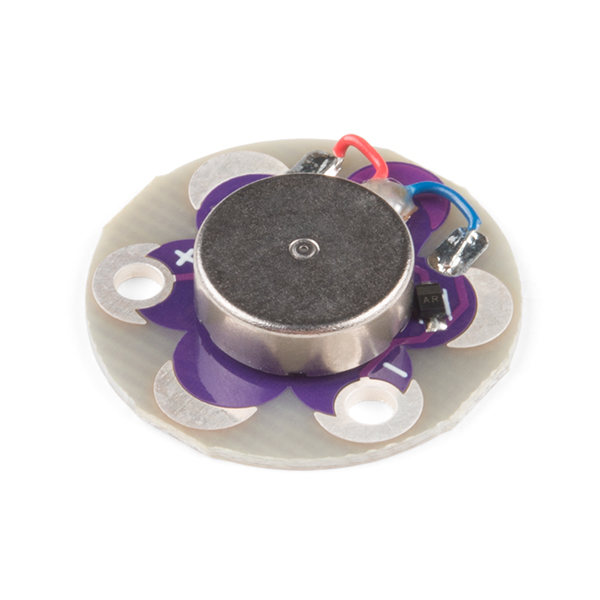
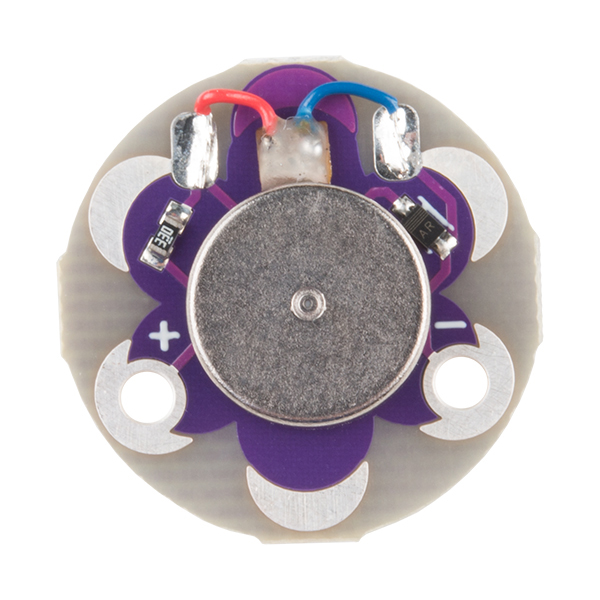
Apply 5V and be shaken by this small, but powerful vibration motor. Works great as an physical indicator without notifying anyone but the wearer. This version uses a surface mount motor which is less likely to be damaged during use.
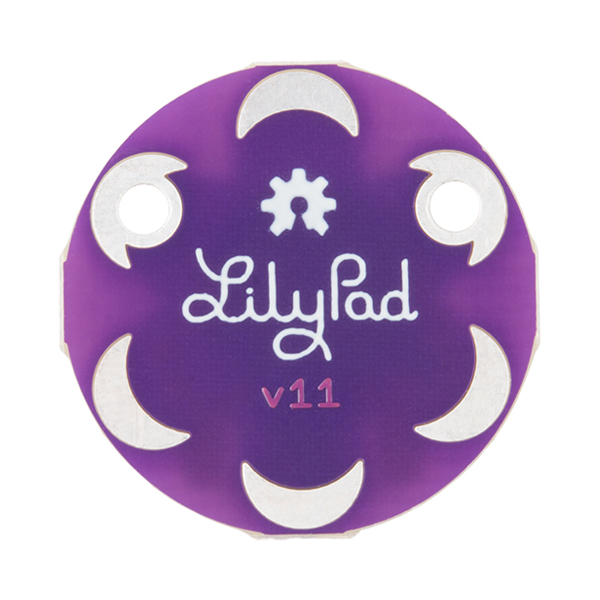
LilyPad is a wearable technology developed by Leah Buechley and cooperatively designed by Leah and SparkFun. Each LilyPad was creatively designed to have large connecting pads to allow them to be sewn into clothing. Various input, output, power, and sensor boards are available.
Note: A portion of this sale is given back to Dr. Leah Buechley for continued development and education of e-textiles.
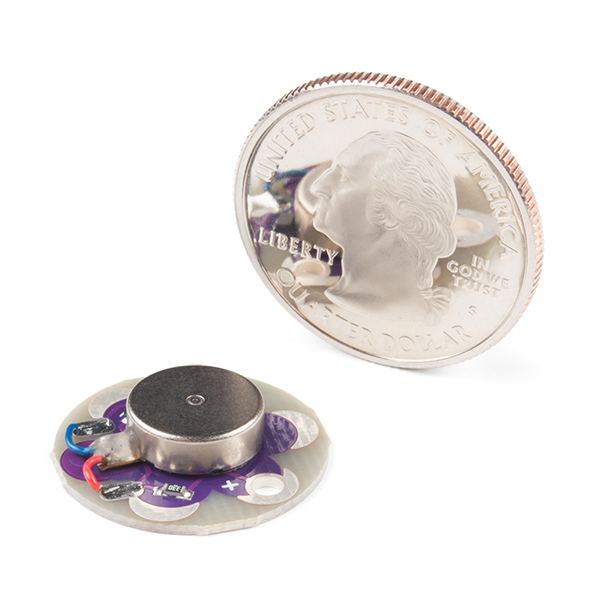
- 20mm outer diameter
- Thin 0.8mm PCB
- Schematic
- Eagle Files
- Hookup Guide
- Datasheet (Motor)
- Vibe Board Sticker Sheet (PDF)
- All LilyPad Boards Sticker Sheet (PDF)
- GitHub
LilyPad Vibe Board Product Help and Resources
LilyPad Vibe Board Hookup Guide
January 16, 2019
The LilyPad Vibe Board is a small vibration motor that can be sewn into projects with conductive thread and controlled by a LilyPad Arduino. The board can be used as a physical indicator on clothing and costumes for haptic feedback.
Resources and Going Further
Check out the activity guide's Arduino code and examples using a LilyPad Simple Board with the LilyPad Vibe Board:
Core Skill: DIY
Whether it's for assembling a kit, hacking an enclosure, or creating your own parts; the DIY skill is all about knowing how to use tools and the techniques associated with them.
Skill Level: Noob - Basic assembly is required. You may need to provide your own basic tools like a screwdriver, hammer or scissors. Power tools or custom parts are not required. Instructions will be included and easy to follow. Sewing may be required, but only with included patterns.
See all skill levels
Core Skill: Programming
If a board needs code or communicates somehow, you're going to need to know how to program or interface with it. The programming skill is all about communication and code.
Skill Level: Noob - Programming will be limited to basic drag and drop interfaces like ModKit or Scratch. You won't be writing code, but you will still need to understand some basics of interfacing with hardware. If you?re just using a sensor, it's output is analog.
See all skill levels
Core Skill: Electrical Prototyping
If it requires power, you need to know how much, what all the pins do, and how to hook it up. You may need to reference datasheets, schematics, and know the ins and outs of electronics.
Skill Level: Noob - You don't need to reference a datasheet, but you will need to know basic power requirements.
See all skill levels
Comments
Looking for answers to technical questions?
We welcome your comments and suggestions below. However, if you are looking for solutions to technical questions please see our Technical Assistance page.
Customer Reviews
4.5 out of 5
Based on 2 ratings:
tactile stories for blind children
These are great for eTextiles for creating tactile stories for blind children. They are a bit expensive per device when you use lots of pages but very easy to use.


-------------------- Tech Support Tips/Troubleshooting/Common Issues --------------------
Testing with an Arduino (specifically the RedBoard), I was able to connect 6x vibe motors to 6x I/O pins on the Arduino. Using a 1000mA LiPo battery (that is nominal 3.7V) connected to the 5V pin, I was able to power all six vibe motors without any issues. It appeared to pull about 170mA from the LiPo battery. When plugging this into a USB port, it was able to provide more power (obviously). Each motor was pulling about 40mA from each of the Atmega328P 's pins and the benchtop power supply seemed to indicate that it was using ~240mA. Testing with the 3.3V Pro Mini using benchtop power supply set to 5V and connected to the raw pin, it appeared to pull about 152mA.
I would be cautious when using that many vibe motors because you might be slightly going over the absolute maximum ratings as suggested in the Atmega328P datasheet [ pg299 http://www.atmel.com/images/atmel-8271-8-bit-avr-microcontroller-atmega48a-48pa-88a-88pa-168a-168pa-328-328p_datasheet_complete.pdf . To be safe, make sure to use a transistor to source power to the motor.
This is great but it really needs another sew tab or two. The two sew tabs are so close together that the other side doesn't stay down very well.
It's so nice that Dr. Leah Buechly is educating these boards. I could never have the patience to sit in a classroom full of these little guys and teach them to read and write.
[insert 7th grade sexual innuendo here]
you've gotta at least come up with a good one...
Hi,
Is there some kind of amplifier/rectifier I can use to drive this Vibe Board using a positive only audio pulse coming from my iPhone headphones output?
It might be worth mentionning that these should not be connected directly to the board output pins. The motor draws 85mA when starting while Arduino pins are 40mA max.
What is needed is to connect the 5V of the Arduino to the vibe board, and control the motor actuation through an output pin via a transistor. A resistor is also needed between the pin and the transistor to limit current flowing through the pin when active.
So I have a project where these are constantly pulsing on and off (a vibrating metronome if you must know) for instance they'll be on for .5 seconds and off for .5 seconds for several minutes. What I'm finding is that at they will cut our for a few seconds or more at semi random intervals. So roughly every 2-3 minutes minute or so they'll stop working for say 5 seconds. I have 4 of these. Some are more susceptible to this problems then others. Any thought's as to what is causing this or how I might diagnose / prevent?
I have a suspicion that contact with skin, which can be mildly conductive, might be a factor. I'm considering making a tin shield around them...
Can the intensity of the vibration be manipulated? How?
You can control the intensity by changing the voltage between the positive and negative pins of the vibe motor. Just connect the vibe board to a analog pin and GND. Use following code. analogWrite(vibe, val); Replace val with 0-255. See the data sheet for Vmin for determine the minimum value for val. Hope this help you.
Can someone explain to me why there is a resistor in series with the motor?
It's to limit the current flowing through the motor. The motor is rated 75mA and 3V. (so when sourcing with the +5V, we need a resistor of at least 2/0.075 = 26.6Ω).
Now, if I wanted to make this part of a waterproof e-textile endeavor, could I cover this in epoxy/hot glue in order to waterproof it without damaging its vibration capabilities?
I am confused. The datasheet mentions 3V and the text here 5V.
How waterproof are these? Can you hand-wash them like lilypad boards?
que diodo utiliza ??
BAS16 Series 100 V 250 mA
home-made Fukuoku, anyone? Actually with a sensible BT module and a driver circuit, this could be a good way to alert to text messages or e-mails... I can never feel the vibration of my cell phone in my pocket, but I can't have the ringer on at work.
No doubt. Boom-chicka-wow-wow.....