SparkFun RFID Starter Kit
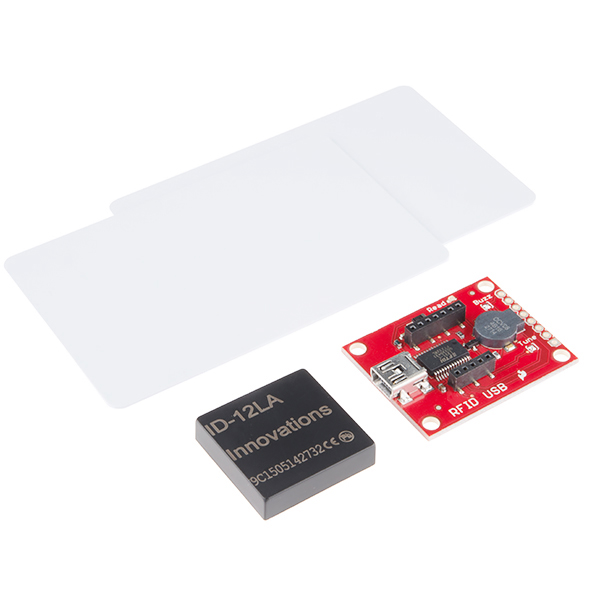
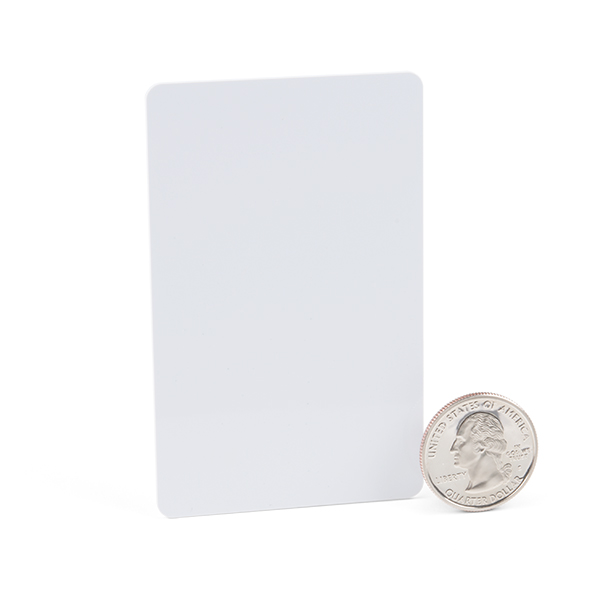
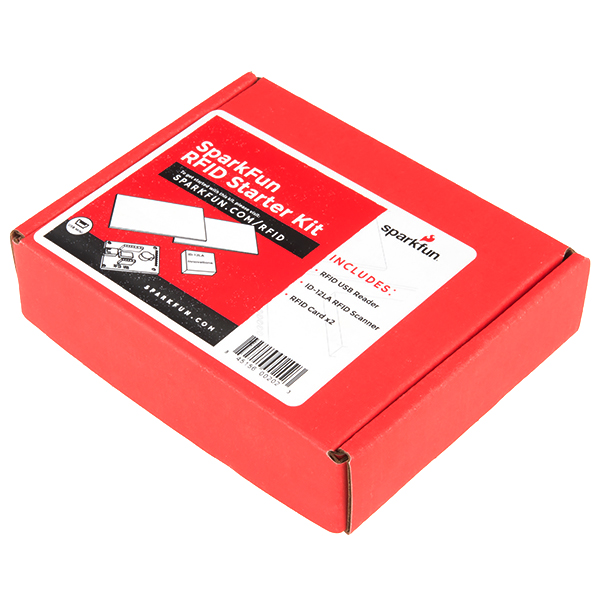
This it the SparkFun RFID Starter Kit, an all-in-one kit that offer everything you need to get your next RFID project off the ground. This kit includes our USB RFID Reader, ID-12LA RFID module, and two 125kHz RFID cards. We've done away with the annoying clamshell and now offer this in the same type of box as the rest of our kits.
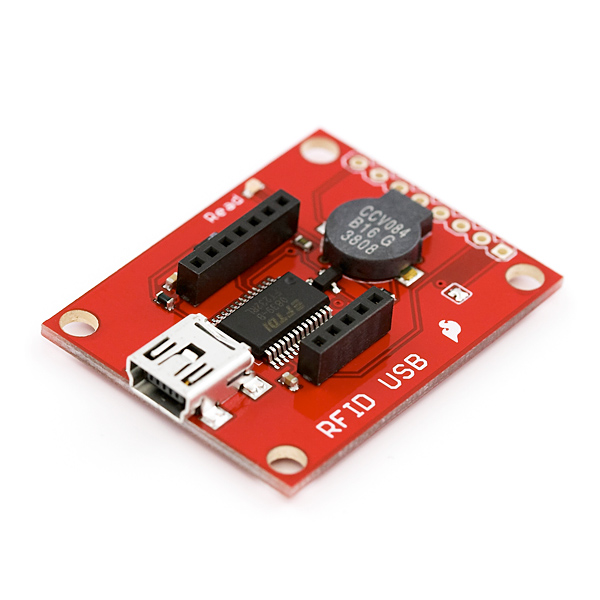
The RFID USB Reader is a simple to use, USB to serial base unit for the ID-3LA, ID-12LA, and ID-20LA readers. Simply plug a reader into the headers and attach a miniUSB cable. Open a terminal program of your choice at 9600bps 8N1, then scan your 125kHz ID tag and the unique ID will be shown on the screen. The unit is based on a FTDI chip and comes with a read LED and buzzer.
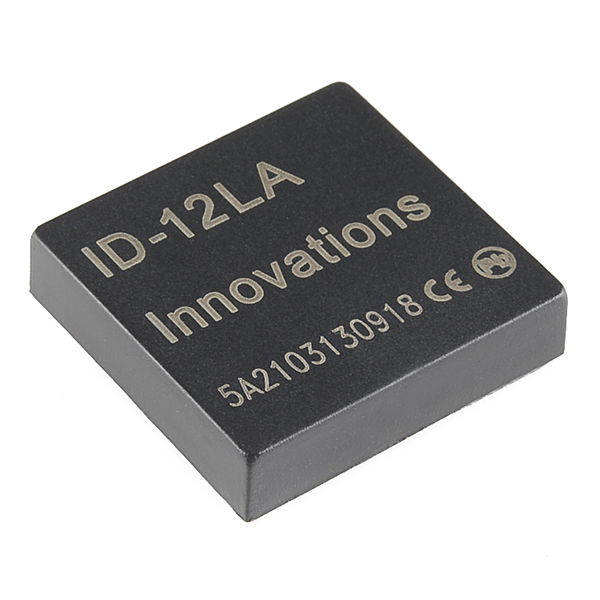
The ID-12LA is a very simple RFID reader module. It plugs directly into the USB reader to allow you to read RFID tags through a USB connection. Power the module, hold up a card, and get a serial string output containing the unique ID of the card.
- Schematic (RFID USB Reader)
- Eagle Files (RFID USB Reader)
- Hookup Guide
- Datasheet (ID-12LA)
- USB FTDI Drivers for Linux, MAC, and PC
SparkFun RFID Starter Kit Product Help and Resources
SparkFun RFID Starter Kit Hookup Guide
May 5, 2015
Learn the basics of how to get started with the SparkFun RFID Starter Kit.
RFID Basics
February 23, 2017
Dive into the basics of Radio Frequency Identification (RFID) technology.
Core Skill: Soldering
This skill defines how difficult the soldering is on a particular product. It might be a couple simple solder joints, or require special reflow tools.
Skill Level: Noob - Some basic soldering is required, but it is limited to a just a few pins, basic through-hole soldering, and couple (if any) polarized components. A basic soldering iron is all you should need.
See all skill levels
Core Skill: Programming
If a board needs code or communicates somehow, you're going to need to know how to program or interface with it. The programming skill is all about communication and code.
Skill Level: Rookie - You will need a better fundamental understand of what code is, and how it works. You will be using beginner-level software and development tools like Arduino. You will be dealing directly with code, but numerous examples and libraries are available. Sensors or shields will communicate with serial or TTL.
See all skill levels
Core Skill: Electrical Prototyping
If it requires power, you need to know how much, what all the pins do, and how to hook it up. You may need to reference datasheets, schematics, and know the ins and outs of electronics.
Skill Level: Rookie - You may be required to know a bit more about the component, such as orientation, or how to hook it up, in addition to power requirements. You will need to understand polarized components.
See all skill levels
Comments
Looking for answers to technical questions?
We welcome your comments and suggestions below. However, if you are looking for solutions to technical questions please see our Technical Assistance page.
Customer Reviews
4.7 out of 5
Based on 16 ratings:
2 of 3 found this helpful:
Reader works
Be wary that it works with EM4100 and 4001 cards, but not HID cards. Also, it makes a rousing beep whenever the card is scanned, which can be annoying if scanning many cards.
2 of 3 found this helpful:
Works great and easy to implement
I've used this in both an Arduino automatic door lock and a Raspberry Pi Windows IOT device for machine locks at a new Makerspace we are building.
The only issue I have is the beep is very similar to the training beep on my dogs collar. When I'm testing the system the dog keep looking at me expecting a command. So I have to test the system and train the dog at the same time.
2 of 3 found this helpful:
Good product and easy to use.
I got the reader up and running on both an arduino uno and a raspberry pi in a matter of hours. Good product with great instructions on the sparkfun website.
1 of 2 found this helpful:
Works as described
Wish it had a little more range. I mounted it in a plastic project box with the surface of the reader right behind the cover and you basically have to put the card right on the cover for it to read. I connected it to a Particle Photon via serial.
RTFM. The serial output puts out non printing characters other than CRLF. I didn't realize this and the libraries I was sending the read data to didn't appreciate it. It worked fine once I stripped the non printing characters.
0 of 1 found this helpful:
A good way to start learning about RFID's
I hooked it up as instructed and it did just like it said. I was pleased with the sensitivity. I now need to learn more about how to handle the data it produces.
0 of 1 found this helpful:
Solid RFID Reader
I got this board to test how a RF field would hold up through plastic, and it worked great! I literally just plugged a USB in, opened TeraTerm, and started reading tags.The buzzer is a very nice feature. Great product!
0 of 1 found this helpful:
Works great
My 11 yr old son got it put together just fine for his science fair project but we had so do some research into figuring out how to extract and display the ID number of the RF tag so he could get it trigger different events. Would be nice if the sample code also included the code to display the RF tag's ID on an LCD.
0 of 1 found this helpful:
RFID made easy.
Very easy to use... Just plug in the ID-12LA and connect the unit to a serial port.
0 of 1 found this helpful:
fast delivery to the other side of the world!
RFID kit was ordered on Monday and received it on my doorstep all the way to Manila on Friday! Thanks SparkFun!
0 of 1 found this helpful:
Perfect
Works perfect
0 of 1 found this helpful:
Excellent product!
The USB allows me to easily record RFID tag serial numbers and the breakout part allows me to easily implement RFID into my embedded projects. Easy to use!
Performed as expected
Works and was ready for pickup when is should have been
0 of 1 found this helpful:
Works really well
I had it up and reading cards on the serial monitor within a few minutes using Arduino.

-------------------- Tech Support Tips/Troubleshooting/Common Issues --------------------
Read Ranges Using the RFID USB Reader
Using the ID Innovations125kHz readers, the tested real world maximum ranges of the modules with the RFID tagged items are listed below:
ID-3LA
ID12-LA
ID20-LA
The range results were taken from the demo video between 6:13-9:10 => https://youtu.be/FLjV5BT9slg?t=6m13s .
How long approximately would it last max with the lithium ion battery?
Hi there, it sounds like you are looking for technical assistance. Please use the link in the banner above, to get started with posting a topic in our forums. Our technical support team will do their best to assist you. (Note: There's not enough information on the battery (you are referring to) to answer your question.)
I'm not sure why I would want the fancy interface card. The underlying module generates serial. That can be read by an Arduino, and a lock mechanism opened when an authorized RFID device is presented. How does providing a serial-to-USB interface help create a real-world useful system? (Note: Sparkfun DO SELL the ID-12 and ID 20... NICE modules!! And be sure to buy the headers for the eccentric pin pitch of the connectors from either.) More help at... http://sheepdogguides.com/arduino/art3rfid1.htm (That system has opened my front door for me since Feb 2011. I only use a traditional key during power cuts.
We've found that for people getting started, who have not played with RFID before, the Serial to USB board makes it easy for them to see in real time what the cards are outputting. It's quite powerful when someone holds a card within a few inches and they hear the beep and see a serial string output. They learn a few things quickly: RFID cards don't work when they're held X feet away, and that RFID readers boil down all the black-magic to a unique ID (string).
On top of that, the Serial to USB board can used as a simple breakout board for the module.
So if a card has 32 bits or less it would read? In my testing it only works with the cards it was packed with. The other cards I have are 33 bit or more and none are able to read. My cards use a non standard configuration of the facility code but I was hoping to just be able to read the raw data even that last 32 bits of it would be fine, but no such luck.
Hello, very a good product. I have a question do you don't have a simple solution for people who are not programmer to write a card rfid under mac osx?
Can the "beep" sound it makes turned off somehow? The product looks nice, but I need it to be silent.
A buzzer that sounds when a card is read. If you are using the RFID kit in a stealth application, you can disconnect the buzzer by removing the blob of solder on the Buzz jumper.
https://learn.sparkfun.com/tutorials/sparkfun-rfid-starter-kit-hookup-guide?_ga=1.129797707.638381000.1465881541