I'm pretty sure as I write this I'm either coming down with some sort of cold or my brain is desperately telling me I need a snow day (edit: I'm in luck!). Oh and before I go off on this blogly tangent and forget... Happy New Year to you all!
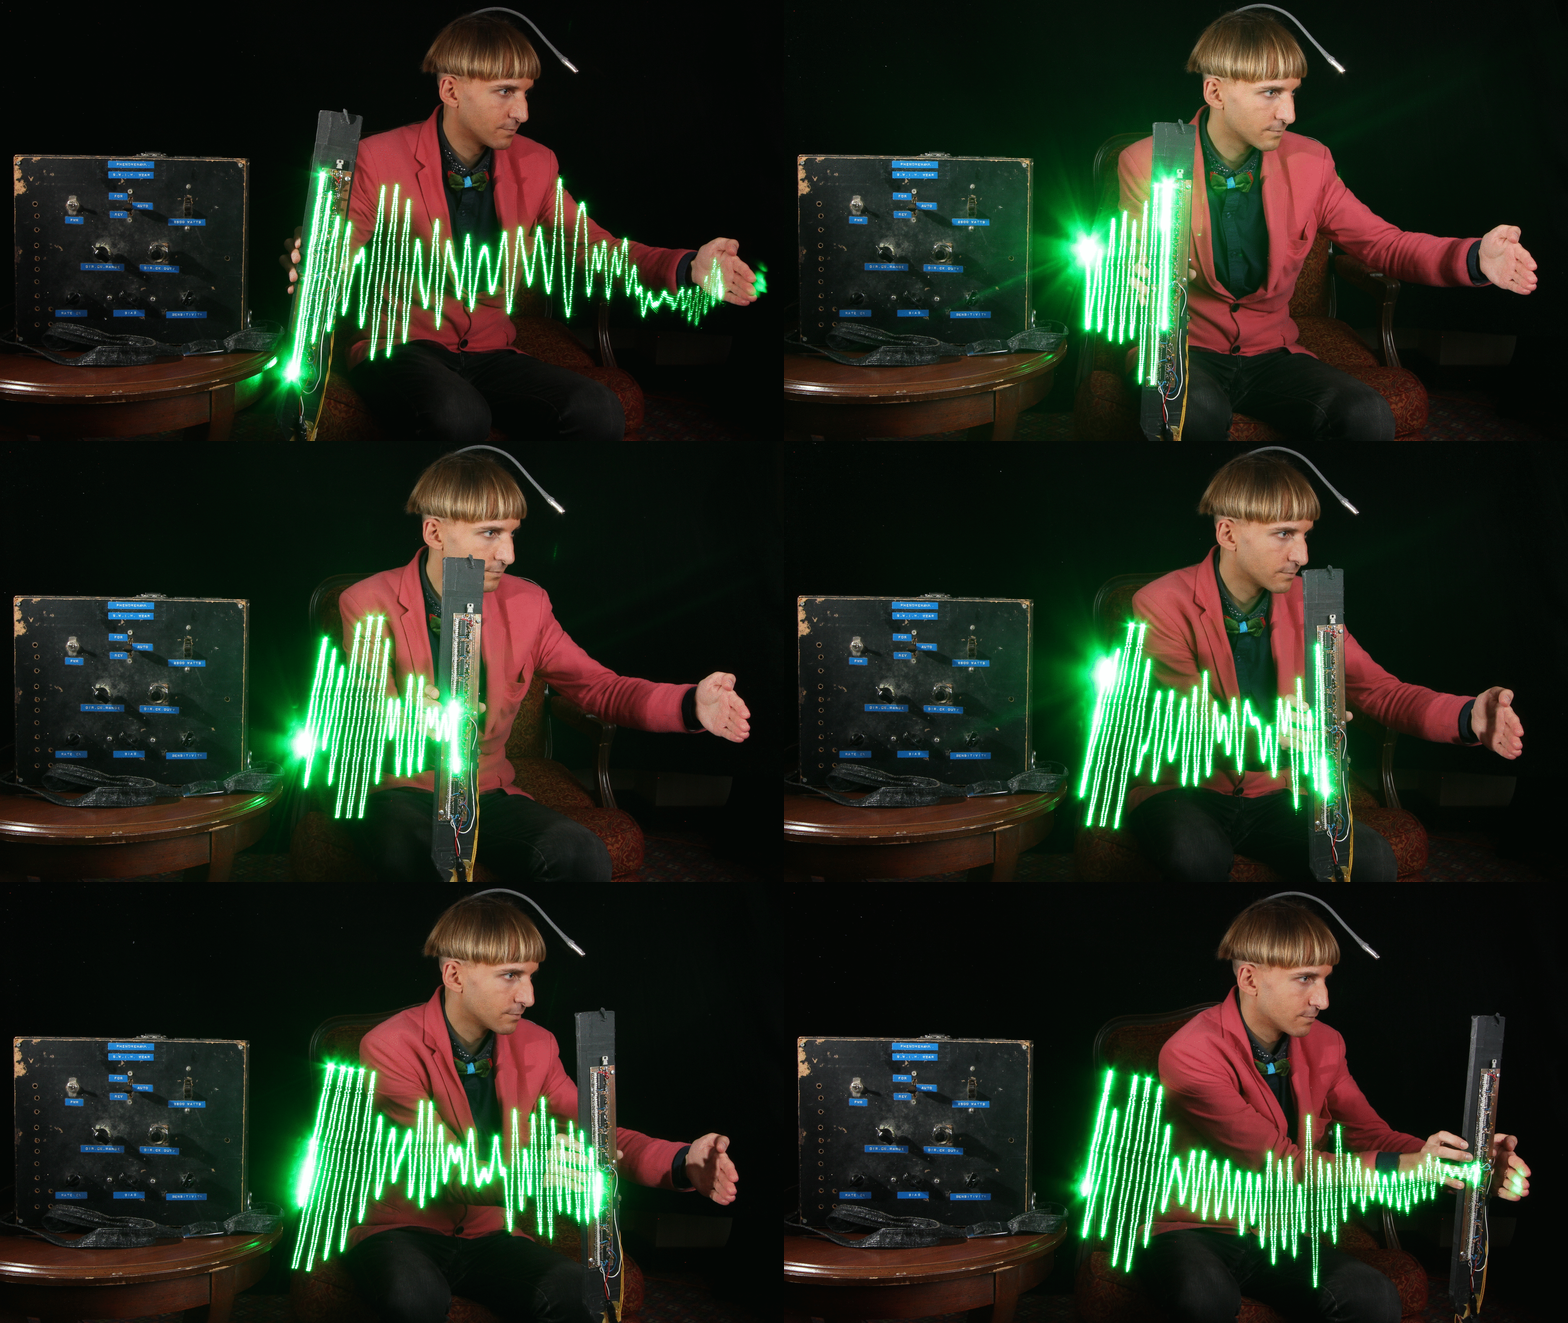
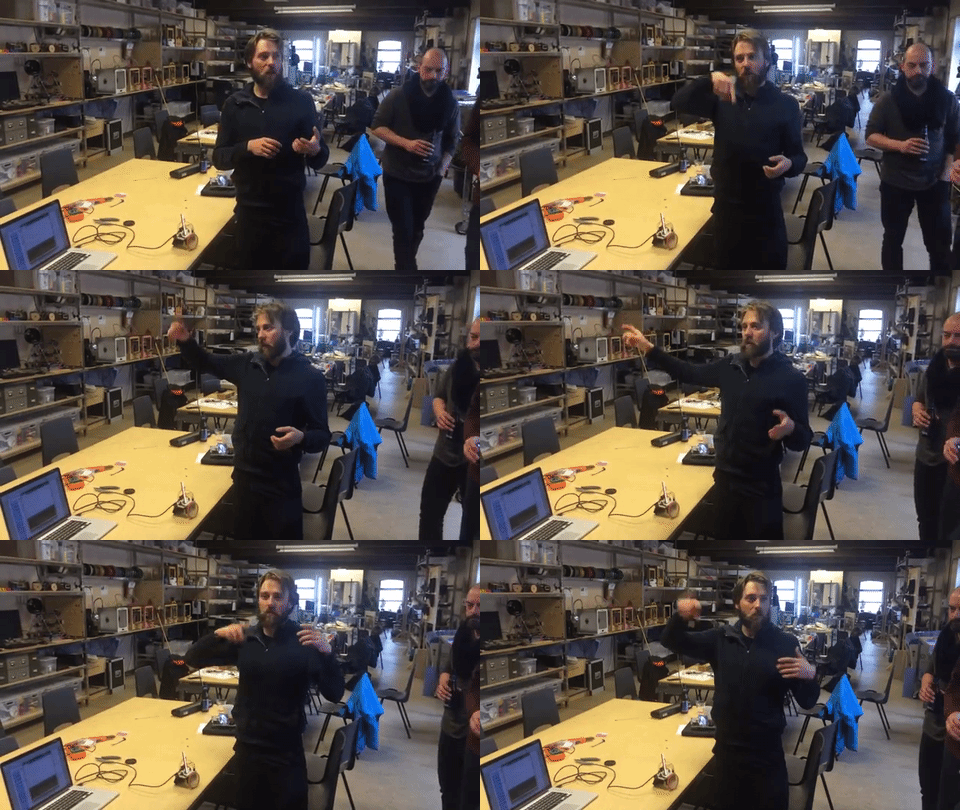
So, Sound Wave (Im)Printing. A little while ago I came across this Sequential Wave Imprinting Machine (S.W.I.M.) developed by Steve Mann that gives you the ability to see invisible sound or radio waves as they are imprinted onto your retina or photographic media. It was like a Neo-Matrix movie moment where I remember seeing this GIF image and saying "Whoa!" with a really dumbfounded look on my face.
Some of you might be saying, "Well, yeah, I already knew about that," or just might not be easily impressed. However, 1) I'm quite easily impressed by the little phenomenas in life (a Slinky on the stairs equates to hours of entertainment for me), and 2) I'm really into studying Doppler radar lately. Unfortunately, I didn't receive my HB100 Microwave Motion Sensor Module in time, which is the simplest (and cheapest) way to reproduce the "Mann Effect."
"Sooo, you're not going to show us Sound Wave Imprinting? Why are we reading this?!"
No no no. I definitely am, but just a little differently. I promise it's quite cool...
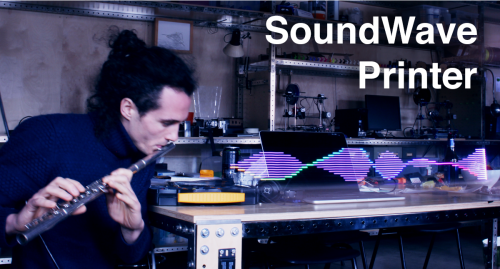
Lucky for us, in my research, I also came across this project video entitled 9TH Arduino-JAM TEAM 4: Sound Wave Printer. I watched as Toon Nelissen, founder of AppSaloon and Arduino-Jam, demonstrated a way to print sound waves by experimenting with slow shutter speed photography.
He even put together an Instructables Guide: SoundWave Printer breaking down this process. So, as a first step into the realm of wave imprinting, I had to try this out for myself.
Below is a list of the electronic parts I used to create this project.
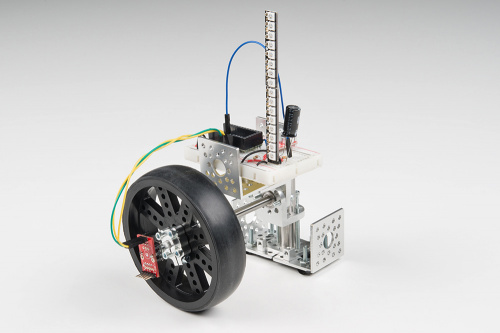
Keep in mind you can build the chassis portion of it any way you'd like, but in my case I used some Actobotics parts. Doing so made it quite easy to mount not only the breadboard, but the rotary encoder to the wheel as well.
The Teensy code allows for the user to record a sound for roughly 2.9 milliseconds via the electret microphone. With the rotary encoder mounted to the wheel, the position of the chassis is known. As the chassis moves across the table it is able to print out the waveform onto the NeoPixel Sticks.
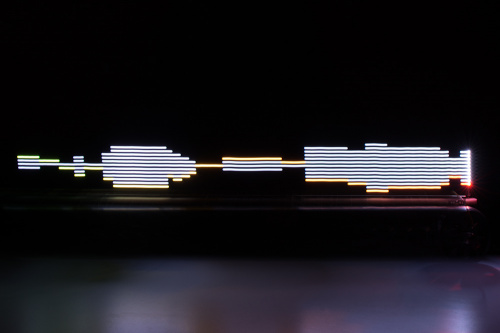
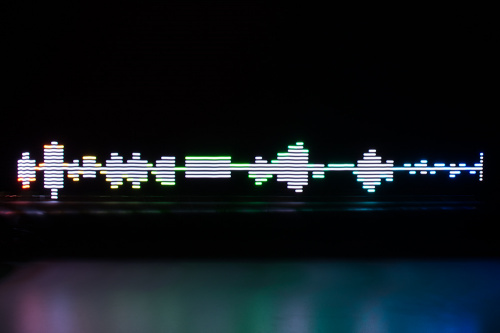
Over the past couple days I've been playing around with various tone generators and even snippets of my favorite songs, but for this post I decided to record a couple drum loops to look at. Thanks to Juan Pena, our amazing resident photographer, we were able to capture some really beautiful pictures utilizing slow shutter speed photography to print out the corresponding waveforms.
If you have some time, it's definitely worth experimenting with! I'm looking forward to where I go with it from here. A huge thank you and shout out to Toon Nelissen for making this blog post possible; I had a lot of fun with this one! If this is something you've experimented with, or you know of other ways to capture sound waveforms, share your results in the comments!
Interested in learning more about LEDs?
See our LED page for everything you need to know to start using these components in your project.


Hey, that's a neat rig! It has caused my wheels to start turning.
A different way you could record audio waveforms is with the Teensy Audio Board. It can hold an SD card containing waves, or record them live at a decent quality. Kind of a plug, but I really love that product and own like 10 so I'm an advocate.
Also I was thinking that if you reduce your wheel size you can increase your horizontal resolution.... hmmm
I'll have to play with this. Thanks! And great photos.
Hi, I'm Toon from the original Instructable. I tried the teensy audio board, but In this case it was not very useful because you only need the sound that travels for one meter. So no need for SD cards. And I needed the highest possible sample rate. The horizontal resolution is limited by your sampling resolution. For one meter you need to record sound for 2915 microseconds, and between every ADC readout you need to pause for 15 micro's, I maxed out at 112 samples / meter. It was fun to make. I'm working on a linear rail version, but going really fast to show the soundwave is not an easy task. But then again this project doesn't make much sense either. It is just for fun and practice.
Thanks, Mr. Taylor! Ohhh I love turning wheels!!
I would definitely do some things differently after building the first one. I'm going to have to try out the Teensy AB!
My original soundwave SWIM (sequential wave imprinting machine) printed the soundwave in perfect alignment with the real world; for augmented reality, alignment is important, e.g. it must be lined up with reality, and you can even take useful measurements from it, such as the speed-of-sound can be determined by measuring the waves with a ruler. See http://wearcam.org/par.htm
I've also got an Instructable on sound wave imprinting machine: http://www.instructables.com/id/Seeing-Sound-Waves-Bug-Sweeping-Robots-for-Augment/ specifically for bug sweeping, but more generally, also for seeing sound waves from musical instruments, see Figure 10 inset in http://wearcam.org/kineveillance.pdf
Mann, Steve. "Surveillance (oversight), Sousveillance (undersight), and Metaveillance (seeing sight itself)." In Computer Vision and Pattern Recognition Workshops (CVPRW), 2016 IEEE Conference on, pp. 1408-1417. IEEE, 2016.
Oscilloscope