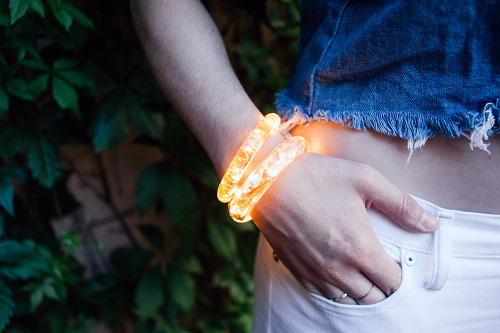
I've been playing with the idea of embedding LEDs into jewelry for a while now, because everyone loves something pretty that lights up. Right?! I've also been really curious about resin casting, and how I might be able to leverage it for building enclosures. I finally decided to give both a try for this week's edition of Hardware Hump Day. While it may seem like a simple concept electronically (power some LEDs with a battery, done), making electronics for wearable usage is actually an interesting and challenging design problem, and the fabrication takes time, consideration and lots of iteration.
When we talk about wearables, it's important to consider what it means to wear anything. Our clothes and accessories are, in a many ways, how we express who we are to the outside world. In order to make a successful wearable, it's important to consider that the object should not only function electronically, but also look and feel good to the user. When designing jewelry, we have the added challenge of having to keep the power and parts small enough to either fit inside or hide.
I had a few goals for this project - I wanted it to be attractive, chargeable and actually wearable. Let's walk through this process step-by-step so that you can follow along!
First you need some supplies from your local craft store (or Etsy or Amazon if your craft store's stock isn't up to snuff).
Glitter (totally optional)
Paper Clip
You will also need the following supplies from SparkFun:
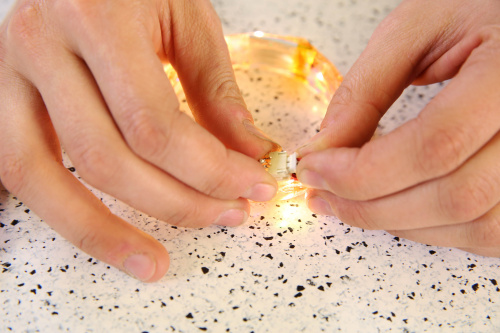
Start by sanding down the leads on the Fairy String LEDs. If you haven't already, you will need to snip away any hardware that might have come with them to adapt to a wall or battery source.
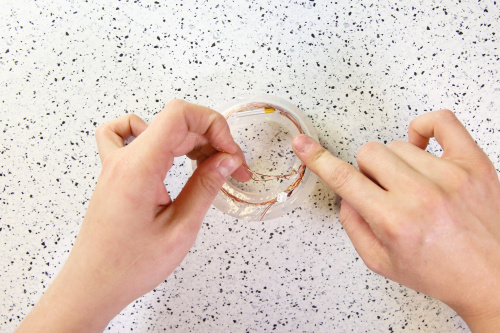
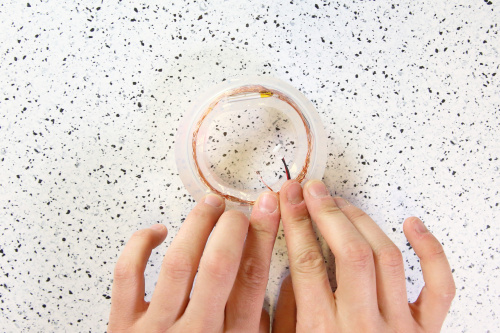
Place the Lipo Battery in the Silicone Mold, followed by the string of lights. Make sure you keep the sanded down LED leads and Lipo connector out of the mold.
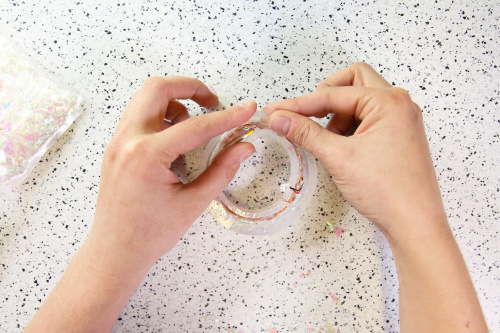
Fill the mold up with as much glitter as it will hold. (This is optional. If you don't like or want glitter - skip this step!)
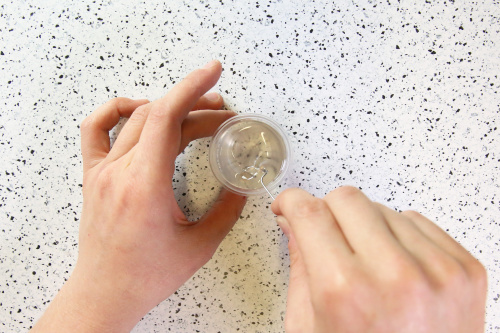
Following the instructions on the packaging, pour the Epoxy mix into the mixing cup and use a paper clip to mix it together. Mix slowly as to avoid making air bubbles.
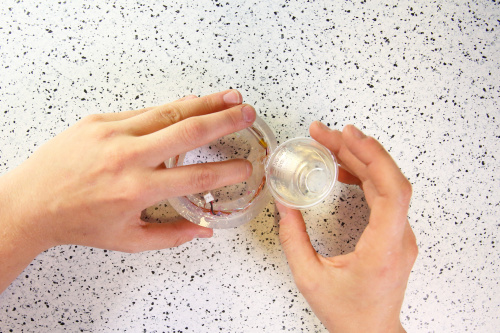
Pour the mixed Epoxy into the bracelet mold, setting all your electronic parts and glitter inside of the bracelet.
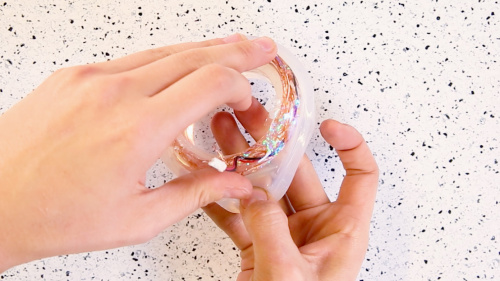
After 24 hours, remove the bracelet from the mold.
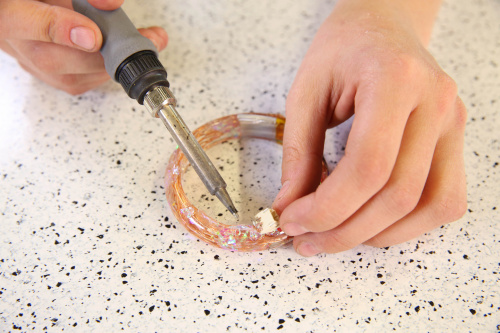
Find the + and - lead by using a multimeter or power source, and then solder on a JST connector accordingly.
Finally, pop your LiPo connection into the soldered JST connector and enjoy the light!
There you have it! Now go make one for yourself and enjoy all the attention you get for having the coolest jewelry ever.
While I managed to hit my three goals for this project (it's pretty, chargeable and actually wearable) there is still a functionality issue that needs to be addressed. The battery, while small enough to hide inside the mold, drains power extremely quickly when in use. In order for this to be a successful wearable object, it needs to remain powered on for much longer.
How would you manage power for this bracelet? How would you use resin casting to enhance project fabrication techniques?
Interested in learning more about LEDs?
See our LED page for everything you need to know to start using these components in your project.


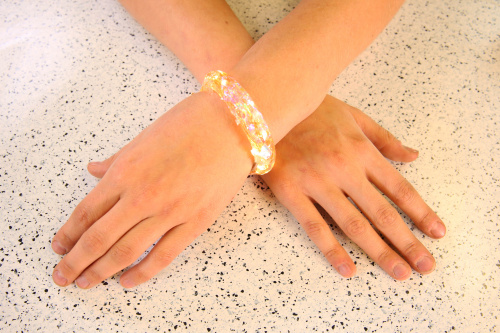


Those look great.
In terms of lasting longer, you should be able to somewhat calculate how long they will last by taking the current draw of the LEDs and divide out of the mAH rating of the battery.
Lithium batteries often have different capacities based on how hard you are using them, and if you are direct driving them your current will change as your battery voltage changes. Maybe go with a 2 cell battery solution and a constant current driver, that way you can have a constant, adjustable current (and brightness) and you can probably use more of your batteries' full range because a single battery might not have enough voltage to turn on the fairy lights when it's getting low, but a dual cell running a driver will.
I think the Femtobuck and a 2 cell battery would fit the bill https://www.sparkfun.com/products/13716
I tried to make one of these bracelets, but the dewdrop LEDs blink once each time I plug the battery into the JST connector (soldered on to the LED string), afterwards the LEDs remain dark. If I repeatedly unplug/plug the battery in, the same results occur, but eventually an LED on the string blows up. I tried adding a resistor but it just lets the same thing happen, only dimmer. Please, tell me how I could get the LEDs to "stay on" properly? @Feldi, How did you get around this?
Hm, I have not run into this issue myself. However, many different brands make these lights, and they are not all created equally. Where did you get yours? Do you know what brand they are? Did they come with a data sheet that we can review? Maybe they have different power requirements than the ones I have been using. I've been working with the lights they sell at Michaels and I haven't been experiencing any issues so maybe try those. Definitely test your circuit before you start adding the resin though!
I figured it out, I was trying to use a 2C discharge battery because I heard that they could potentially discharge at a slower rate. I was hoping that they would allow the LEDs to stay lit longer, but that was not the case, they did not work in this configuration at all. I went down to Michaels and picked up a string like you mentioned. I then tried using the standard discharge battery (that you called for) and everything worked perfectly :)
Note, the LED's that I used originally were ordered from a well known online retailer. Using the standard discharge battery, on that LED string, required a resistor to prevent the LEDs from popping. Hopefully this helps others if they see similar issues while trying this.
Finally, as mentioned, the battery life on these is fairly short; even on a full charge. It seems like 30-45 minutes of illumination is typical, mileage may vary. Perhaps an inline resistor will allow for longer operation time, albeit with a much dimmer starting state on a full charge. The LEDs are quite bright without a resistor.
Thank you so much for your help!
in-cre-di-ble.... ;-DDDD thx a lot
Thanks! More to come :)
Impressive, the bracelets are very nice, I will try if I can do something similar.
Hey Brainiacs: I know this sounds dumb, but if I embedded a PCB, would the resin screw up the electronics. Is the resin non-conductive like potting compound? Indeed could I use clear potting compound in a mold?
Never used either so assume total ignorance on my part.
Your parts should be fine! Resin is not conductive. If you are worried you can always seal your parts with heat shrink before embedding in the resin.
Amazing bracelet. Looking forward to buying it.
I recall reading a piece of speculation that it was lack of room to expand while charging that caused the batteries inside those samsung phones to catch fire. It might not be a good idea to embed that part directly in the resin if thats actually true that they need a tiny bit of space. Would it be enough to wrap it in a mm or so of foam tape so that it keeps a little room to expand once embedded?
I feel like Colecago is right; it looks like you're just direct driving the string of LEDs with no control circuitry at all. The LEDs will draw max available current until the cell is dead. Hopefully the battery used has its own protection circuit so it doesn't blow up! The easiest way I know of to handle this is to make a current mirror with a pair of transistors and some passive devices. Still going to be less efficient than PWM, but way easier to fit inside a bracelet.
There really isn't much space in the bracelet. An inline resistor on the LED chain would be much more compact. One could (try to) argue that the dimming of the LEDs as the battery starts to run dry is a "feature" telling the user to charge the bracelet. ;-)
An SMT linear regulator in constant current setup wouldn't be too bad either
The list of "supplies from Sparkfun" (the most important part : ) is blank/nonexistent.
Sorry about that! This has been fixed :)