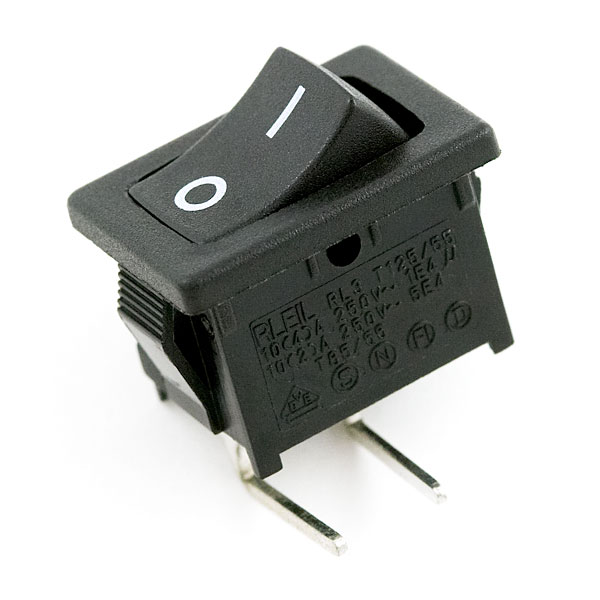
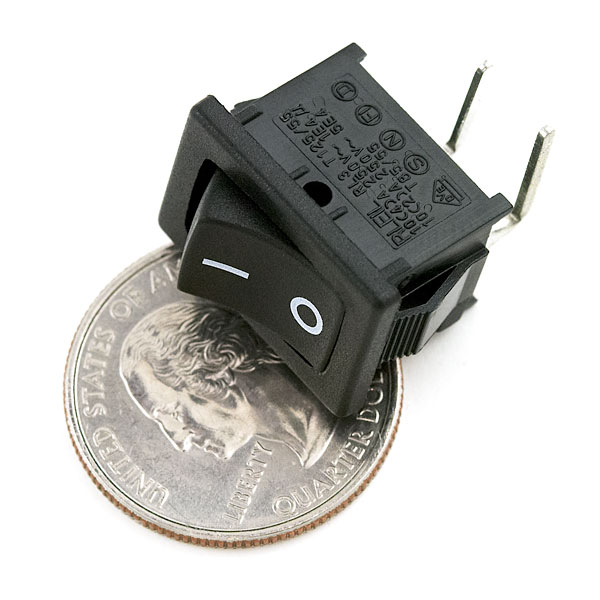
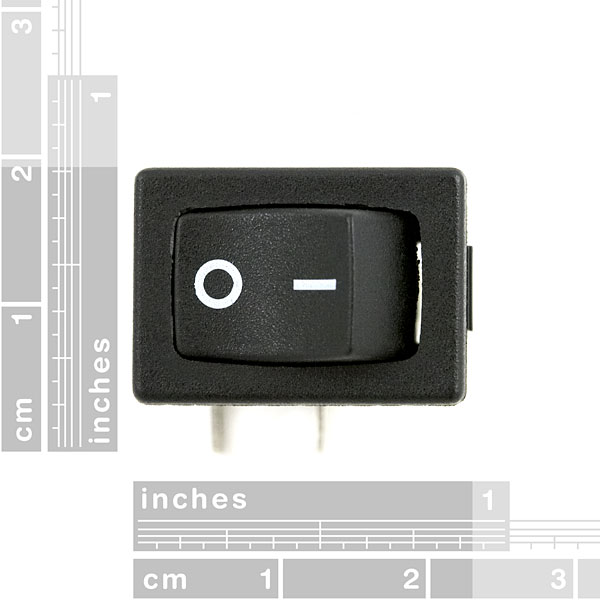
Your project will probably need an on/off switch. If you plan to house the project in an enclosure, we found this great rocker switch to help you out. RoHS and UL approved.
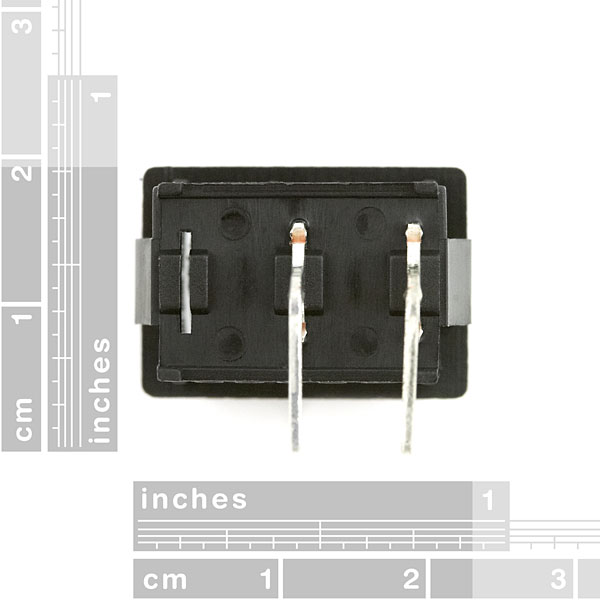
- Right angle solid through-hole mounting
- Can also be snap-in panel mounted
- Rated up to 15A @ 125V
Rocker Switch - SPST (right-angle) Product Help and Resources
Heating Pad Hand Warmer Blanket
January 21, 2013
DIY Project Idea: Create a custom hand warmer blanket using heating pads.
Button and Switch Basics
May 7, 2013
A tutorial on electronics' most overlooked and underappreciated component: the switch! Here we explain the difference between momentary and maintained switches and what all those acronyms (NO, NC, SPDT, SPST, ...) stand for.
Core Skill: Soldering
This skill defines how difficult the soldering is on a particular product. It might be a couple simple solder joints, or require special reflow tools.
Skill Level: Noob - Some basic soldering is required, but it is limited to a just a few pins, basic through-hole soldering, and couple (if any) polarized components. A basic soldering iron is all you should need.
See all skill levels
Core Skill: Electrical Prototyping
If it requires power, you need to know how much, what all the pins do, and how to hook it up. You may need to reference datasheets, schematics, and know the ins and outs of electronics.
Skill Level: Noob - You don't need to reference a datasheet, but you will need to know basic power requirements.
See all skill levels
Comments
Looking for answers to technical questions?
We welcome your comments and suggestions below. However, if you are looking for solutions to technical questions please see our Technical Assistance page.
Customer Reviews
No reviews yet.


I want to put this switch on a lamp. With this switch work for that?
With a bit of filing, this fits nicely in the area reserved for the ethernet port in the PRT-10088 Arduino Project Enclosure.
125 V?? Don't you ever think about all those poor engineers in Europe?
Nice switch, but REALLY hard to solder to.
The datasheet under the images for this product is for a different button. If you want to mount this vertically using the Sparkfun footprint, you end up having to cut off the right-angled posts and trim what's left to make it thinner to fit in the holes. Either an updated datasheet or updated footprint would be greatly appreciated.
Where is this located in the library.
It's a bit buried in eagle - and the footprint we created was for the KinetaMap, so it's a vertical orientation (not pretty but it works):
"SWITCH-SPST-2" is the name of the device. "SWITCH-SPST-VERTICAL" is the name of the package type.