SparkFun Transparent OLED HUD Breakout (Qwiic)
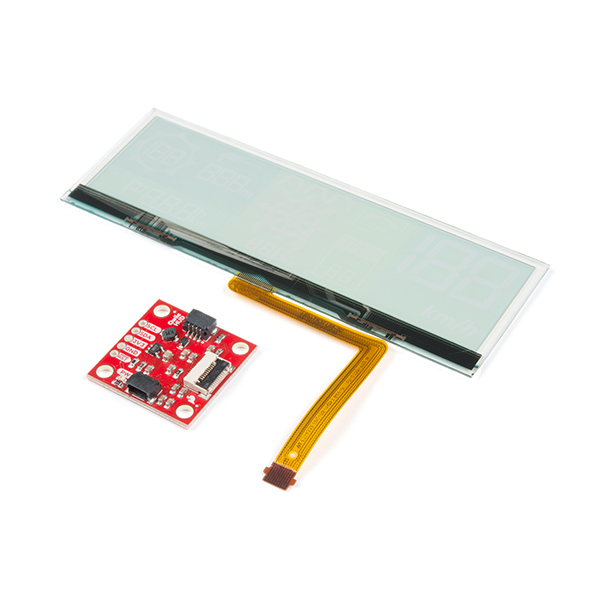
Clear screens are no longer a thing of the Sci-Fi world! The Qwiic Transparent OLED HUD is SparkFun's answer to all of your futuristic transparent HUD needs. Designed for use in vehicle heads-up displays, this OLED panel is brilliant in the dark but easily visible in daylight. The display is "area colored" meaning that while no one segment can change colors, there are different colored segments on the display.
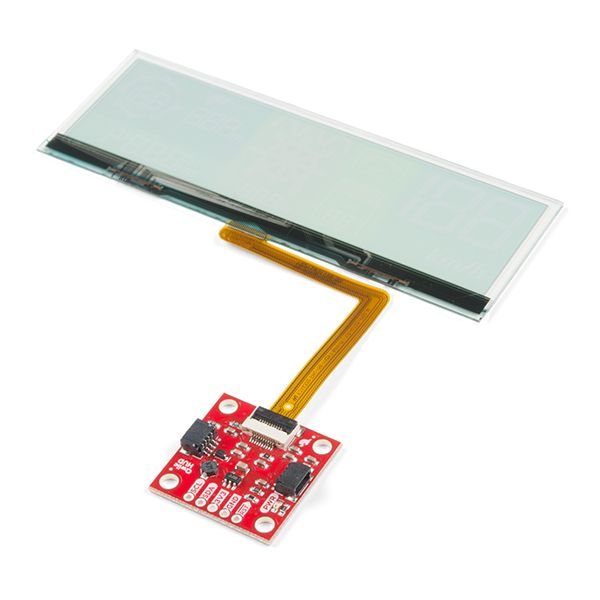
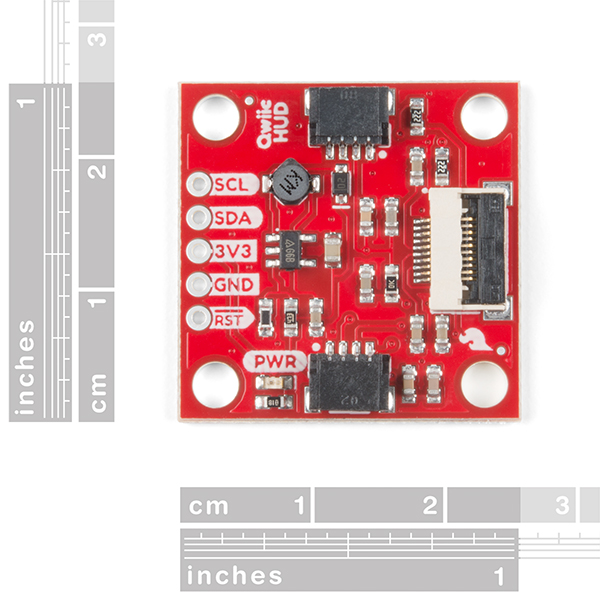
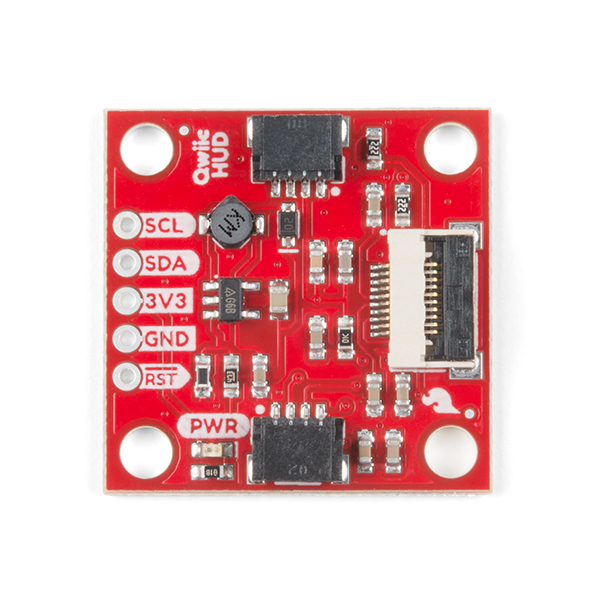
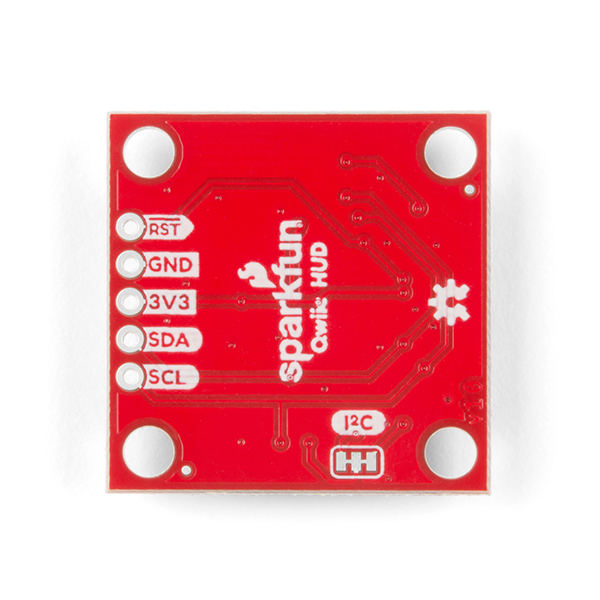
The SparkFun Transparent OLED Breakout allows you to easily control the display using the I2C protocol and includes a voltage step-up to generate the panel's 12V driving voltage from Qwiic's 3.3V bus. To make things even easier, we've thrown together an Arduino library so that doing things like changing the speedometer read out is as easy as calling setSpeedometer() in your sketch. Utilizing our handy Qwiic system, no soldering is required to connect it to the rest of your system. However, we still have broken out 0.1"-spaced pins in case you prefer to use a breadboard.
The Arduino sketch required to drive this display requires quite a bit of dynamic memory, meaning that it is not going to fit on a smaller controller like an ATmega328. Any controller with larger RAM should have no problem. It has been tested to run very well on an Arduino Mega 2560. In addition, your 3.3v source should be robust enough to supply around 400mA to the display.
Note: The I2C address of the Transparent OLED is 0x30 / 0x31 and is hardware defined. A multiplexer/Mux is required to communicate to multiple Transparent OLED sensors on a single bus. If you need to use more than one Transparent OLED sensor consider using the Qwiic Mux Breakout.
The SparkFun Qwiic Connect System is an ecosystem of I2C sensors, actuators, shields and cables that make prototyping faster and less prone to error. All Qwiic-enabled boards use a common 1mm pitch, 4-pin JST connector. This reduces the amount of required PCB space, and polarized connections mean you can’t hook it up wrong.
- 1 x Transparent OLED Display
- 1 x Qwiic HUD Breakout Board
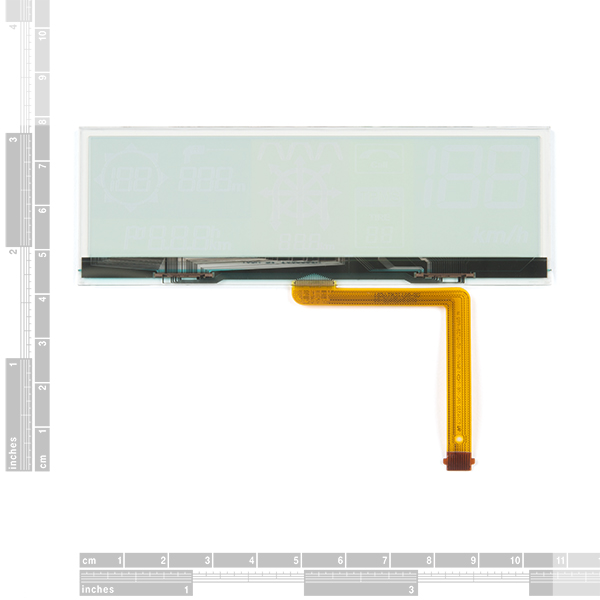
- 106.00mm x 37.90mm Panel Size
- Totally Transparent
- Segmented Display with 230 separate segments
- Requires 3.3V at ~500mA
- I2C Addresses: 0x30, 0x31
- 2x Qwiic Connectors
SparkFun Transparent OLED HUD Breakout (Qwiic) Product Help and Resources
Qwiic Transparent OLED HUD Hookup Guide
February 21, 2019
Learn how to connect that sweet transparent OLED.
Core Skill: Programming
If a board needs code or communicates somehow, you're going to need to know how to program or interface with it. The programming skill is all about communication and code.
Skill Level: Competent - The toolchain for programming is a bit more complex and will examples may not be explicitly provided for you. You will be required to have a fundamental knowledge of programming and be required to provide your own code. You may need to modify existing libraries or code to work with your specific hardware. Sensor and hardware interfaces will be SPI or I2C.
See all skill levels
Core Skill: Electrical Prototyping
If it requires power, you need to know how much, what all the pins do, and how to hook it up. You may need to reference datasheets, schematics, and know the ins and outs of electronics.
Skill Level: Rookie - You may be required to know a bit more about the component, such as orientation, or how to hook it up, in addition to power requirements. You will need to understand polarized components.
See all skill levels
Comments
Looking for answers to technical questions?
We welcome your comments and suggestions below. However, if you are looking for solutions to technical questions please see our Technical Assistance page.
Customer Reviews
No reviews yet.

Is it availabe to connect live with camera??
This display has pre-lit sections, so you wouldn't be able to display any custom images on it. What you're looking for is something more like this Graphical OLED Display
How close can a user focus? can I use it as a HUD display on a helmet?. Not for a real riding sceneraio, but for a motorcycle simulator.
Check out the product video in the image carousal.
Is there a way to get a version that either is all the same color everywhere, or RGB capable?
If you know of a manufacturer that makes something like that, let us know.
Why not to make it smaller? I would love to buy transpaernt 7segment display for only speed thats it.
Check out this display.
For those who, like me, were looking for a raspberry pi driver for this device, check https://github.com/me-no-dev/RasPiArduino. Although not perfect (I'm having some timing issues I guess), I compiled and ran the sample source code on a RP3 in 10 minutes.
Is this equally bright viewed from either side?
Pretty much. If you check out the product video, you will get a good idea of what it looks like from the back when it is attached to Rob's helmet.
Two comments: The listing is deceiving. It only has fixed segments with fixed colors. The photos should represent that. The previous version has more representative photos.
The provided library is inefficient. It uses a lot of RAM space data for non-changing parameter options. You can move them to PROGMEM (Arduino read-only program space data) to make them fit in smaller devices.
Am I missing something here? The TPMS readout only goes to 99, which disqualifies it from my first potential application which has 120 PSI tires. I can concede that most vehicles are in the 30 PSI range, so there still is a use for it for many people. But the compass rose readout only goes up to 199? What about headings between 200 and 360?
I looked at the docs and just wanted to verify. There is no way to customize the graphics or the font used. It sort of control over set areas of the HUD. I would buy one for $100 if I could control things independently and not just using the set graphics.
This is correct, there aren't any customizable graphics or colors.
A. Your "I'm not a robot" login sequence is getting really irritating, clicking a dozen images. B. For an automotive HUD, what is the temperature range of this OLED (as you know, Colorado goes from -20F to +105F. Will the OLED handle that?).
Wait what... it's only ~200 segments, you don't need lots of Memory to drive that...
So we have still to supply an OBD solution to use it in an automobile right?
Two minor issues... I don't think it would fit between my glasses and my visor, my old eyes don't focus that closely anymore.
Now, if you offered something like the Vuzix products, I'd be all over that.
How about the max luminance? Could it viewable under the sun-shine?