SparkFun Projects Case - Clear
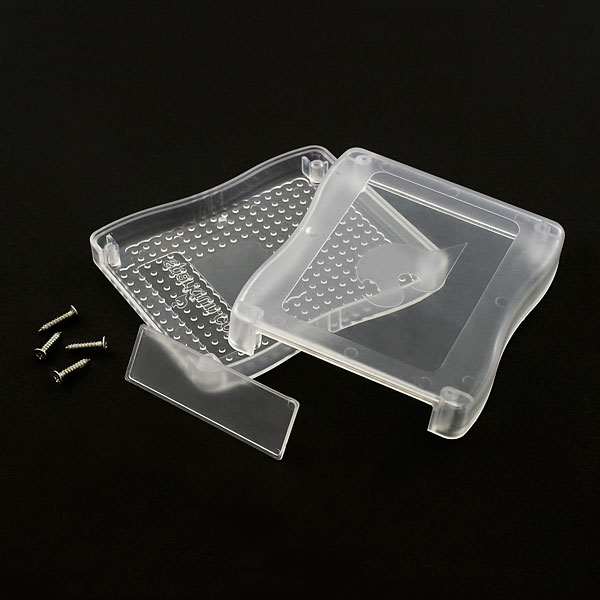
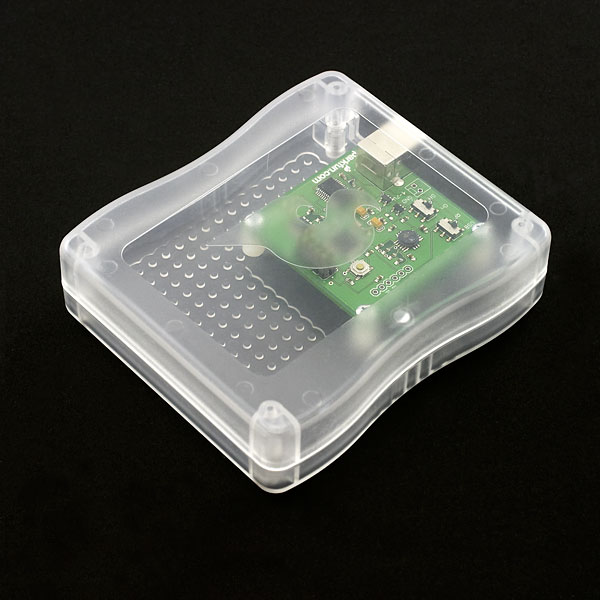
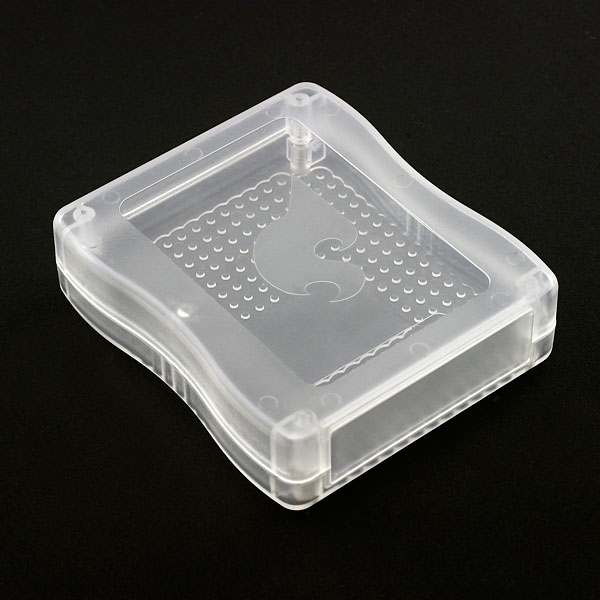
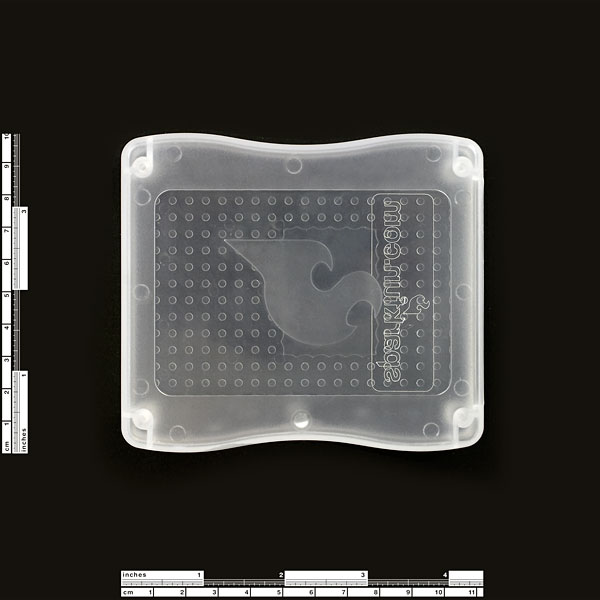
The SparkFun enclosure now in clear! This is a very simple, but surprisingly handy project box designed by SparkFun. The box comes with three plastic pieces and includes 4 screws. The insert on the end of the box can be CNC milled (or just dremeled out by hand) for connectors, LEDs, switches.
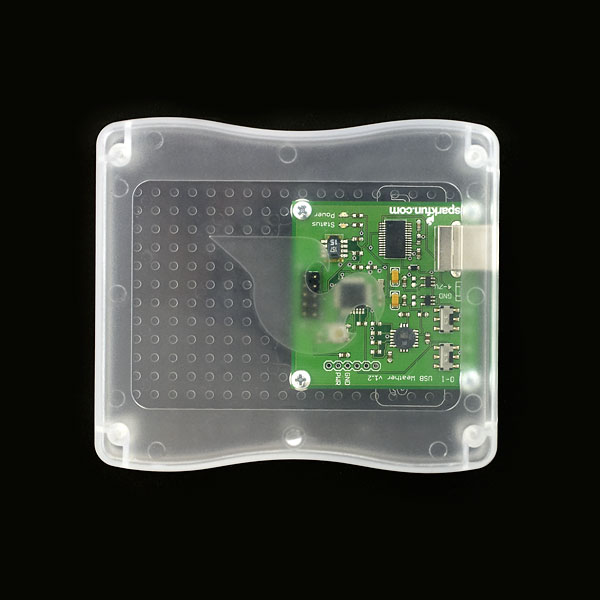
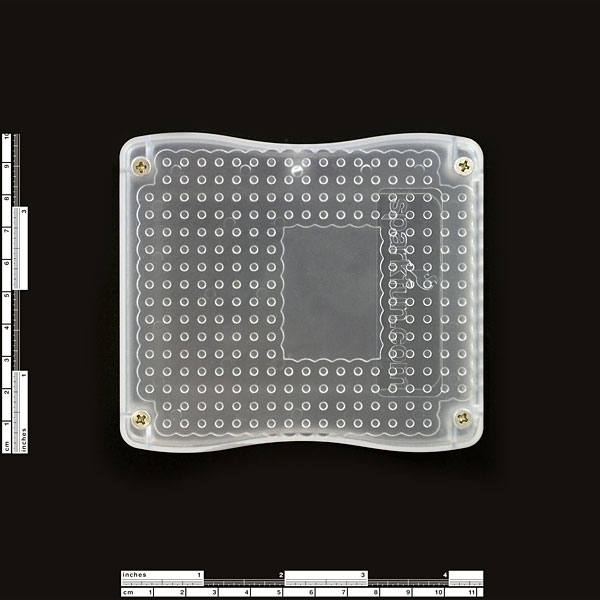
The bottom section of the enclosure has a unique pattern of raised dots. These dots are on a 0.2" grid. Our plastic standoffs fit nicely onto the 0.09" diameter dots. This allows for a large number of standoff configurations. Using our plastic standoffs, you can mount any shaped board into the enclosure. A small amount of super glue or hot glue will make the mounting permanent.
The outer corners of the SFE box also fit a Eurocard sized PCB (100x80mm). This makes the SFE box ideal for enclosing Olimex and other large development boards.
- Dimensional Drawing
- PCB Size Format (pdf) (dxf)
SparkFun Projects Case - Clear Product Help and Resources
Core Skill: DIY
Whether it's for assembling a kit, hacking an enclosure, or creating your own parts; the DIY skill is all about knowing how to use tools and the techniques associated with them.
Skill Level: Competent - You might need to break out the power tools. Nothing beyond a power drill or rotary tool should be required, but you might have a hard time with just a screwdriver and hammer. Cutting holes into plastic or metal might be required.
See all skill levels
Comments
Looking for answers to technical questions?
We welcome your comments and suggestions below. However, if you are looking for solutions to technical questions please see our Technical Assistance page.
Customer Reviews
4.5 out of 5
Based on 2 ratings:
Great little case, fit my 3
Fit a 3" rectangular board: https://www.sparkfun.com/products/retired/8815
And a Particle Photon on headers easily. It is also sturdy enough that two of them have large (9") wifi antenna mounted to the box without any problems.
nearly excellent
This is an excellent case for projects. Since it is clear on can see the full beauty of the electronics. On top, one can see status leds, displays, etc, without making complicated cutouts in the case. Unfortunately, Sparkfun had to put their massive logo right in the middle. Fortunately, with some sandpaper (waterproof, 400, 800,1000, 1200,then 2000) and some polishing compound one can sand it away. The case is especially suitable for handheld projects, because it really fits into the one hand. The idea of the dotted grid is really nice, unfortunately they stopped it in the middle for an opaque window. In conclusion: this case without the logo on the cover and finished grid would be excellent!

Did you have to put YOUR logo on it? I mean if we are advertising for you, you might as well cut us a break on the price... not make it more expensive to include your logo.
With your logo on it; doesn't that mean we cannot sell an item with this enclosure commercially?
Why would you want to sell something commercially in this?
Just a comment about the screws that you send with the box. Might I suggest you use a 3/4" #4 screws. I have had trouble using the 1/2" screw to open and close the box more than once. I finally bought some 3/4" screws and have had no problems since.
What type of plastic is this?
clear. :)
I'm interested in using this box for a project but am looking for some confirmation on my thinking.
My project will use two boards: a Arduino Uno R3 on bottom; and, a Wombat board (PRT-08619) on top. My best estimates are that the Uno will need under 1/2"; and, the Wombat will need 1/2" once products mounted.
Based on the Dimension Drawing, the head room in the box is (.50-.10) + (.645-.10) = just about 1".
I'm new to microelectronics, so I want to double check before I jump.
My questions: Have you mounted two boards with approximate dimensions described above in this case? Do you have any suggestions for internal mounting of either board?
Thank you!
really nice box. Would be possible provide a .step or .stp file of this box?. I have seen that your soapbox is on 3dcontentcentral.com, would be a usefull file to have a good idea about our final projects.
Thanks!
Which standoffs fit this case?
Is it the PRT-00444, Standoff - Nylon (3/8", 4-40)?
Awesome case.
I had luck using a drill bit to get a pilot hole and then using a nibbler to make some rather nice square holes. The nibbler can 'whiten' scar the immediate area around it if you get it to close to the edge of the plastic, but otherwise works great! Just make sure your nibbler has enough clearance for its cutter as compared to the thickness of this plastic.
plase can this come in bigger sizes so for example this could be small and another being medium and large with various sized inserts, becuase seriously i have a project and i cant fit it in this product with orination of PCBs being crucial. although i have said this i like the concept of the product it's just i wont buy it becuase of the size issues.
$11,95 is a bit overpriced for a plastc box, right?
It's larger than it seems. Take out a ruler and measure 11 by 9.5 cm to get an idea.
Could you guys post the 3D CAD for this in .stp format?
Any idea when these are going to be back in stock?
Another interesting thing. If you want to update the screws to something better looking, a 2-56 (3/4 inch long) cap head screw fits wonderfully. You just need to thread the bottom holes. When the screw is in place, the head sits flush to the surface.
Would I be able to fit a BlueSmirf Gold module and an Arduino in one of these?
Would I have issues with decreased bluetooth range from the BlueSmirf?
Can Sparkfun please update this text to show dimensions of the product and describe the dimensions of what it is designed to hold?
Does it hold an Arduino with a daughter board attached?
And batteries?
I will like to use one of these for an LCD project. Can this allow display without any obstructions like the "bird" in front of the case blocking display? Also I'm guessing 100x80mm is the maximum pcb size that will fit in there. Thanks.
Adafruit Industries has one exactly for that purpose Here's a link, https://www.adafruit.com/category/53
I can't see the bird!
I managed to fit a small screen in my case. I cut out a hole in the plastic though.
It would probably be best to cut a hole for the LCD, as the plastic isn't totally clear and the SparkFun logo would be in the way.
It'd be nice if the SparkFun bird was less obtrusive, so that an LCD screen could be seen through the box. As it is now, clear is cool, but not functional.
Sparkfun bird?
I just figured this out, if you look at the SparkFun flame sideways it kinda looks like a bird.
Very nice box. I would have liked some rubber stick on feet for the bottom. I will have to get some from Wally-World on my next trip there.
It was just the right size once the other components and hook up wires were installed.
At first, I thought is was too big. I used all the space!
I used my soldering iron to make rough openings and then a small file to shape and smooth the cutouts until the USB and DB-25 jacks fit.
Clear plastic is a great way to show off DIY projects.
I feel it also encourages one to improve their craftsmanship since everyone can see inside.
In case you are also annoyed by the big flame/bird on the front, you can easily sand it away: take waterproof sandpaper and go 400, 800, 1000, 1200, 2000, then use a chrome polishing compound and within 15 minutes the full cover is transparent.