Planes, magical wire, and plenty of revisions. That's what's in store for this week at SparkFun. Check out the video, check out those words I wrote, and enjoy.
ReplaceMeOpen
ReplaceMeClose
The muscle wire really does look pretty cool when you play with it. I couldn't readily think of a use for it, but I'm sure you guys (and gals) will come up with something pretty cool.
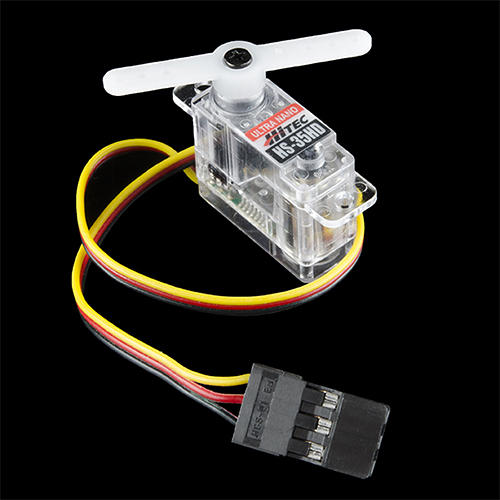
If you need a tiny servo, we've got just the thing for you! The HS-35HD servo from Hitec is an ultra-nano that's about the size of a nickel. It's great for those applications where weight and size are an issue. It's even see-through so you got something to look at when you're bored.
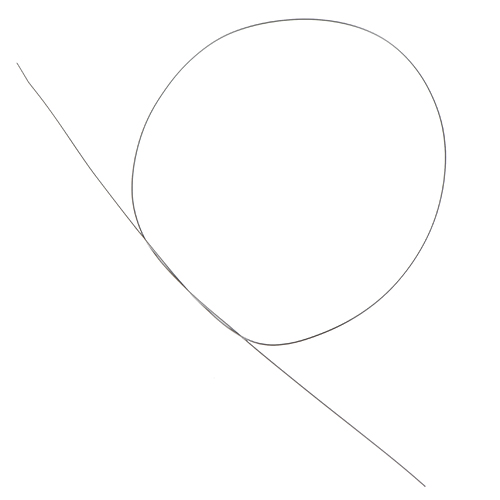
Shape memory alloy is what they call it, but I'm just going to say it's magic. Magic exists, and in the form of thin metal wire that remembers its shape. Muscle wire is a titanium and nickel alloy that returns to a preset shape when heat or power is applied. It essentially 'remembers' the shape it was in when it was last heated. It's not only fun to play with, but makes for very small actuators. We carry it in two thicknesses, 0.005" and 0.012" in 1 foot sections. Check the video above for a demonstration.
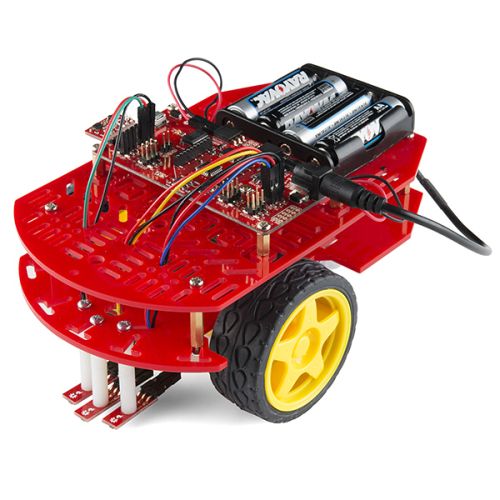
We have the RedBot Kit back in stock. It's the same kit as before, but with the new version of the RedBot Mainboard, which fixed a silkscreen issue. Next week we will have a new sensor coming out, so be sure to check back then. If you think it looks cool, but don't know what it is, check out this video.
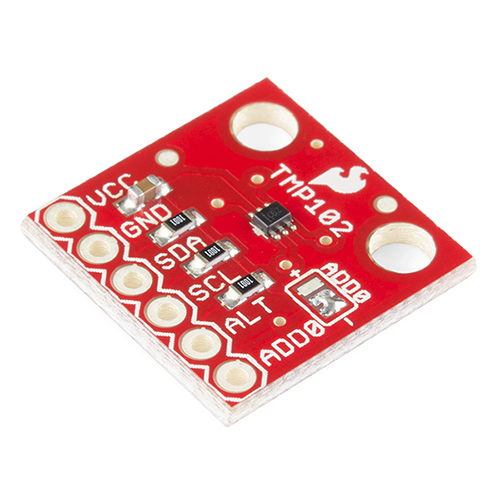
Another revision we have this week is the TMP102 digital temperature sensor breakout. The new version adds a solder jumper for ADD0, which stops some naughty behavior from happening.
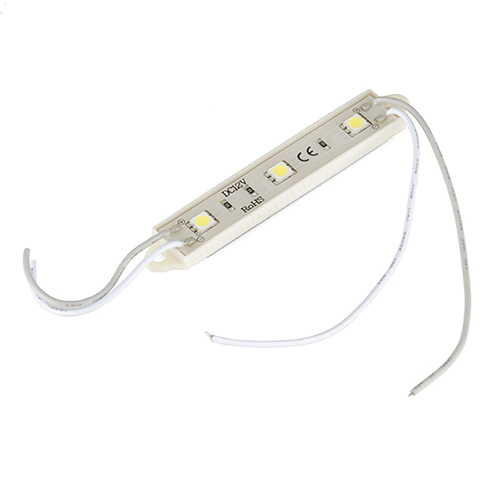
We have a couple new light bars this week. They are replacing the older ones we have (the old ones are on sale). The new light bars are sealed and embedded in a plastic housing. They're pretty simple to hook up, just give them power and stick them on something. You can easily daisy-chain them together too.
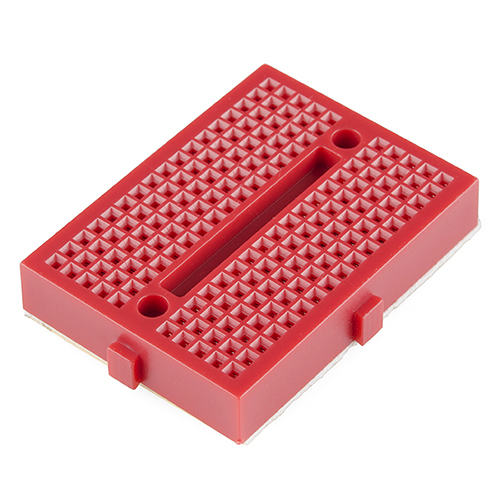
Lastly, we have a few more of the new version of the mini breadboards. Last week I talked about how we're getting a slightly different version, and this week we have the white, green, and red in as well as the black we had last week. Please note, the old ones won't work with the new ones, and vice-versa.
Well, that's it for this week. Of course we'll be back next week with more new products, so be sure to check back. And if you want more videos, check the top of the page for the new videos link! Thanks for reading and see you next week.


was that smoke on the end of the video?
He cooked the wire... He abused the material... Would get very little lifetime out of it that way. SMA technology is maturing but it is still a very tricky material to use correctly.
I was literally just about to point this out
honestly, I think it was just getting hot and burning the oils from my fingers. it would only give off a tiny bit of smoke immediately after I had been handling it.
Once in a while it's OK to let the magic smoke escape. :)
The wire that Rob was using was the 0.012" diameter version which should only have about 1.5A running through it. If you take a look at the video again you can see the current settles at about 2.24A. That's my guess at least.
I honestly can't think of anything to use the muscle wire for. However if it could tie itself in a knot (unlikely), self tying shoelaces would be da bomb!
I thought I heard of "muscle wire" that was simply wire that would contract, and contract considerably when power was applied, like enough to operate a model backhoe shovel or something. Does that exist, or did I misunderstand the concept?
The memory wire would be great to activate the horse head pez dispenser idea from a few months back..
The description for the nano servo says "about the size of a nickel." If by nickel you meant quarter from what you showed us in the vid.
Actually, “about the size of a nickel" is the more accurate comparison versus the quarter in the video. However, the product page states that it "is only about the size of a penny", which is much closer in size.
Taking these numbers into account, I can't make any "cents" of why SparkFun keeps making a comparison "change". Could it just be SparkFun showing us an example of hyperinflation?
*measurements provided by usmint.gov and sparkfun.com product page. commenter not responsible for inaccurate measurements nor bad puns.
We've also used bottle caps for reference :D
I bet if you had elevator control instead of rudder, you would have much better luck flying your rubber band airplane.
Well... If I hadn't eyeballed every dimension on the airplane, that would've helped too,lol.
I was working on the theory that the elevator would be OK fixed because the craft has a limited glide time anyway, it's rubber-band powered. So all I needed to do was steer it in one direction or another as it steadily descended. I would achieve that turning motion by rolling the airplane with the ailerons and yawing into the turn with the rudder.
Besides, I built in in 10 hours and only wanted to use one servo. lol
Most beginner 2 channel fixed wing craft come with rudder and elevator control. Aileron control is considered an advanced control option and you MUST have elevator or you will end up stalling a wing (I saw that happen a couple of times, not sure if it was due to the limited chord angle or something else). If I were going for basic control, rudder and elevator are a good combination. With the combination of pitch and yaw you can get some decent bank angles - everything will be uncoordinated so you will be crabbing all over the place, but at least you have pitch control. Also, with pitch control you can always trade altitude for airspeed easily - which you sometimes need to prevent a stall.
Rudder (Or aileron) only control would have worked fine if you had properly balanced the model so it's center of gravity was 1/3 of the way back from the wing's leading edge. Also, it would have helped considerably if the wing actually generated any lift.
All in all, your "My first model plane!" failed miserably, and was a great source of amusement for us. Thanks!
Try taping a quarter (or 2 of them) to the front, then moving the quarters to balance the model, have the servo do only the rudder (That's easiest.) and try again. Also, if you recut the fuselage such that the wing slot forces the wing into an airfoil shape, that will help a lot.
Oh. To add, what was happening in the video was the model was stalling because it was tail heavy.
Hahahaha, I'm glad it amused.
Yeah, you couldn't tell from a distance but for the rooftop flights I had actually added a binder clip so I could adjust the CG
I'm glad that you're glad that it amuses. The process for winning in engineering is to "Fail forward faster", meaning to screw up... then laugh at yourself while fixing the problem and trying again. Ego has no place in the process.
Since you knew you had a CG issue before trying the roof flights, you should have mentioned it in the video. Never hide your mistakes... put them in front of god and everybody so we can all learn in an open source way.
Eh, it's not a question of 'hiding' anything, there's just only so much time in the video. There was some discussion of the CG, the added binder clip weight and why my plane wasn't going to fly but Gregg had to cut it all in favor of keeping it light and entertaining.
At first glance, my mind took 'muscle' wire to read 'music' wire, and I had a flash image of a piano in my head. :-)