While Rob is away the children are... continuing to bring you great new products! We know, we know, it doesn't rhyme but it's true. This week we have a whole new line of Arduino compatible boards ready to be used in your next project! Let's check them out.
Classic Nick. We are really excited to be able to bring you the new RFduino and an entire slew of add-on shields for it. We can't wait to see how these tiny boards are used and what sort of projects are created around them!
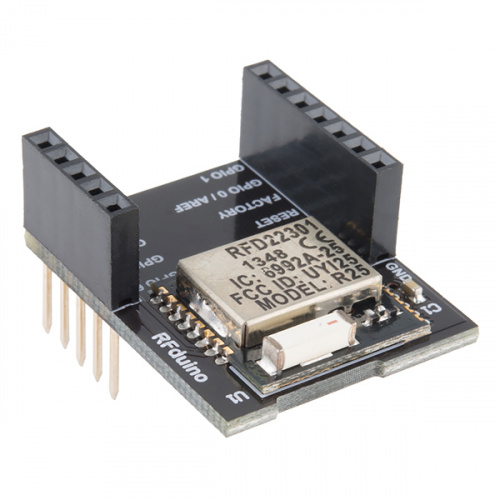
The RFduino - DIP is the base block in this new line of Arduino-compatible products. The RFduino is a Bluetooth 4.0 Low Energy RF Module with Built-In ARM Cortex-M0 and RFD22301 SMT module. Essentially the RFduino is a finger-tip sized, wireless enabled microcontroller, capable of saving you space while still using an IDE we are all accustomed to You can also find a few apps for your iOS device that utilize this modules BLE interface and add-on shields for fun projects and ideas.
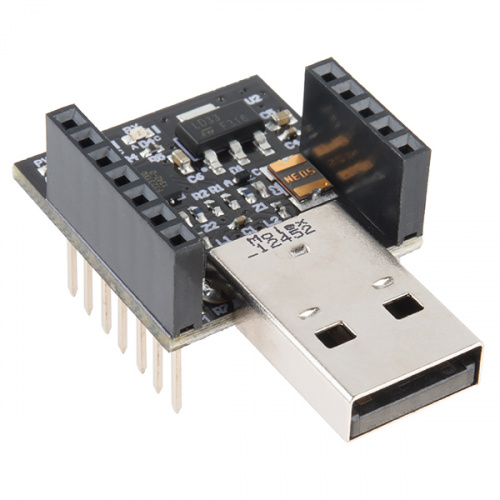
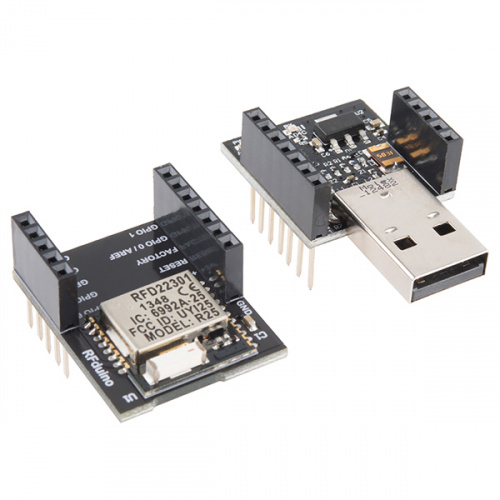
Don't take this shield for granted! Without the RFduino - USB Shield you wouldn't be able to load any of your sketches written in the Arduino IDE to your RFduino - DIP. Simply attach this little guy to your stack and plug it straight into the USB port on your computer and you are good to go!
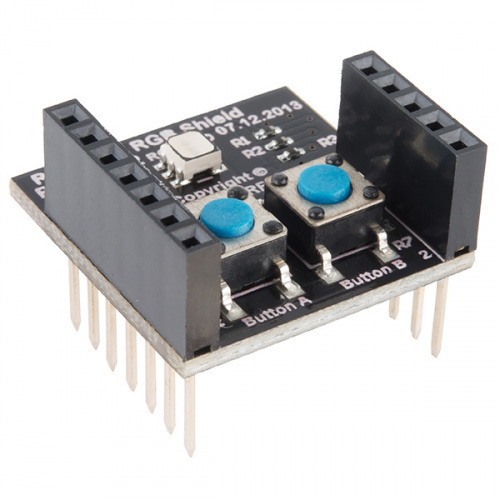
The RFduino - RGB/Button Shield is a great little board for using the iOS apps we talked about earlier. Equipped with two pushbutton inputs and an RGB LED, the RGB/Button Shield should provide you with a quick way to make an easy project while learning the ins and outs of RFduino.
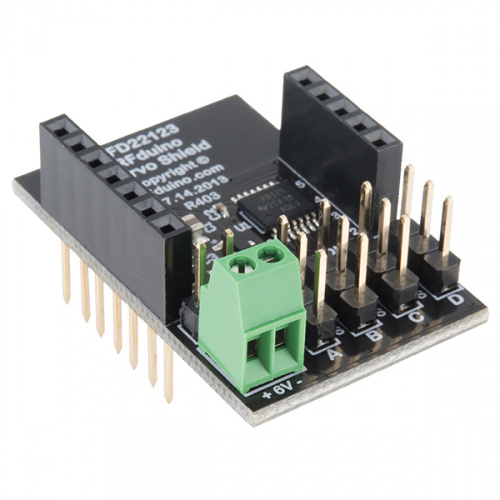
The RFduino - Servo Shield was a must for us. We here at SparkFun love servos, so anytime we can get our hands on a new way to interact with them we jump at the chance. This shield is able to drive up to four servos at once and it even has an app to do so (if needed)!
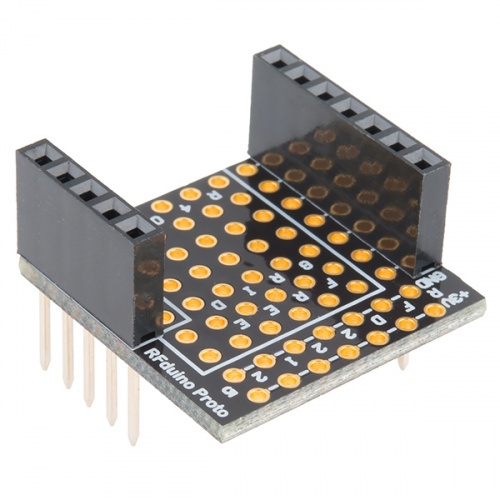
You can't have a new development board without a proto board to go along with it. This RFduino - Proto Shield provides you with a way to create your own custom circuits and prototypes.
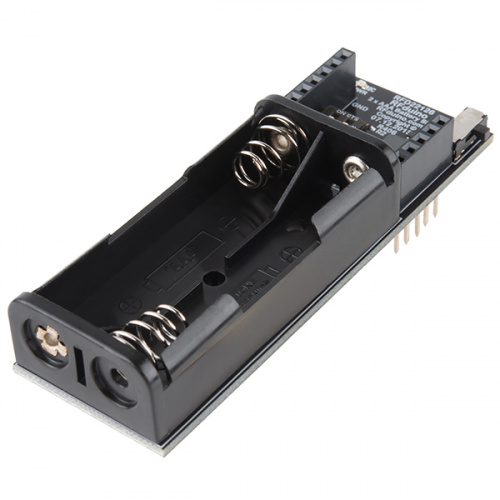
Not only is the RFduino - Dual AAA Battery Shield one of the biggest boards in the RFduino line, but it also provides the most power. As the name implies, this shield is able to house two AAA batteries and provide a constant 3.3V power supply to your whole stack.
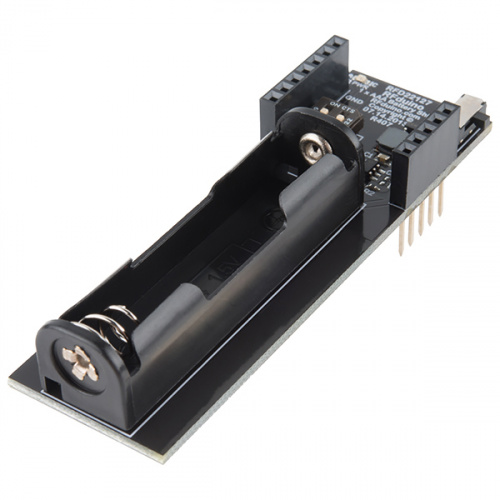
Very similar to it's "bigger" brother, this is the RFduino - Single AAA Battery Shield. Instead of two AAA batteries, this shield only requires one while still being able to provide a reliable 3.3V power source.
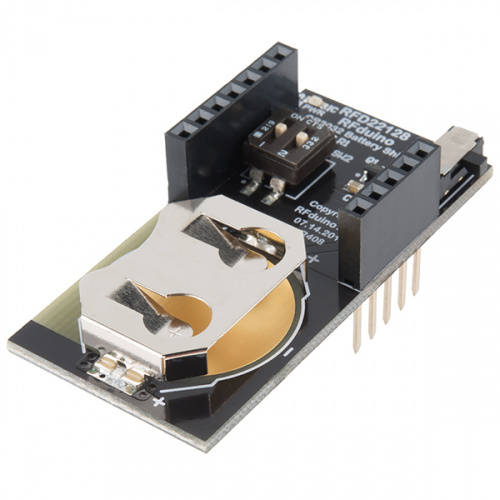
When you don't need as much power for you stack, look no farther than the RFduino - CR2032 Coin Battery Shield. Simply slide in a small CR2032 battery into its holder to supply 2V-3V to your project.
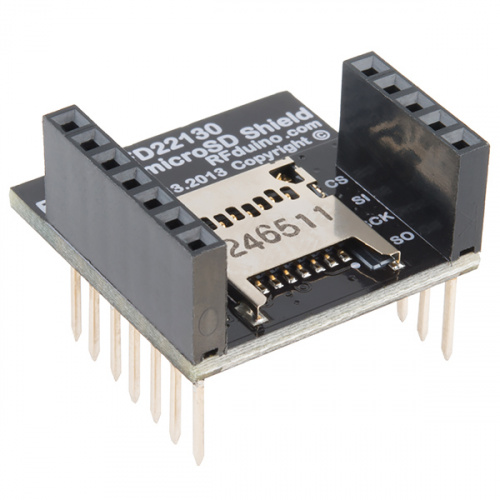
The RFduino - MicroSD Shield is a remarkably simple add-on to your stack. Acting just like a regular microSD shield, this little guy allows you to be able to access gigabytes worth of external memory on your next RFduino project.
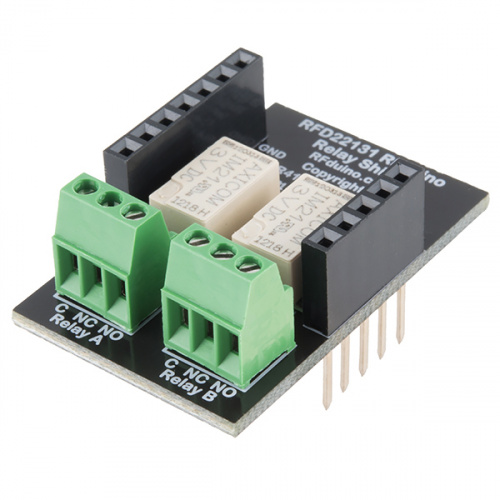
It may not be a "Beefcake" but the RFduino - Relay Shield can get the job done! This shield is equipped with two SPDT relays and provides great support of RFduino projects that require high power consumption or distribution.
Our last RFduino product this week is the RFduino - Dev Kit. This kit includes the two boards you need to get started with RFduino: the DIP module and the USB Shield. Since you need the USB Shield to load code onto the DIP, this should be the perfect option with anyone looking to get started with RFduino.
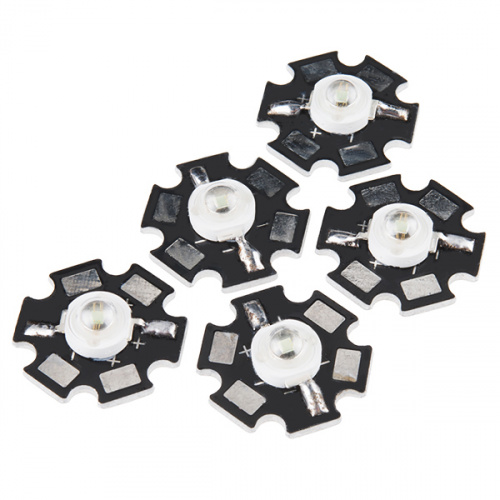
Rounding out the pack this week is a new color to some mighty LEDs we announced a few weeks ago. These Green 3W LEDs are exactly like their red, white, and blue cousins, and just as powerful!
That's it for this week, folks. We hope you enjoyed Nick and I bringing you your new products this week. Join us back here for a "kit-tastic" time next week. See you then!


I'm all for you guys making a profit, but a $21 board for a battery holder seems a bit much (I do see a few components on the board. What do they do?).
It has a boost circuit to up the voltage to 3.3 volts. But it seems like Sparkfun is reselling these at MSRP and therefor the higher price.
Awesome stack, but I feel like there is one glaring flaw; Unless I am going blind, it looks like the USB connection runs of the same 'side' of the stack as all of the other 'long' boards. This would make it potentially impossible to plug in the stack directly to a USB port without disassembling it. While I realize one could simply use a USB Femal-male extender to get around this, I assume the whole point of not using a MicroUSB port was to allow direct plugging. Flipping around that USB board might be a thought for future iterations of the shield.
Other than that, this seems like a pretty cool package. Kind of a like an 'Edison Lite'.
edit
Uppon looking at it more, it looks like the control board is the only one with the 'long' end out of the other side. Meaning if you flipped the USB port you still wouldn't be able to plug it in. A conundrum that. I'd be interested in what the reasoning was behind having the control board, not the USB plug, break the 'which end is long' convention.
Nick did I miss part 3 of your lab write up? If not how about adding a little video walk through?
Just a curious question... What kind of EMI does this produce? I suspect it to be pretty low since it's BLE 4.0, but just wondering.