When the folks at SparkFun get our hands on something nice (but full of electronic goodies), our curiosity tends to get the best of us. What can we say - we like to see what makes things work! We've ripped open the Nest Protect, the SPOT Connect, sponsored the first teardown of Google Glass and more.
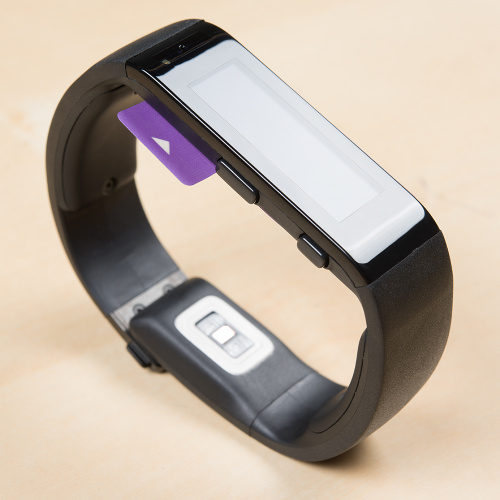
Today, our victim is the latest-greatest fitness band on the market -- The Microsoft Band.
We'll start with a good stuff -- here is the video of SparkFun Engineer Shawn doing the full tear down:
Now let's take a look at some pictures of what we found during our teardown.
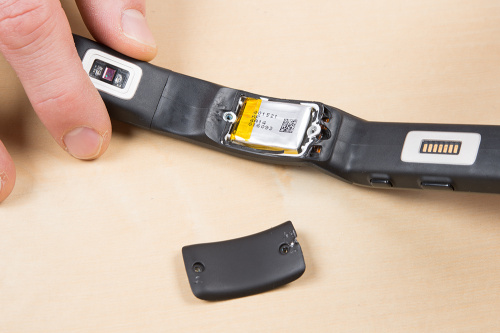
First things first, we removed a couple of of Torx screws to get to the LiPo battery (which, as it turned out, was one of two batteries).
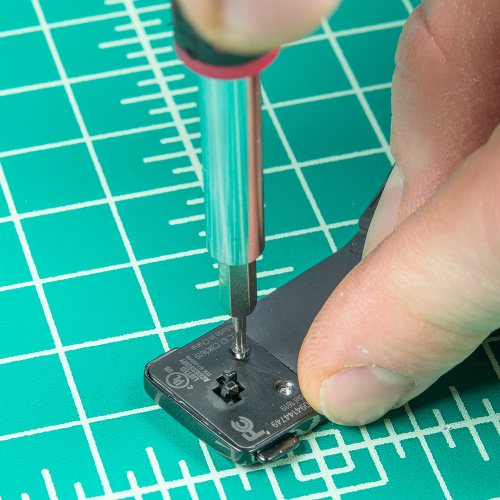
Next we removed the screws holding the clasp, so we could (hopefully) get the cover off of the entire device.
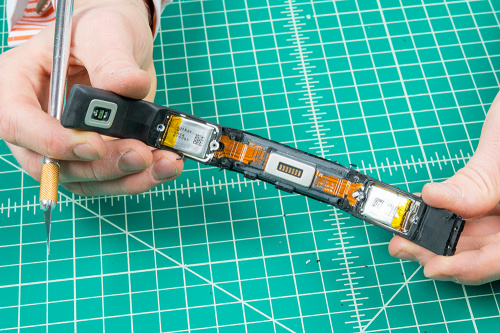
As it turned out, that didn't really help much and we had to cut/tear the rubberized cover off with an Xacto knife. But once we got that off, we had our first glimpse of the guts of the Band.
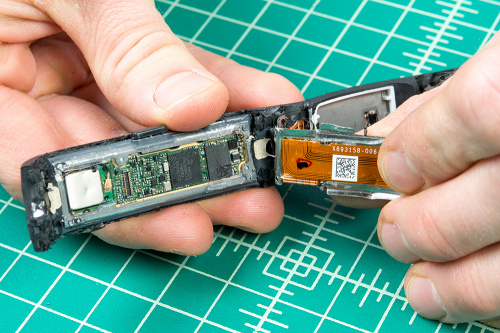
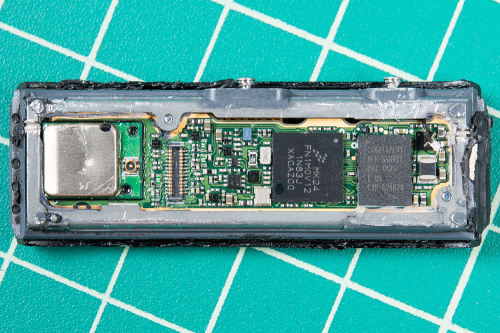
In the above image you can see the two LiPo batteries, the magnetic connector in the center, and the Flexible PCB connecting everything together. Let's keep digging...
We were able to pry off the magnetic connector interface and -- there's the good stuff! These are the brains behind the Microsoft Band.
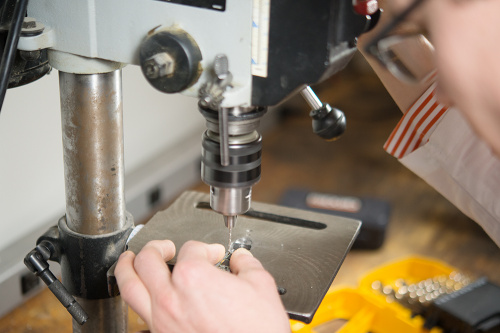
As you can see, the PCB is held down pretty securely by some small metal rivets. No problem, we had a tool for that...
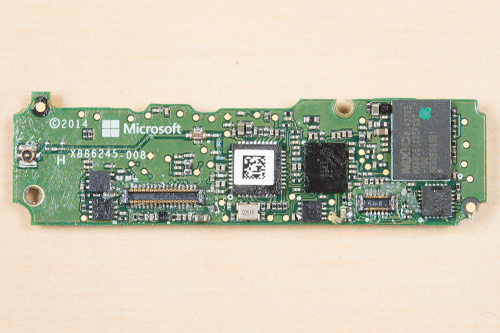
Getting these rivets out allowed us to see the back of the board and all the components.
So now that we had the PCB out, we were able to do some research on what exactly makes the Microsoft Band tick. What did we discover? Here are the components of note:
| Component | Markings | Notes |
|---|---|---|
| CPU | MK24 FN1M0V12 | Freescale Kinetis K24 32-bit ARM Cortex-M4 |
| RAM | CY62167EV18LL-55BVXI | Cypress 2 MB SRAM |
| Storage | MX66U51235FXDi | Macronix 64 MB nonvolatile flash memory |
| Bluetooth | 3002-BL3D | Atheros Bluetooth 4.0 |
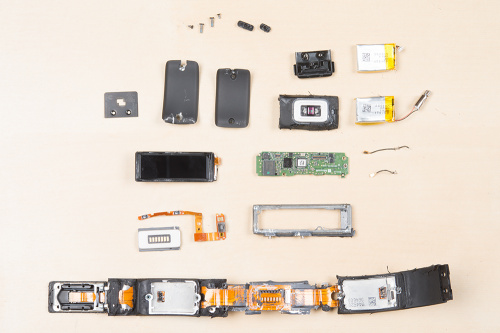
And finally, here's a fancy exploded view, because that's what you do in a teardown:
All in all, some pretty cool technology. Although the real magic of the device is in the software, taking a look at the hardware of a mass-produced consumer device is always an interesting exercise! Hope you enjoyed checking it out as much as we did digging in!



What capacity are those batteries ?
They should be 72mah each...
Hello, its over 2 years for this topic but still I hope someone will reply. I am interested in what IC they use here for battery charging?
Have you opened shield box on GPS module? What's the chip in it?
Is there any chance to get the dimensions of the display module? WxHxD? Any chance for a more detailed image as well?
Hmmm, I about had a heart attack looking at that person using a drill press. Somebody didn't take shop class (always clamp the workpiece)...
What IMU are they using?
Unless I'm reading something wrong, the MX29GL640EHXFS-70G is 8MB (MegaBytes) and 64Mb (Megabits)... Not 64MB.
Edit: Oh, it looks like the link is going to the wrong chip. The MX66U51235F series is actually 512Mb or 64MB. http://www.macronix.com/en-us/Product/Pages/ProductDetail.aspx?PartNo=MX66U51235F
Or the closest one on future electronics: http://www.futureelectronics.com/en/technologies/semiconductors/memory/flash/serial/Pages/2041839-MX66U51235FMI-10G.aspx?IM=0
That's great! Thanks for the tear down! The pictures are not high resolution enough.
You can see more pictures here https://cdn.sparkfun.com/assets/home_page_posts/1/6/8/1/
There is 2 U.FL antenna connector!? One on the bottom layer, one on the top layer.
One is for Bluetooth and the other is for GPS.
cdn.sparkfun.com/assets/home_page_posts/1/6/8/1/Microsoft_Band_Teardown-15.jpg
A lot of good stuff in the workshop, a Proxxon drill stand, bench vice clamp, cutting pliers, blue paper towels, used plate and spoon.