When building a proof of concept PCB, it's both exciting and difficult to wait for all the bits and pieces to arrive. Impatience lead to our first prototype for the MLX90393 magnetometer being built by hand. Though the prototype worked, hand soldering is far from an efficient way to build rapidly.
For our second proof of concept breakout, the CCS811, the stencil arrived in time to stave off the urge to build by hand again.
With a stencil in hand and milled PCBs to assemble, it occurred to us that we had not sent a milled PCB through our reflow oven yet. It just so happened we had a few failed PCB attempts on the mill that served as perfect guinea pigs to send through the oven.
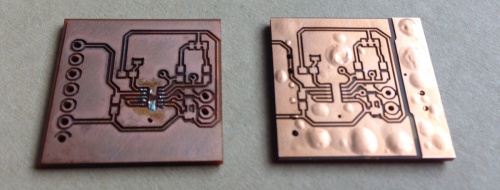
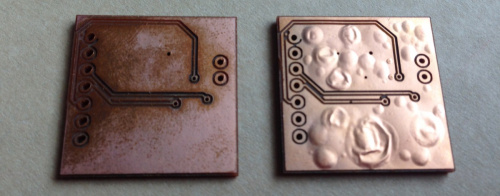
The first test board went through the oven directly on the grates. As you'll see in the images below, this caused the copper to bubble up and separate from the fiberglass. Not only was this unsightly but it also jeopardized the functional integrity of the board.
The second test board went through the oven on a scrap piece of carrier board (plain FR4 boards). As you can see, the board came out slightly more discolored than the first, however it was in much better shape with little to no bubbling or warping on the copper.
Oven Test PCBs Top. Left: Carrier board. Right: Directly on oven grates.
Oven Test PCBs Bottom. Left: Carrier board. Right: Directly on oven grates.
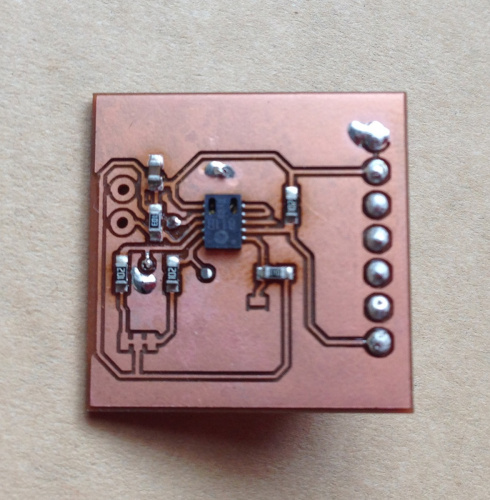
With the oven test complete, it was time to paste, build, and reflow our prototype for the CCS811. The paste job turned out beautifully. Parts were placed by hand, and two boards were sent through the oven on a carrier board. To our delight, both boards turned out great!
When you have the time and patience to wait for your stencil, it makes a world of difference.


I was hoping you would break out the skillet for the first reflow
Stencils etched from soda can aluminum work well for such things:
https://lowpowerlab.com/2013/02/11/diy-smd-metal-stencils-the-definitive-tutorial/
https://www.youtube.com/watch?v=JWUJtmgh55M
Nice work Joel! Those bubbled boards make me shiver :) Does your stencil open up over the vias? Not sure if it'd be enough solder paste to cause the connection, but probably worth a shot...
You're homebrewing PCBs, why not homebrew a solder stencil using the Othermill?
Don't think we didn't try :) The bits tore up the metal too much to make a usable stencil, but more research is still being done on that front.
Stencils can be tricky. A few years ago I needed on and opted to use our laser cutter. The trick was finding a material that the laser could cut (not metal), wouldn't melt (not plastic) and wouldn't instantly disintegrate with the wet solder and force from the spreader. I ended up using a spare photo I had (matte finish). As long as I 'engraved' the image a few times and didn't try to cut it, it worked out pretty well for a few runs. The biggest issue seemed to be that the solder was sticking to the stencil more than on a typical stencil. We did successfully get a FTDI done, but this method might not work for anything finer pitched. It would be worth seeing if glossy paper or applying finishes would help any.