Mission: Print a Diamond
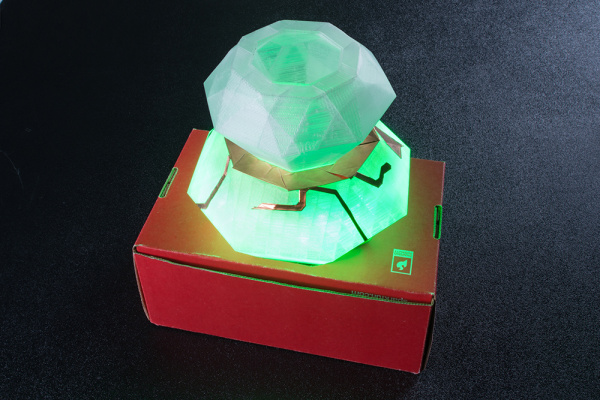
Recently, my students had a dance performance with the theme "Night at the Movies." I decided to choose a story based on "The Diamond" episode from the old Mission: Impossible television show. To make it fun for the kids and convey the story better, I decided to build an interactive, 3D-printed diamond as a theatrical prop!
The electronics used for the build were not too difficult. I used an Arduino, prototyping shield, non-addressable LED strip, a few transistors, resistors, the AT42QT1011 capacitive touch sensor and copper tape. It did not take too long to write the code to trigger the sensor and cause the LEDs to react.
Printing the diamond... well, that is a different story. I did not have much experience with 3D printing. I managed to find a model on Thingiverse from user Oopee to save on time. However, I ran into issues when printing it on the communal printer located in our support department. Let's take a step back to highlight some interesting issues that came up when trying to print a model.
Ever had a clogged extruder? The nozzle kept getting clogged, causing the print to fail. I tried using a needle to clean the nozzle and manually feed more material in the extruder. This fixed the problem temporarily, but the issue kept coming up.
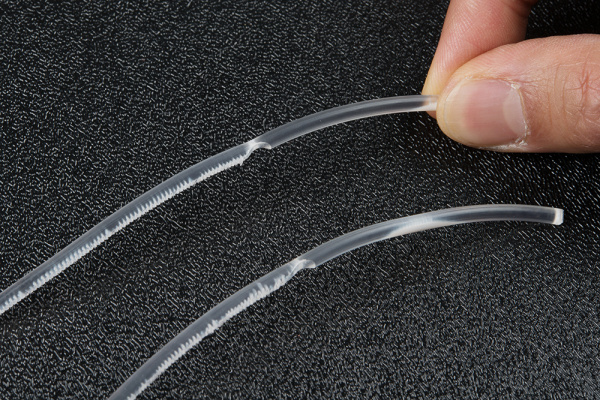
Check out the stripped filament.
So how would you fix the clogged extruder? An acetone bath! This was a last resort considering my previous efforts had failed. After removing the nozzle from the extruder, it was placed in a glass jar filled just enough to submerge the nozzle tip in acetone, and cleaned with a Q-tip over the course of two days.
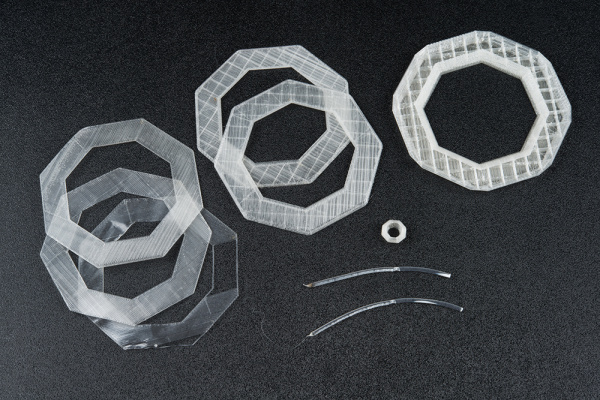
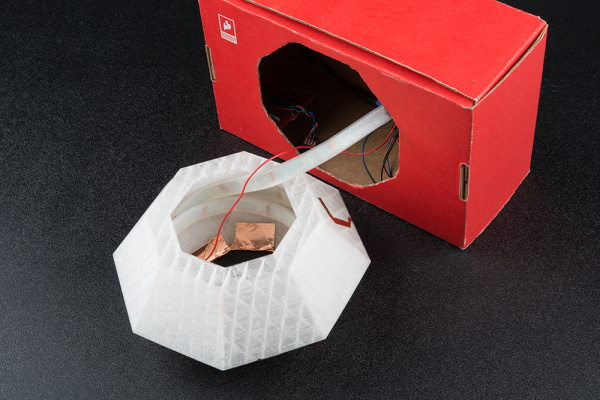
While the nozzle was being cleaned, our mechanical engineer was kind enough to allow me to use his 3D printer. Off I went to print the big diamond. However, I ran into yet another problem: I did not have enough material! I was too ambitious and did not keep track of the amount I had available. Thirty hours into the print I ran out of material, as you can see from the image below. While the print failed, I decided to recycle the failed print by making it into a diamond holder.
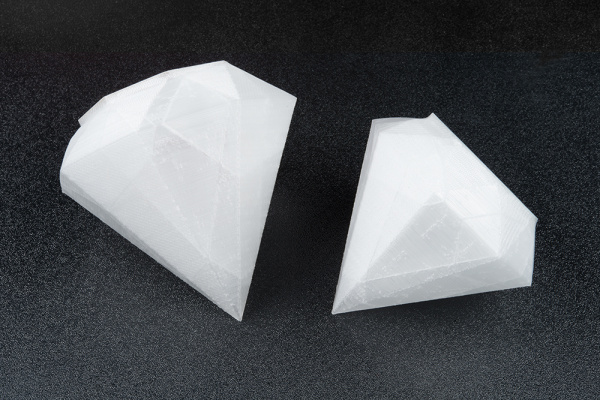
Success! On my 10th attempt, with a replenished supply of clear filament, I was able to successfully print a diamond. Confident in the print, I printed another, slightly larger diamond.
How to Make a Stunning Diamond Prop
For more information about the full build, check out the associated tutorial:
Interactive 3D Printed LED Diamond Prop
April 19, 2018
In this tutorial, we will learn about how to create an interactive theatrical prop for a performance by 3D printing a translucent diamond prop using a non-addressable RGB LED strip and AT42QT1011 capacitive touch sensing.
Have you built a prop embedded with electronics for a stage performance? Let us know your thoughts below in the comments. Until next time!
Interested in learning more about LEDs?
See our LED page for everything you need to know to start using these components in your project.
