×
SparkFun will be closed on Tuesday, December 24th, and Wednesday, December 25th, in observance of the Christmas holiday. Any orders qualifying for same day shipping placed after 2:00 p.m. (MST) on Monday, December 23rd, will be processed on Thursday, December 26th, when we return to regular business hours. Wishing you a safe and happy holiday from all of us at SparkFun!
Please note - we will not be available for Local Pick up orders from December 24th-December 27th. If you place an order for Local Pick-Up we will have those ready on Monday, December 30th.
One of the aspects I was most excited about from the new SparkFun Artemis Development Kit is its expanded functionality of BLE. With Bluetooth, the scope of my projects are opened up to the entire world instead of just my local one, and with a plethora of sensors on board, this module is just begging to stream real time data to the world wide web! So that’s just what we did.
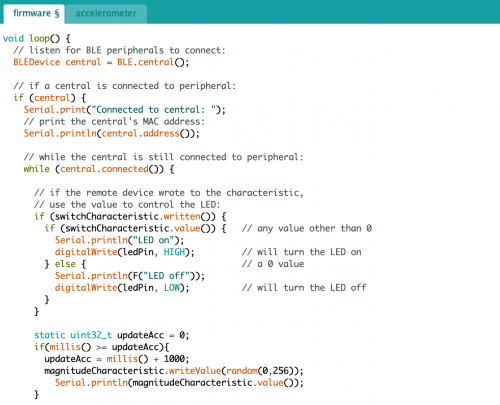
The first piece is using the ArduinoBLE library to listen for peripherals to connect the Dev Kit.
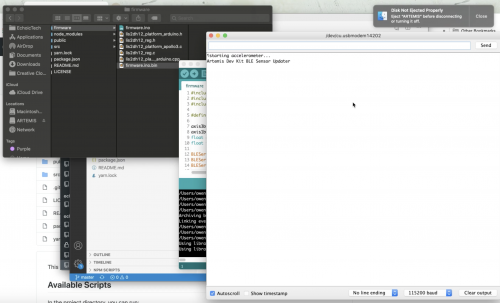
With the Artemis line, we just have to compile the Arduino firmware written, drop the .bin file into the Artemis USB itself, and from there we can run the program. If you open the serial monitor, it should say “starting accelerometer…Artemis Dev Kit BLE Sensor Updater.”
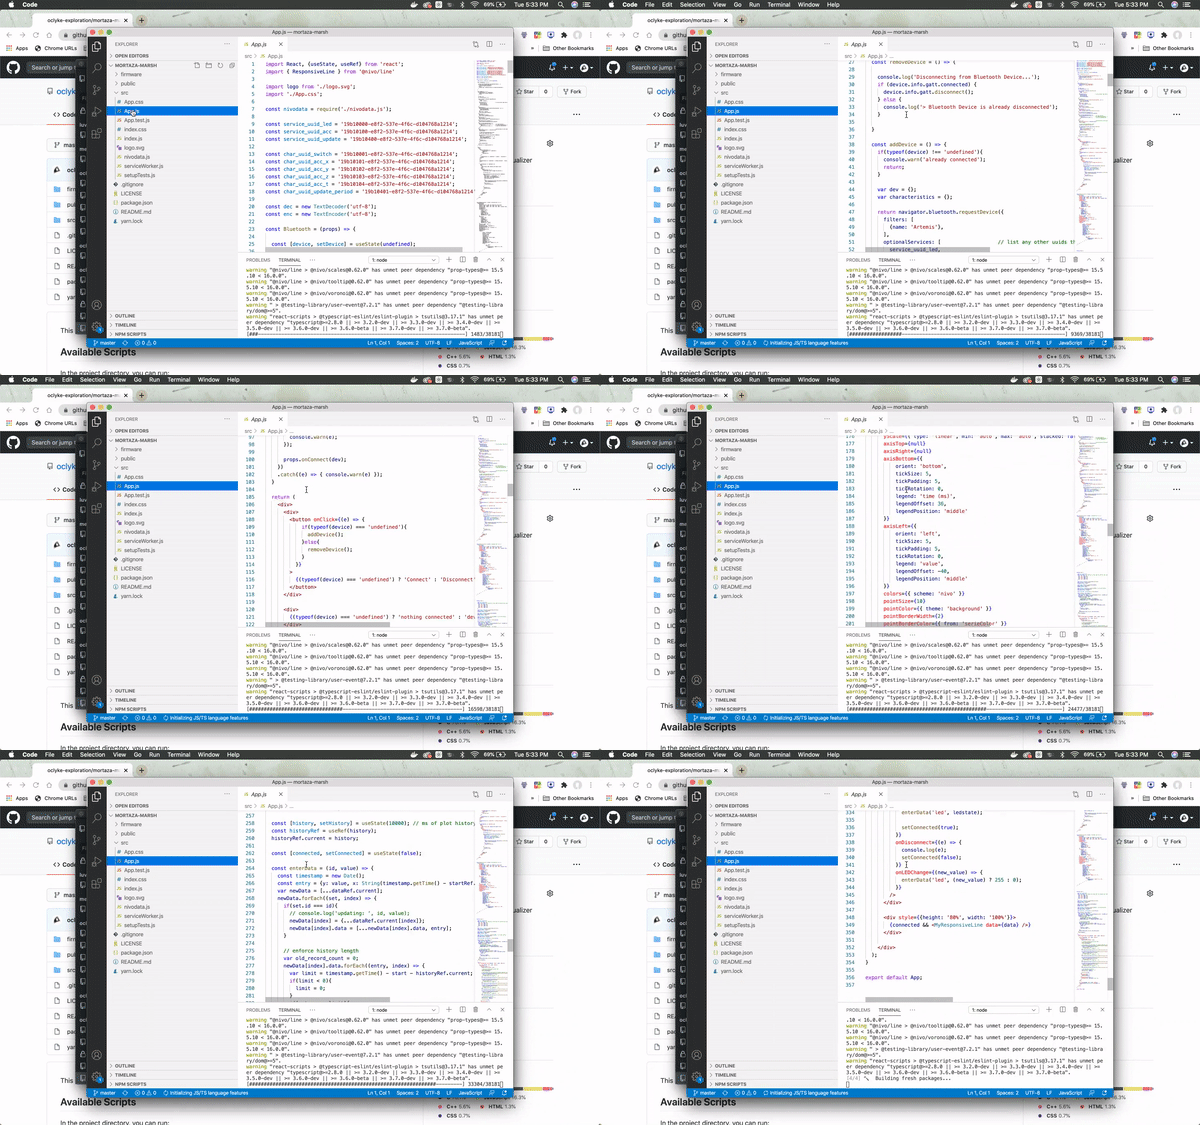
We can start the web app using yarn, which will load the local host, and display the web app we’ve built using React.
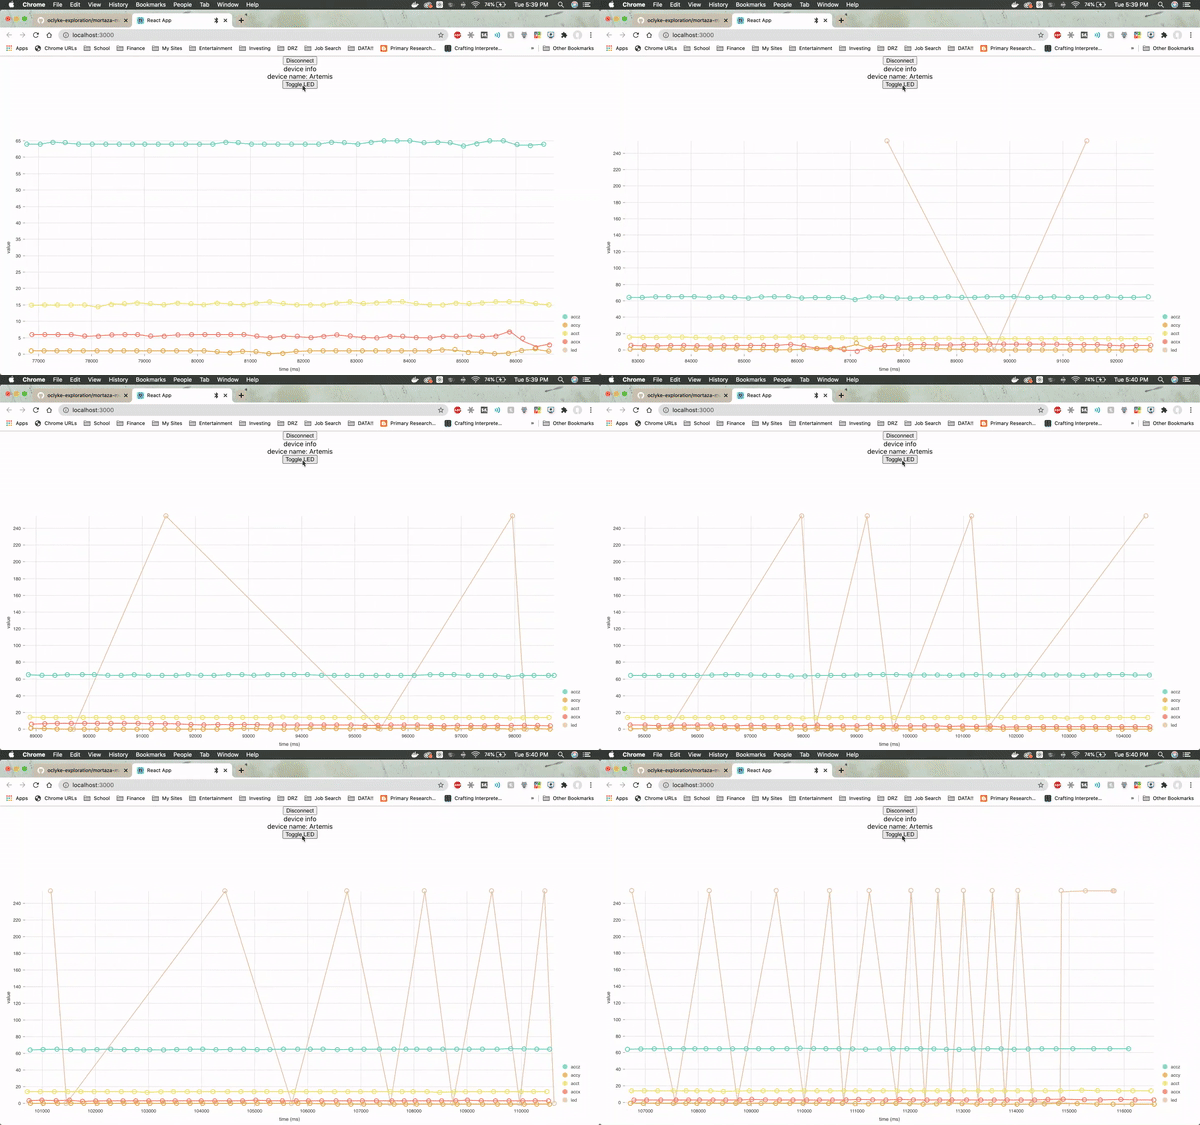
The web page will need to be specifically connected to the Artemis board and once it is, it will immediately load up real-time sensor data from the module by utilizing a JavaScript visualization library called Nivo.
The firmware from Arduino reads the real time values for the x, y and z axes from the on-board accelerometer, as well as the LED values. The values for the LED jump so drastically because the LED is either on or off (1 or 0).
The Arduino firmware can be altered to read in the real-time values for the camera and microphone as well, if you wanted to display autoexposure or frequency data on the visualization. You would need to change the driver code for each respective sensor to read that specific device register.
Nivo is an incredibly robust visualization library, so you can start filtering noise or customizing visualizations easily once you start streaming data. This is really just a starting point in displaying all of the data from the on-board sensors - you can develop the firmware and application to visualize whatever sensor you might need, and design it however you like with CSS and JavaScript. Another avenue for improving the web app would be to push the application to the cloud and host it on a public server.
So whether you want to alter the design aesthetic, read in values from the camera and microphone, push to the cloud, or incorporate machine learning, the Artemis Dev Kit and this project are great starting points to connect to the world wide web with Bluetooth.
Happy sensor streaming, and happy hacking with the Artemis Dev Kit!




For those of us a little weak with our node skills, in the readme.md is says * run
yarn installin the root to install required packages Does this mean 'npm install yarn' ? I'm struggling to get the required packages installed. Any help would be appreciated!Hi there! I'm hoping this resource should help: https://classic.yarnpkg.com/en/docs/cli/install/
yarn installinstalls all the dependencies listed within package.json. So first, make sure that yarn is installed on your specific operating system (https://classic.yarnpkg.com/en/docs/install#mac-stable), and then runyarn installin the directory to install all of the packages for this project.If this still doesn't directly answer your question, don't hesitate to comment again!
Thanks for posting! Let me preface my comments by saying they're meant as "constructive criticism"...
It also looks like you have some sort of "source code" for the tools on the "user end"... I've often times found it instructive to read through someone else's code when getting started on these things...
Hi there - glad you asked! I've added a link to the source code repo at the bottom of the article. I'll paste it in this response too, so it is easy to get to. You can view all the source code there and follow the getting started instructions to try it out yourself
https://github.com/oclyke-exploration/mortaza-marsh