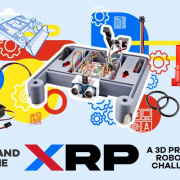
Combine 3D Printing and Robotics for a chance to win prizes and fame on the SparkFun blog.
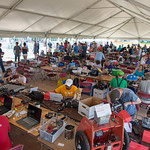
The second annual Rocky Mountain RepRap Festival was another big success, but if you couldn't make it, here's a look at just a few of the things you missed.
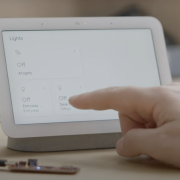
Tomorrow Lab and Silicon Labs got together to build a Matter-based project to make your office accommodate your personal preferences with the scan of your RFID card! This build combines an awesome physical enclosure with cool electronics - the SparkFun Thing Plus Matter board, Raspberry Pi, sensors, Qwiic, and an OLED Screen
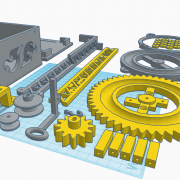
For those of you who prefer to 3D print your chassis, we are following up on the successful launch of the Experiential Robotics Platform (XRP) - Beta with the XRP DIY Kit. Also, spare parts are now available individually.
With the recent release of the Experiential Robotic Platform, or XRP, we wanted to get it into the hands of as many similarly tech-minded folks around the world as possible, and what better way to do that than by pairing up with FIRST Robotics? Hear all about my trip to Singapore for FIRST Global!
Our neighbors at TinkerMill used SparkFun parts to create a fully operational and customizable RFID electronic access system to their facility. Learn more about their project and what they do here!
Two weeks ago, we saw the introduction of Open Sauce, a two-day celebration of Makers and Creators at San Francisco’s Pier 35. This inaugural event promises to be the first of many, as its success already has people asking about tickets for next year’s event.
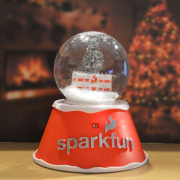
When creating a proof of concept model, simplicity is usually the modus operandi. However, when you get an idea for a project requiring a POC, and at the same time you’re also hit by the holiday spirit, why not let yourself be guided by both?
From an automated mushroom farm to the first NFT in space! Read on to find out what happened at the Jan '22 Miami Hack Week!
Just because Maker Faires, conferences, and summits have been cut down to a minimum doesn't mean you can't continue to expand your circle of like-minded maker friends. Here are a few suggestions for folks that you may want to follow (if you aren't already).
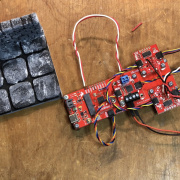
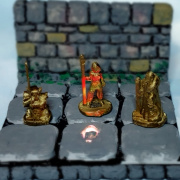
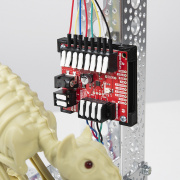
Follow this tutorial to build a Rotating Puzzle room for your Dungeon. This project incorporates parts from the OpenForge2.0 project with a few additional 3D-printed components and SparkFun's Qwiic and MicroMod systems to make a rotating puzzle room that can be activated by placing a magnet on the "secret" tile or remotely using a computer, phone, or tablet.
How I used Qwiic breakouts, the MicroMod system, and Tinkercad to make a joystick-controlled toy crane.
In this follow-up, I’ll show you the (mostly) finished project, talk about what I used, what I learned along the way, and just how much fun it is to have a robot that throws candy bars with unwavering accuracy and consistency.
If you’re a D&D player, you probably see what I did there. If not, read on, brave adventurer!
It seems this Halloween we once again have additional considerations to take into account. I'm focusing on handing out candy to trick-or-treaters while maintaining proper social distancing.
Some people have a hard time getting a good night's sleep in a strange bed, but nobody wants to wake up exhausted when they're on traveling. I decided to see if I could remedy this issue with a few SparkFun parts and a fast 3D print.
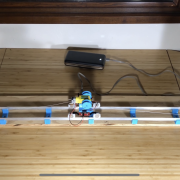
How I made a simple linear motion system using MicroMod, Qwiic breakouts, and 3D printed parts.
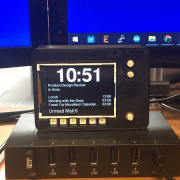
Use the MicroMod Input and Display Carrier Board, paired with a ESP32 Processor Board, to stay on top of your meetings and email.









Hi, "For a full wishlist of products for this project, check it out here:" ....but I see no link to anything further. I am hoping you have…