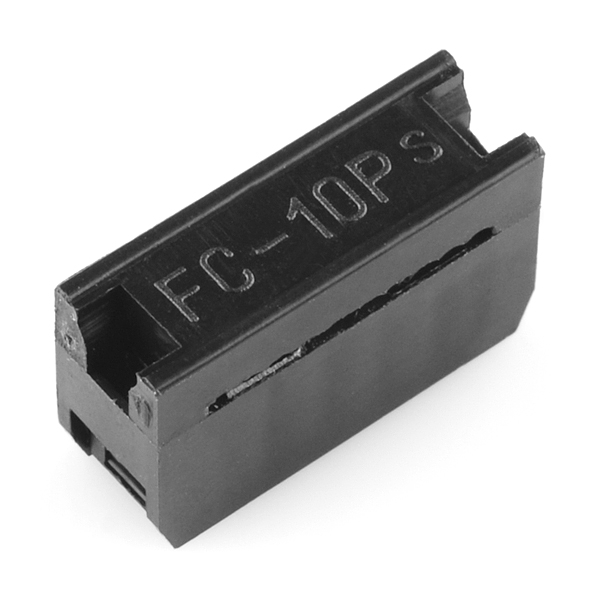
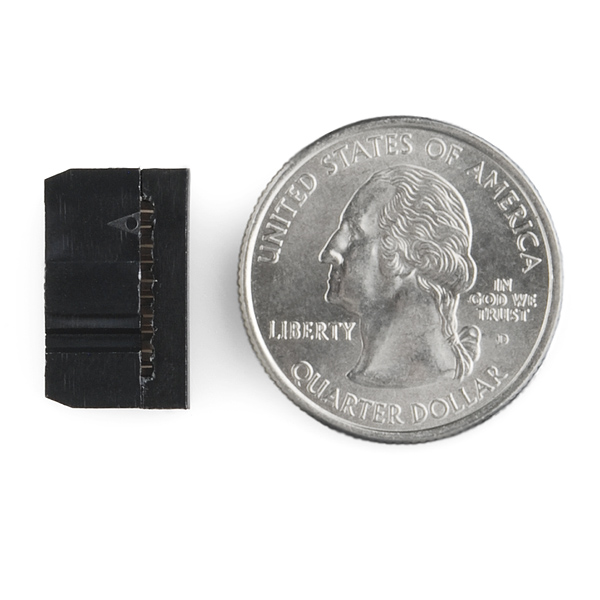
Ribbon Crimp Connector - 10-pin (2x5, Female)
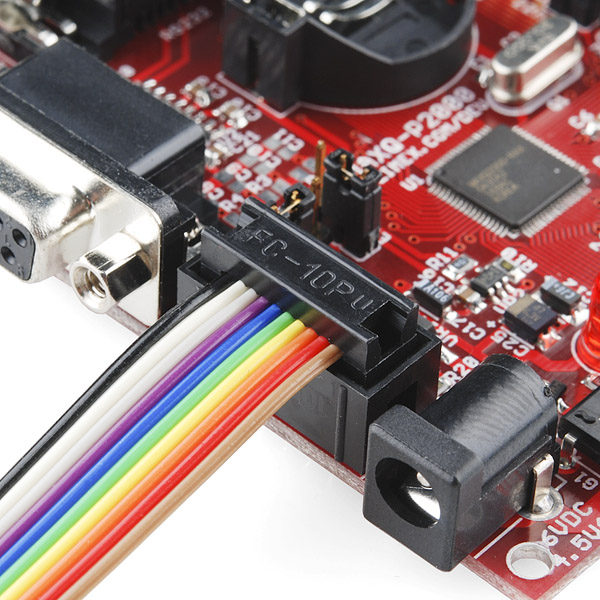
These 2x5 crimp connectors can be snapped onto 10-wire ribbon cable to make your own cable assemblies and keep your connections organized. Simply press the connector onto your ribbon cable, no soldering required, which makes it easy to add as many mid-cable connectors as you need.
Check the related items below for ribbon cable to go with these connectors.
Note: The price is for one connector.
Comments
Looking for answers to technical questions?
We welcome your comments and suggestions below. However, if you are looking for solutions to technical questions please see our Technical Assistance page.
Customer Reviews
No reviews yet.


I can't tell from the datasheet, is the pitch 0.05in or 0.1in?
2.54mm = .1"
cool
I have found that all of these connectors have connectivity problems. I have used the sparkfun wire, and also other wire, and when I eliminate this connector from the equation, the problem goes away. It tests fine with a meter, but when I want to use it with a device, odd things happen which I cannot explain. I remove it an all is fine.
These normally have a retaining clip that keep the two parts of the connector closed. This didn't come with one.
Do you have to buy the 2x5 ribbon cable to go with this or the connector will like convert the normal 10 wire into a 2x5?
The connector attaches to a normal 10-wire ribbon cable; the wires will end up alternating between the two rows of pins.
A few comments mentioned that it was hard to crimp. I just took my shot and it crimped down like a charm with a large set of pliers. Great product!!!
Anyone have any problems using this on non-ribbon wires?
that would be really hard to do
I can't find how these pins are set up. When I plug it into the male header in a PCB board, I need to know that the pins are correct. I know that pins are offset when attaching the cable, but I don't know in what way. In other words, my pin connection could look like either of the following.
1 2 2 1 3 4 4 3 5 6 OR 6 5 7 8 8 7 9 10 10 9
Thanks in advance.
Pin 1 is indicated by the triangle on the side of the connector. The pins then alternate like this:
The numbering will also be the position of that pin in the ribbon cable:
If you have two connectors on one ribbon cable, ensure that they're punched down in the same orientation, to ensure that there's continuity between matching pin numbers:
Thank you very much! That is exactly what I needed.
would anyone have an image of this connector from the bottom? I know its a female, but I need to be sure of what I'm buying... I'm trying to connect a bunch of cables from a treadmill panel, but have no idea how so I'm just going to do the safe way and connect this one and this other one http://dlnmh9ip6v2uc.cloudfront.net/images/products/08506-02.jpg and hope for the best... but I need to know if these two will connect...
I will appreciate any and all help! thanks!
This particular connector will fit into the following header: http://www.sparkfun.com/products/8506
That is exactly the product that you have an image of. So, to answer your question, this will connect perfectly.
whatever you do dont bother with a pair of channel lock pliers. did not work. i went easy and still broke 2 of them.
I gotta echo the above sentiments. I've just broken two of these connectors.
Any chance you folks could offer these, pre-made? With the "breadboard-friendly-end"?
Is there some special tool or technique for attaching these to ribboncable. I thought I could press down with a small screwdriver and ended up bending the pins!
The trick is squeezing it together without touching the pins. They make special ($$$) tools for this, but I'll usually use a bench vise with an extra piece of wood or plastic that fits between the two rows of pins on one side. Bad ASCII art:
] pin+--+[
vise jaw ]bit of wood| |[ vise jaw
] pin+--+[
You could also put it in a breadboard so the pins are protected, and squeeze it through the breadboard. I've seen people use pliers, but I always worry about breaking them if they're not squeezed together straight. How do you other customers assemble these?
I've had good luck with a pair of lock-jaw pliers. Just set the pliers for slightly larger than it will be when crimped, line everything up, and squeeze.
found a way to do it - use a vise. You have to carefully line up the pins with the corresponding wires. The first time I tried I shorted out some of the pins. It seems to take a lot of pressure to pressed through the cable. I wasn't using sparkfun cable, so I don't known if that is the problem.
I saw a youtube video that showed the process, but he barely used any pressure. His connector was a three piece kind.
yes, I've done this with the ones pololu sells, I just used a chair, piece of wood and body weight... worked fine, but again those were 3 piece connectors.
I'm not exactly familiar with cable terminology, but doesn't 2x5 mean that there are two rows of 5 pins? The pictures look like it is one row of 10 on both sides of the connector.
Is the connector really 2x5?
It will be 2 rows of 5 connectors. When you place the 10 conductor ribbon cable in to crimp it, you'll notice that every other insulation piercing pin is slightly offset. This is to connect to one of the two rows of pin sockets.
Thank you very much!