Simon - Surface Mount Stenciling Kit
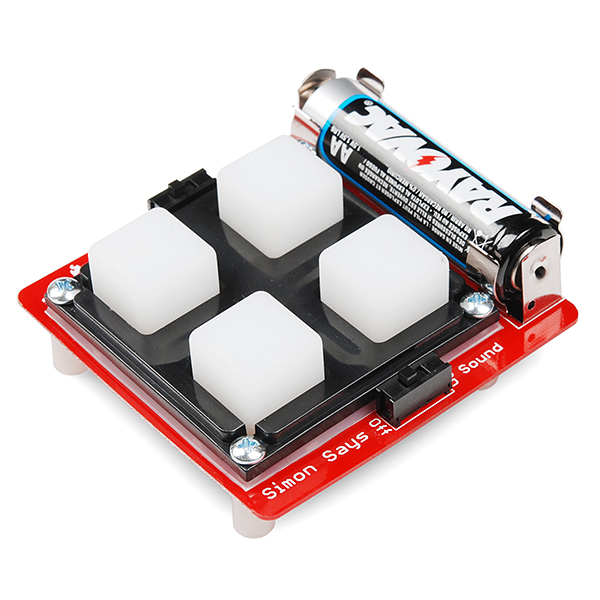
Our Surface-Mount Device (SMD) Simon Says kit is a great challenge to anyone with intermediate skills at soldering resulting in a pretty fun toy that you can be proud to say "I made this!" We want to up the ante and make you more proficient in all soldering forms, we want to teach you how to stencil and reflow SMD parts! If you don't have the correct resources it could be quite difficult, we understand that, so we will give you everything you need (including step-by-step instructions) to complete this Simon.
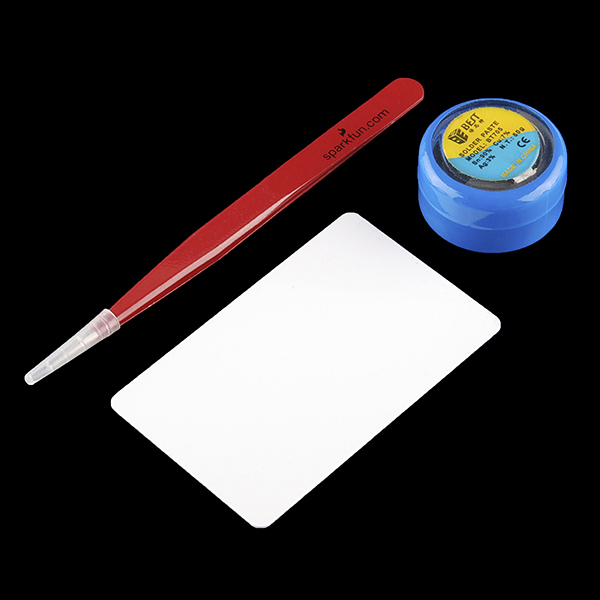
The Surface Mount Stenciling version of the Simon Says Kit includes everything that the original kit does as well as the basic stenciling tools you need to put it together! This is a great kit for anyone who knows how to solder SMD or teaching someone to solder SMD.
Again, this kit is considered an intermediate kit for people who have soldered before and wish to learn how to reflow surface mount components. Don't worry, we've added extras of the small components to help you out if you misplace a super tiny resistor.
Note: You will need a heat source for reflowing the solder paste. A Heaterizer, hair dryer, hot-air rework station, hot plate, etc should work.
Note: Brought back for only a limited time. We found some remaining stock and decided to make what little we had left available to those who may want it.
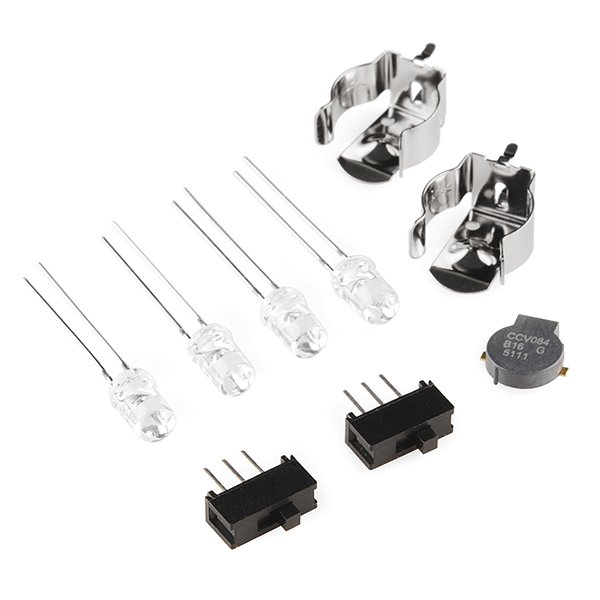
Through-hole components:
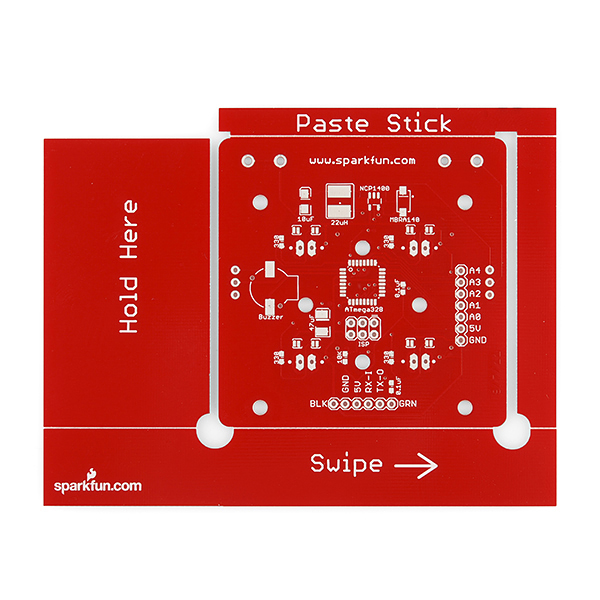
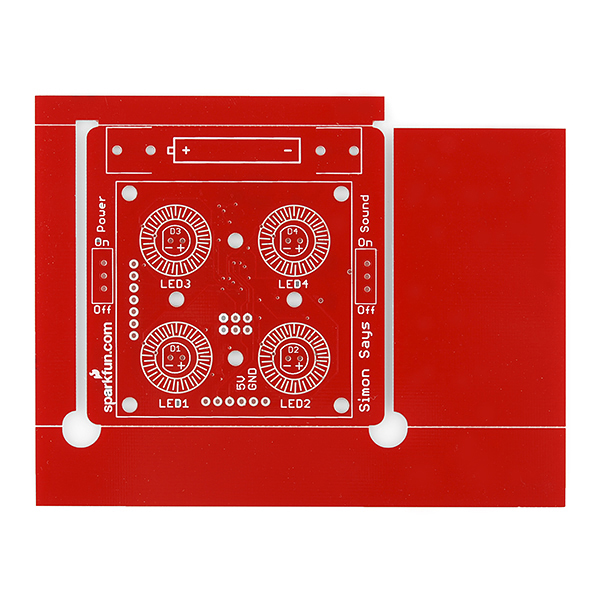
- 1 x ATmega328 based Simon PCB (w/outer frame)
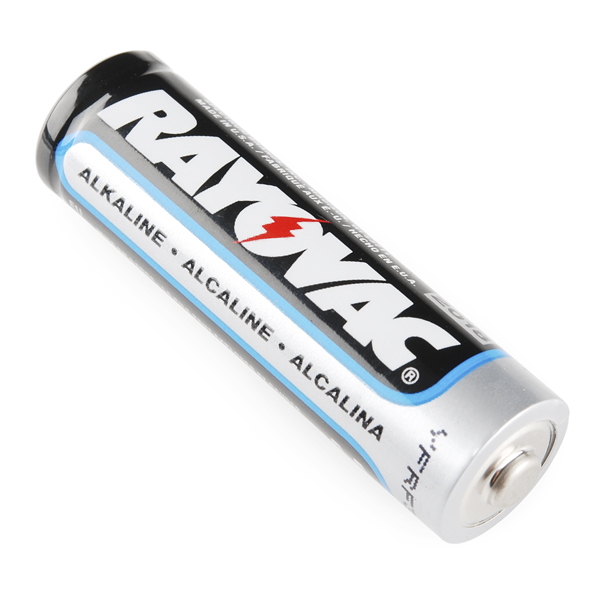
- 2 x AA Battery Clips
- 2 x Slide switches
- 4 x LED (Yellow, Blue, Red, Green)
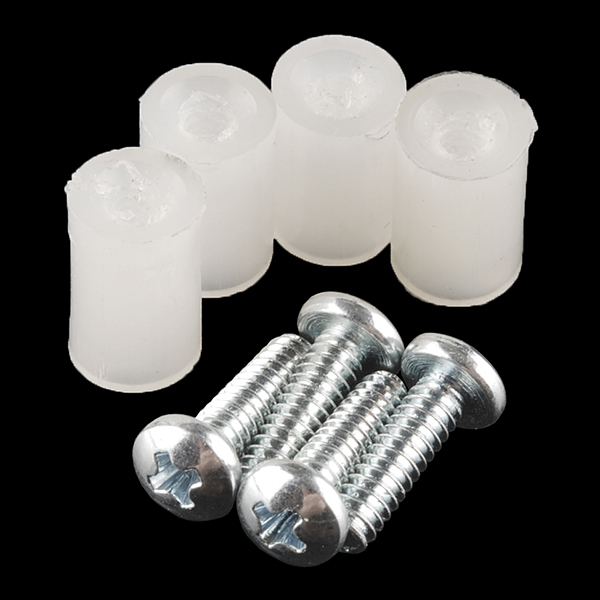
- 4 x Screws
- 4 x Plastic Standoffs
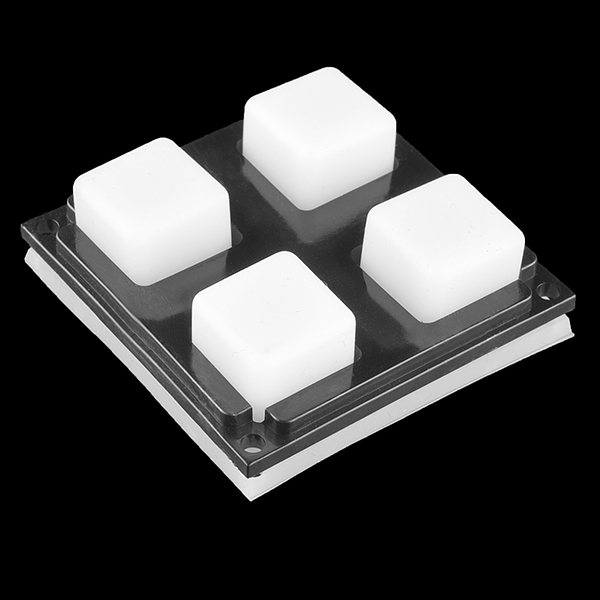
- 1 x Rubber 4-Button Pad
- 1 x Button Pad Frame
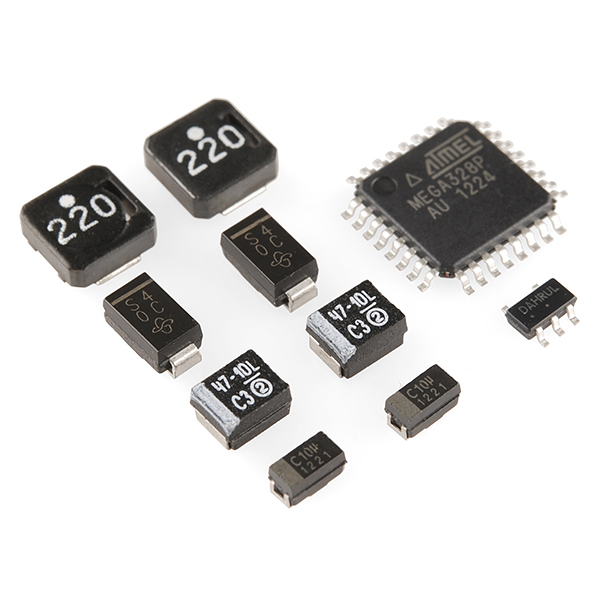
SMD components:
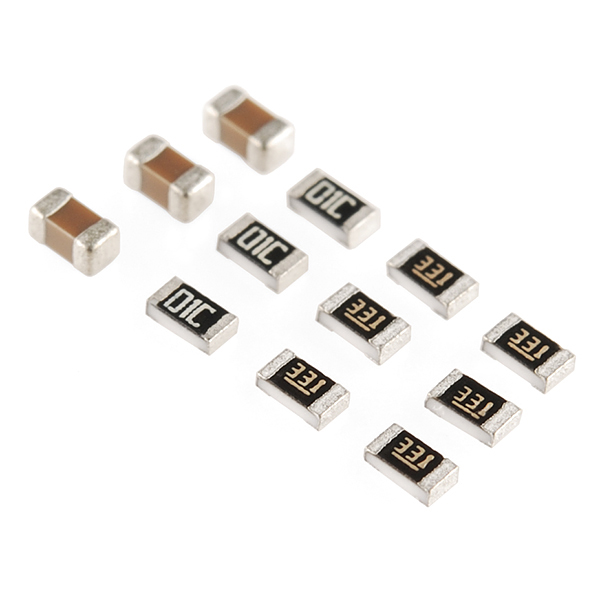
- 4 x 330 Ohm Resistors
- 1 x 10k Ohm Resistor
- 1 x 47uF Capacitor
- 1 x 10uF Capacitor
- 2 x 0.1uF Capacitor
- 1 x MBRA140 Diode
- 1 x 22uH Inductor
- 1 x NCP1402 SOT-23-5 IC
- 1 x ATmega328 TQFP IC (Pre-Programmed!)
- 1 x Buzzer
Tools:
- 1x Tweezers
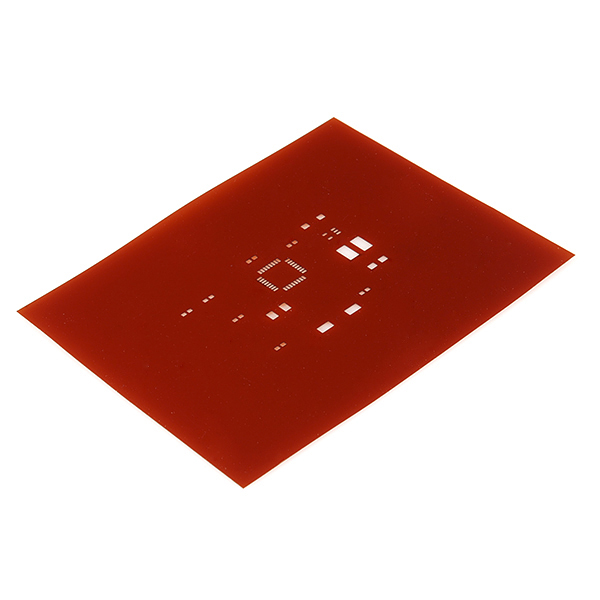
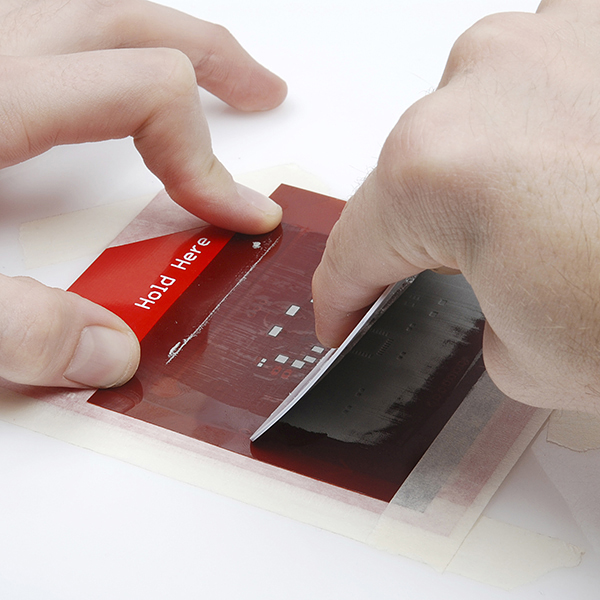
- 1x Simon Stencil
- 1x Card (Squeegee)
- 1x Solder Paste (Lead-Free)
Simon - Surface Mount Stenciling Kit Product Help and Resources
Core Skill: Soldering
This skill defines how difficult the soldering is on a particular product. It might be a couple simple solder joints, or require special reflow tools.
Skill Level: Experienced - You might be required to do some reflow or basic rework with SMD components. A heat gun, Heaterizer or other tools might be required, and a good understanding of SMD soldering as well as PTH soldering are required.
See all skill levels
Core Skill: DIY
Whether it's for assembling a kit, hacking an enclosure, or creating your own parts; the DIY skill is all about knowing how to use tools and the techniques associated with them.
Skill Level: Noob - Basic assembly is required. You may need to provide your own basic tools like a screwdriver, hammer or scissors. Power tools or custom parts are not required. Instructions will be included and easy to follow. Sewing may be required, but only with included patterns.
See all skill levels
Core Skill: Electrical Prototyping
If it requires power, you need to know how much, what all the pins do, and how to hook it up. You may need to reference datasheets, schematics, and know the ins and outs of electronics.
Skill Level: Rookie - You may be required to know a bit more about the component, such as orientation, or how to hook it up, in addition to power requirements. You will need to understand polarized components.
See all skill levels
Comments
Looking for answers to technical questions?
We welcome your comments and suggestions below. However, if you are looking for solutions to technical questions please see our Technical Assistance page.
Customer Reviews
No reviews yet.

This was a great kit. The only "I wish" part would be more description on what the consistancy of the paste should be. The manual says "consistancy is important", but then goes into mixing the flux. But what should the consistancy end up as? Peanut butter? Sour Cream? .....um, I'm hungary if you didn't catch that.....sorry.... (^ ^ ;)>
This product has been replaced by https://www.sparkfun.com/products/10935. Shouldn't there be a link on this page to the replacement product page?
Close, one is the stencil kit, one is the regular SMD kit, so it is not technically a replacement.
Hi gang! Now with Simon Says MAGIC! you can teach the Simon kit a new Trick! With the substitute firmware you can still play Simon, but now it also doubles as a Magic Trick. Check it out. :)
Extra info on hacking you Simon Here
Everything was going great with this kit until it came time to reflow. I'm using the Heaterizer and can't get the dang paste to reflow. I must have helt that heat gun over the board for 30 minutes and nothing happened. I'm wondering if it could be the solder paste that somehow has gone bad or the heat gun isn't giving enough heat? It looks like two of the small components soldered but nothing else wants to cooperate.
I've completed this kit, and no matter how I try, I cannot get the Blue LED to light up. The polarity is correct, and I've checked the voltage on the bottom of the board, with the multimeter reading zero. Any help?
I had the same issue and what fixed it was to hit the connections of the pins on the Atmega328 with a soldering iron. The side of the chip near the buzzer. You may need to add a little bit of solder. If you need a really temp fix that does last a few minutes, apply a little pressure onto the Atmega328.
YAYYYY!!! I think I suggested something like this a couple years ago.
"hair dryer"? Seriously?
I just wait until election season and stick my boards in front of a politician giving a speech. Best hot air source I know. It works a lot better than a hairdryer, and I'm finally getting value for my tax dollars. ; )
Why are some simon kits 1 battery and some 2?
Check out the schematic. This one, and probably any other that uses a single AA, has a boost circuit. In this product's schematic, it's in the top left section of the page. Looks like it boosts up to 5V.
I've always wondered about using a hot air tool to reflow solder, especially many parts at once as in this kit. Won't they blow away before they get soldered down? I have a hot air gun from Harbor Freight that has two settings, the hotter one gets to over 1000 degrees F and will melt solder, the lower temp probably won't but does heat shrink tubing. I think the air blast from this would blow the little parts to Oz before the solder melted!
You can't use a generic hot air tool to reflow solder, it will blow the parts off the board. A hot air rework station uses hot air at a very low flow rate to heat a single part. To reflow the entire board at once, use an electric skillet. You can get an electric skillet for like 30 bucks.
Don't forget to add an SSR and a programmable PID controller so you can have a nice profile. (I use parts from a Sanguinololu and control it using gcode sent from pronterface.)
Most hot air stations allow you to control the air flow. As long as it's turned down, you shouldn't have any trouble with parts blowing away. The trick is to gently tap them onto the solder paste so they aren't just floating on top.
"Surface-Mount Display (SMD)", Um where's the display? :)
SMD stands for Surface Mount Device. [edit] LOL, I see now, In the Description: "Description: Our Surface-Mount Display (SMD) Simon Says kit is a great challenge..." Looks like we need a typo fix.
we do this stuff just to keep everyone on your toes.
SMD Does not stand for "Surface Mount Display"