SparkFun RFM22 Shield - 434MHz
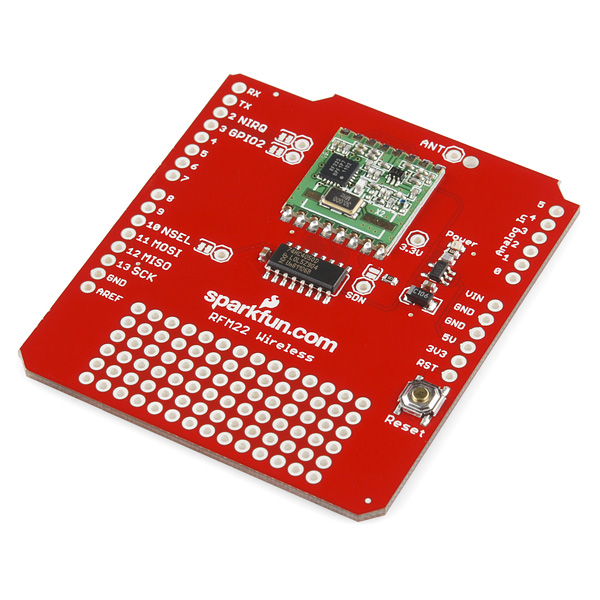
The RFM22 is a low-cost ISM FSK transceiver module which offers communication at 433MHz ISM and adjustable output power of up to +20 dBm. What does that mean for you? It means your Arduino now has an inexpensive way to talk to other Arduinos so building point-to-point and even basic mesh networks just got a lot more attractive.
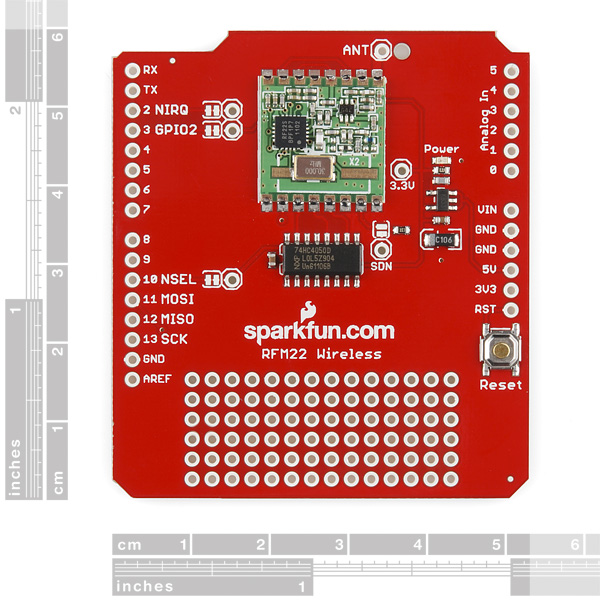
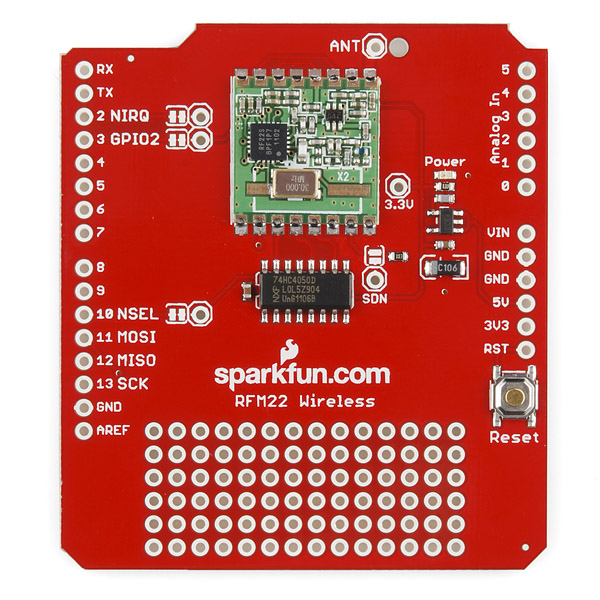
The RFM22 Shield connects the RFM22 module to the appropriate lines on the Arduino. By using the RF22 Library, you can send and receive messages via standard 4-wire SPI. The library includes command structures for setting up anything from simple non-addressed point-to-point communication to fully addressed networks of clients and routers. The shield also provides a through-hole antenna connection for hooking up a basic wire antenna. In our testing, a 17cm wire attached to the 'ANT' pin worked just fine. A hole is drilled next to the 'ANT' pin for strain relief.
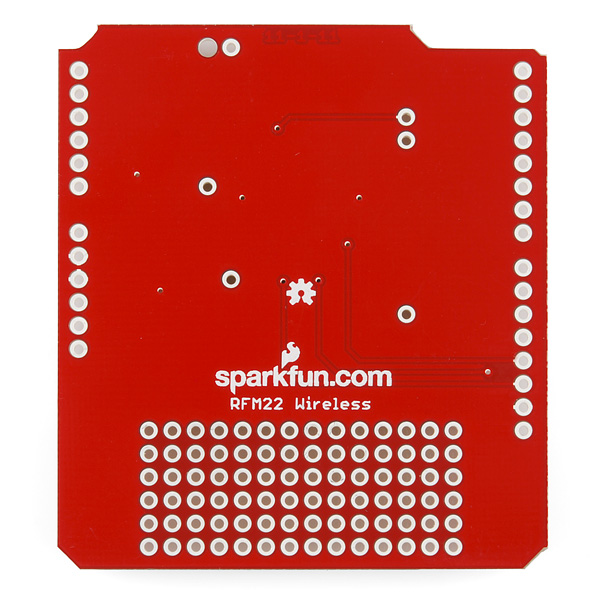
The shield has on-board power regulation and level shifting. There are one pin headers and jumpers on the interrupt (nIRQ), interface select (nSEL), shutdown input (SDN) and GPIO2 lines so that you can cut the trace and reroute those lines if you need to for your project. The board also provides a little bit of prototyping space.
Note: The RFM22 Shield comes as a stand-alone board. Headers and antenna will need to be purchased separately, check the related items or wish list below!
- [Schematic](http://cdn.sparkfun.com/datasheets/Dev/Arduino/Shields/RFM22 Shield-v10.pdf)
- [Eagle Files](http://cdn.sparkfun.com/datasheets/Dev/Arduino/Shields/RFM22 Shield-v10.zip)
- Datasheet (RFM22B)
- Quickstart Guide
- GitHub (Design Files & Example Code)
- GitHub (Library)
- Frequency Range = Software configurable from ~240MHz to 980MHz
- Sensitivity = -118 dBm
- +17 dBm Max Output Power (Configurable)
- Data Rate = 1 to 128 kbps
- Digital RSSI
- Wake-on-radio
- Configurable packet structure
- Preamble detector
- TX and RX 64 byte FIFOs
- Low battery detector
- Temperature sensor and 8-bit ADC
- -40 to +85 °C temperature range
SparkFun RFM22 Shield - 434MHz Product Help and Resources
Core Skill: Soldering
This skill defines how difficult the soldering is on a particular product. It might be a couple simple solder joints, or require special reflow tools.
Skill Level: Rookie - The number of pins increases, and you will have to determine polarity of components and some of the components might be a bit trickier or close together. You might need solder wick or flux.
See all skill levels
Core Skill: Programming
If a board needs code or communicates somehow, you're going to need to know how to program or interface with it. The programming skill is all about communication and code.
Skill Level: Competent - The toolchain for programming is a bit more complex and will examples may not be explicitly provided for you. You will be required to have a fundamental knowledge of programming and be required to provide your own code. You may need to modify existing libraries or code to work with your specific hardware. Sensor and hardware interfaces will be SPI or I2C.
See all skill levels
Core Skill: Electrical Prototyping
If it requires power, you need to know how much, what all the pins do, and how to hook it up. You may need to reference datasheets, schematics, and know the ins and outs of electronics.
Skill Level: Rookie - You may be required to know a bit more about the component, such as orientation, or how to hook it up, in addition to power requirements. You will need to understand polarized components.
See all skill levels
Comments
Looking for answers to technical questions?
We welcome your comments and suggestions below. However, if you are looking for solutions to technical questions please see our Technical Assistance page.
Customer Reviews
4.5 out of 5
Based on 2 ratings:
Header pin
great board, but for the price, Header pin's can be WELCOME


Hi, I ordered this some time ago and am finally getting to use this in a project. I have a pair communicating very nicely through several walls. Both are mounted on Arduino Uno's. However, I want ethernet connectivity. So I bought an ArduinoEthernet board that has the ethernet integrated (not as a separate shield). However, the RFM22 and ArduinoEthernet combination fails to initialize. My guess is that they are both sharing some I/O pins. Is there any way to figure out what the conflict is? Thanks in advance, -VB
I'm trying to get two RFM22 on one board does anybody have a good idea on how to do that?
So you can have two modules on different frequencies? May I ask what you're building? I've never thought to do this..
It can be done. You can stack multiple modules on the same SPI bus, but each module will need its own NSEL and NACK pins connected to your micro.
At first glance, I thought this was the RTFM shield. ;)
Haha, I did too!
hilarious
What distance between tranceivers can this operate reliably at in open air and moderate power?
I didn't see a range in the spec but according to this http://www.futurlec.com/Radio-433MHZ.shtml which has a similar board using an RFM22 it can go up to 800 meters (that's just shy of half a mile).
YMMV
I've used the WRL-10154 break out board and Arduino Uno. Works great. The RFM22 Library was very useful. Looking forward to cutting down on wiring mistakes by using this shield.
Does anyone know how well this holds up moving through say 5 - 9 walls (wood / brick) within 300 feet?
How do you attach a high gain antenna? As simple as connecting the wire to an SMA plug then attaching a omni-directional high gain antenna? Thnx
This board really needs is the pads for a SMA connector. This way it could be connected to a bigger better, and better matched antenna. See the data sheet page 142. The system impedance is 50 ohms. A monopole or dipole is a not great. It would also be useful for connecting to instruments for things like power measurement.
A very good idea. I'm not sure if this shield will be scheduled for a revision any time soon but we will certainly consider pads for a 50 Ohm U.FL or SMA connector for future products.
Has anyone successfully used this shield at 915MHz, or is the set for 433?
All three of my remote units are not transmitting when the temp drops below 70. Anyone else seen this? Very odd - I am using the RFM22 with an Uno and a DHT22. When the temp comes above 70 it starts transmitting again,.
Would this Shield work to Send commands to an RF Link receiver enabled Uno (http://www.sparkfun.com/products/10532)? I'm assuming the RF22 wouldn't work for that purpose.
Sorry, I don't think it will. This module uses a specific IC that communicate only with other similarly enabled devices.
guys what is the link budget here ? and how can i calculate antenna TRx gain ? please help
Question: Why is this powered off of the 5V pin instead of the 3.3V pin? Seems arbritrary
Probably for power. The 3.3V pin on the Arduino only outputs about 50mA. If you use the 5V pin you get about 500mA.
Hi Guys, a couple of thoughts on this great board.
Could future runs of this board be drilled to fit into the arduino case mounting posts (as per the arduino mounting holes.
It currently isn't found on the shields page.
It would be good if the SPI pins were easy to break out for use with the Mega board.
Thanks
Is the bare circuit board available? Thanks in Advance.
does it work in 433MHz ? what is 74hc4050 chip for ?
Porbably to shift the 5v logic level of the Arduino to 3.3v.
is it possible to transmit and receive audio in real time via this chip ? any ideas ??
There is an Arduino OO library for controlling the RFM22 and works out of the box with this shield:
http://www.open.com.au/mikem/arduino/RF22
This library provides classes for - RF22: unaddressed, unreliable messages - RF22Datagram: addressed, unreliable messages - RF22ReliableDatagram: addressed, reliable, retransmitted, acknowledged messages. - RF22Router: multi hop delivery from source node to destination node via 0 or more intermediate nodes - RF22Mesh: multi hop delivery with automatic route discovery and rediscovery.
Can you supply this shield with the 868Mhz RF module or, if not, without the RFM22?
Can the RFM22B module communicate with the RFM12 module used on the Jeelabs Jeenode?
Why the 433MHz? From what I read, it is region 1 only (Europe)and 915MHz is region 2 (the Americas). Are the ISM bands so loose that it doesn't matter?
The module can actually be configured to operate from 240MHz to ~980MHz via software! See the setFrequency() command.
The may be able to use the setFrequency() command but the module is tuned for 433MHz so its not going to work at 868 or 915MHz. That is why the manufacturer have a part number for 433MHz and one for 868MHz.
What range did you guys get with your demo shown in the new product video?
Why is the regulator powered off the 5V line instead of the VIN line? It seems to me this would have been a good shield to promote the 3.3V Arduino Pro with. But now you have to cut the trace to the regulator and add a jumper.
Can one of these RFM22 boards operate stand alone or does it require a host controller to tell it what to do? It seems like they would be perfect for a distributed sensor network of some sort. I.e. one could attach a battery and a solar cell and transmit the temperature.
By "standalone" do you mean without an Arduino attached to it? No. The Arduino is needed to run the software that initializes the module and formats data for it to send, etc.
Library docs says the RF22 doesn't work with the Uno ?
According to the library docs http://www.open.com.au/mikem/arduino/RF22/
The Arduino UNO is known not to work with RF22. It appears that something in the Uno is interfering with MISO pin, preventing the RFM initialisation completing. Miso is held at 0 when I would expect the RFM22 to output data on MISO.
Am I reading this wrong (please clarify Sparkfun)
Yes. Watch the video tomorrow. It works just fine for us. Not sure what they're talking about. We use it with two Unos just fine.
Ok will do.
Looks like the Sparkfun board is using a level converter between the RFM22 and Uno and without it you would get errors? Does this sound right? Thanks JT