Mr. Roboto Kit
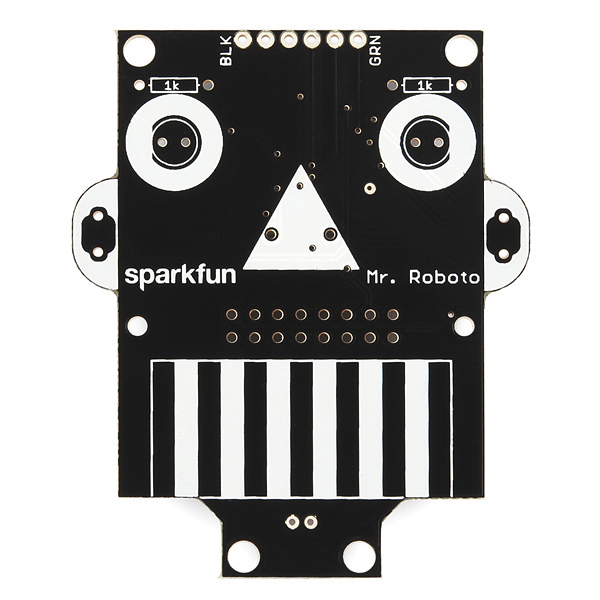
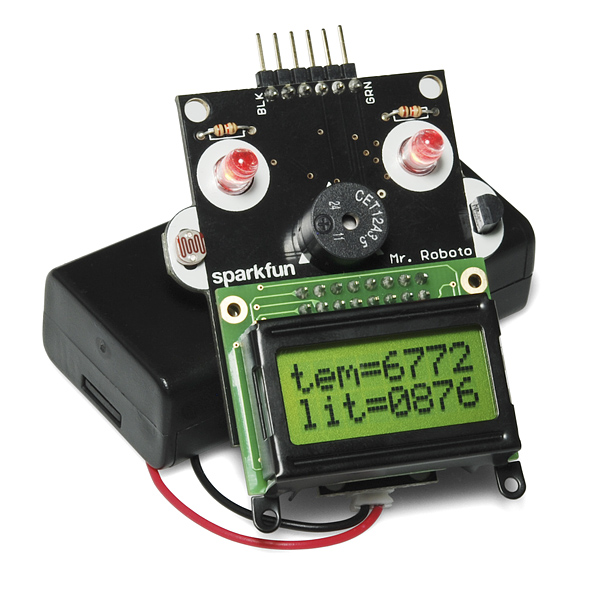
Meet Mr. Roboto! He's an Arduino-compatible development board designed to be used as a teaching tool for Arduino programming. All of the surface mount components come pre-soldered so a few minutes of simple through-hole soldering is all it takes to get him up and running. After the kit is put together, the on board sensors, buzzer and LCD screen make an excellent platform for learning how to write code for physical computing.
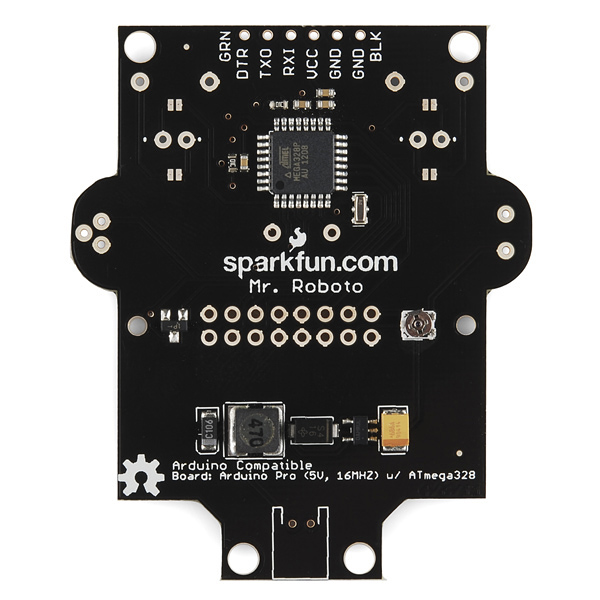
Mr. Roboto's "hair" is an FTDI programming header. Simply connect an FTDI breakout board and select "Arduino Pro or Pro Mini (5V, 16MHz) w/ ATMega328" under the boards menu in Arduino 1.0. Below, you'll find an archive of well-commented educational example sketches and an accompanying "readme" file describing what each one does in order of complexity. This board, combined with the example code which you can download below, is a great way to introduce students (or yourself) to physical computing and get started writing code. Thank you *very *much, Mr. Roboto!
We've made a minor change to the hardware, the new version has a new voltage regulator. This doesn't change the way the kit works, though, no worries.
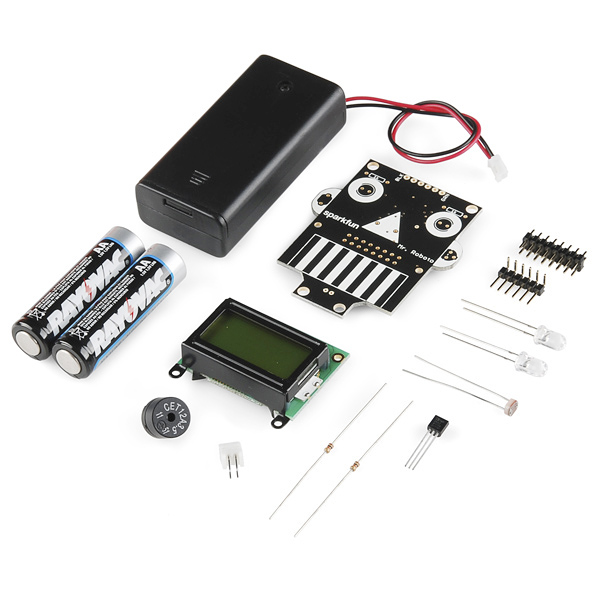
- Mr. Roboto PCB with Surface-Mount Components
- 1 x Mini LCD Screen
- 1 x 6-Pin Right-Angle Header
- 1 x 16-Pin Straight Header
- 2 x Super Bright Red LEDs
- 2 x 1kOhm Resistors
- 1 x Miniature Photocell
- 1 x TMP36 Temperature Sensor
- 1 x Piezo Speaker
- 1 x 2-Pin JST Connector
- 2 x AA Batteries
- 1 x AA Bat tery Holder with Power Switch
- ATMega328 running at 16MHz, Arduino compatible!
- On-Board Light and Temperature Sensors
- Piezo Buzzer and LCD Screen Provide Feedback
- Powered by 2 Included AA batteries
- Surface-Mount Components are Already Soldered
- Schematic
- Eagle Files
- Quickstart Guide
- GitHub (Design Files & Example Code)
- GitHub (Library)
Mr. Roboto Kit Product Help and Resources
Core Skill: Soldering
This skill defines how difficult the soldering is on a particular product. It might be a couple simple solder joints, or require special reflow tools.
Skill Level: Rookie - The number of pins increases, and you will have to determine polarity of components and some of the components might be a bit trickier or close together. You might need solder wick or flux.
See all skill levels
Core Skill: Electrical Prototyping
If it requires power, you need to know how much, what all the pins do, and how to hook it up. You may need to reference datasheets, schematics, and know the ins and outs of electronics.
Skill Level: Rookie - You may be required to know a bit more about the component, such as orientation, or how to hook it up, in addition to power requirements. You will need to understand polarized components.
See all skill levels
Comments
Looking for answers to technical questions?
We welcome your comments and suggestions below. However, if you are looking for solutions to technical questions please see our Technical Assistance page.
Customer Reviews
No reviews yet.


My son built one of these at the Vermont Mini-Maker Faire this past weekend. Very nice, and it went to school for show and tell the next day.
One change that I would suggest: the buzzer makes it difficult to reach the LCD pins with the soldering iron. Installing the buzzer after the LCD rather than before would make assembly easier.
Which FTDI I shall use to program this board , the 5V or 3.3V version ? Thanks .
A 5V FTDI would work best.
It would be really nice if you guys sold the mini LCDs as a separate product
Never mind