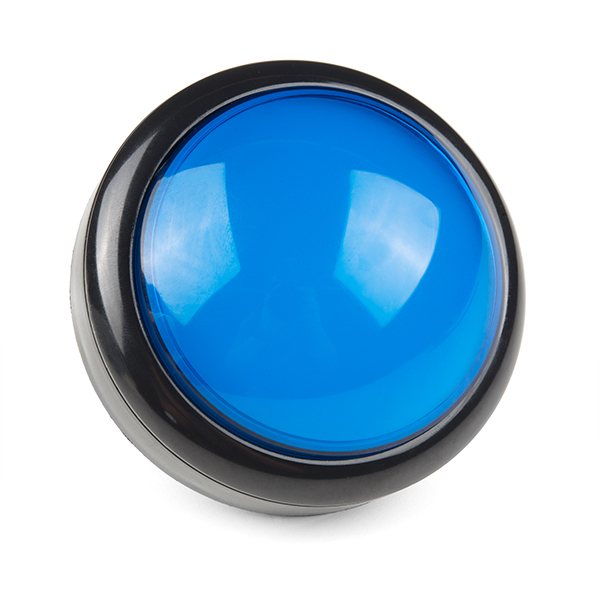
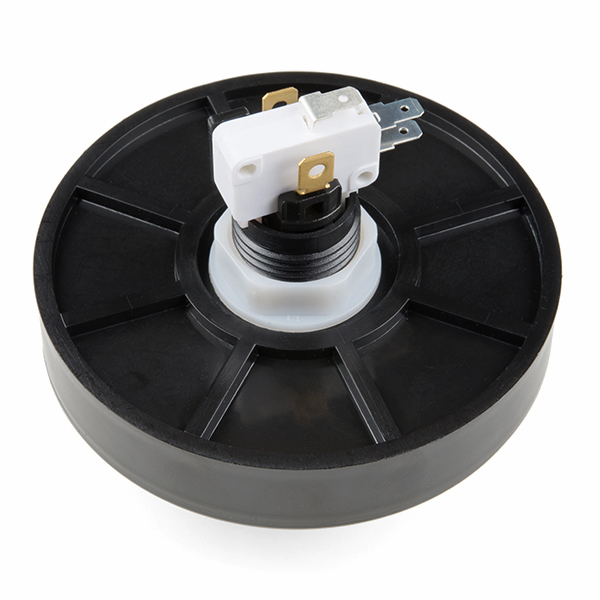
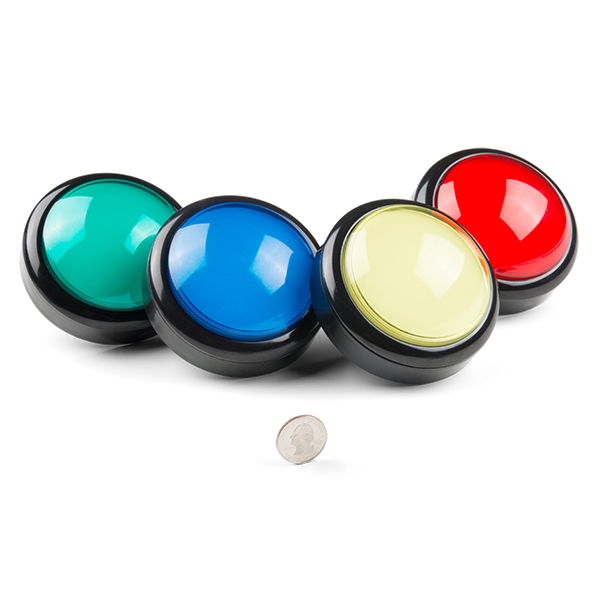
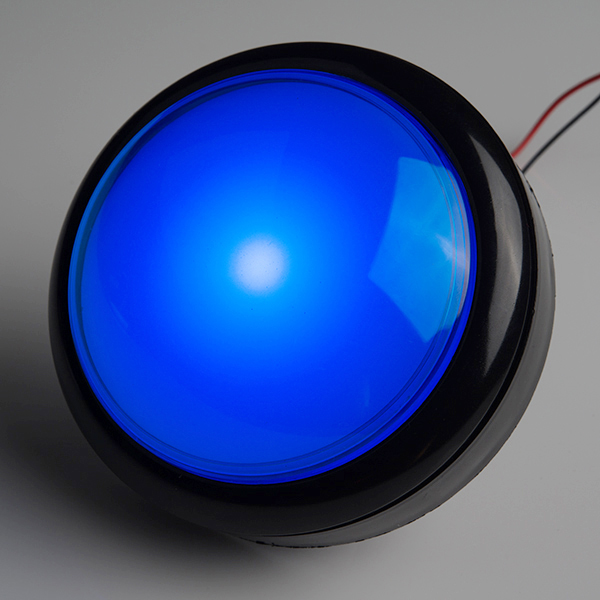
It's the end of the world, and you need a button to press. This is it. A 100mm diameter (outside diameter) dome illuminated push button comes with an LED, securing nut and a pre-installed long life horizontal microswitch. Button can also be adjusted to a low profile button by removing the middle ring.
- LED indicator light runs at 12VDC
- Bulb holder is easy to install or remove
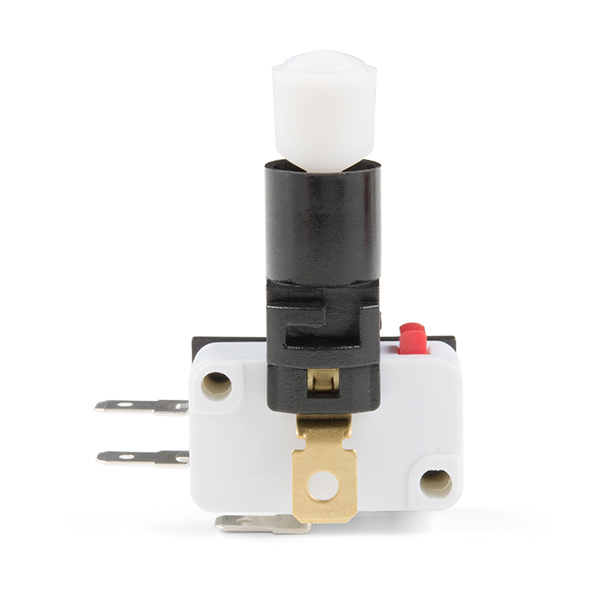
- 3 Terminals Button Actuator microswitch included
- Microswitch reliability tested to 10,000,000 cycles
- Microswitch can be replaced
- Polycarbonate lens cap for optical clarity* 100 mm Diameter x 72 mm Height
- Net weight: 100grams
- Mounting hole diameter: 24 mm
Big Dome Pushbutton - Blue Product Help and Resources
Adding a Timed Button to a Project
July 29, 2015
This tutorial will walk you through making a timed power controller for interactive projects. You will learn how to add an on button that will provide power to your project for an amount of time and then turn off again.
Connection Help
In case you have never used a microswitch or this push button before, here are some links to some tutorials that will help get you started.
Core Skill: DIY
Whether it's for assembling a kit, hacking an enclosure, or creating your own parts; the DIY skill is all about knowing how to use tools and the techniques associated with them.
Skill Level: Noob - Basic assembly is required. You may need to provide your own basic tools like a screwdriver, hammer or scissors. Power tools or custom parts are not required. Instructions will be included and easy to follow. Sewing may be required, but only with included patterns.
See all skill levels
Core Skill: Electrical Prototyping
If it requires power, you need to know how much, what all the pins do, and how to hook it up. You may need to reference datasheets, schematics, and know the ins and outs of electronics.
Skill Level: Noob - You don't need to reference a datasheet, but you will need to know basic power requirements.
See all skill levels
Comments
Looking for answers to technical questions?
We welcome your comments and suggestions below. However, if you are looking for solutions to technical questions please see our Technical Assistance page.
Customer Reviews
4 out of 5
Based on 5 ratings:
2 of 2 found this helpful:
A good big dome pushbutton that does what is says
Good dome push button that does what it says, easy to click even if you hit the edges of the button. The button is quite easy to get "bounces" (2 clicks even if you pushed once) so you will probably have to adjust for that in the software or using a capacitor. The led is not very bright so if you wish to have a vinyl print inside the button to give users more information you will probably wan't to replace the led with something more powerful.
Great button but requires thin mounting surface
The button itself is great, very good quality and works well. There is a plastic nut that can be used to mount and tighten the button to a flat surface. However, the shaft that the nut screws onto is fairly short so you could only mount this on a thin surface (probably 1/4 inch thick at most). This would probably be okay for most applications but I was planning on mounting this on 3/4 inch thick plywood so I will have to drill holes through the back of the button and use screws.
Solid pushbutton with decent brightness
The buttons appear to be made in a decent quality, though I have to admit that I have not yet run them through their paces. Would give 5 stars if there were any written documentation / schematics / specs on this product on this web page (I am not patient enough to sit through multiple videos to get the desired information). One feature that threw me off is that the LED can be installed with the polarity reversed (which happened to one out of 4 that I got). So, if you have multiple buttons, all connected the same and one is seemingly not working, remove the LED from the switch, turn it 180 degrees and reinsert.

do you think this button press easy enough for a service dog to press it? or is it a hard push? i need to make a rechargeable emergency button that connects to home assistant.
What do you need to plug the button into a wall outlet? Thanks.
The two metal leads on the side aren't for a wall outlet. The top one is the Normally Closed connector and the bottom one is the Normally Open connector. There's another lead on the bottom, which can be seen in the third picture, which is the common connection.
Is this momentary?
Yes. The switch is SPDT momentary.
FFFFhhhhyyeeeooooooooooo >> I hope you used a HEX converter to translate that >> next clue >> I have 5 volts but I only need 3.33 volts (Which is my favorite number) but lucky me I found a 5.6K resistor in my pocket... Oooh bubble gum** >> a little bit of reading will bring you through and to, but its in the form of an SMD that will lead you to your next clue..... >> FFFFFHHHhhhhyyyeeeoooooo