×
SparkFun will be closed on Tuesday, December 24th, and Wednesday, December 25th, in observance of the Christmas holiday. Any orders qualifying for same day shipping placed after 2:00 p.m. (MST) on Monday, December 23rd, will be processed on Thursday, December 26th, when we return to regular business hours. Wishing you a safe and happy holiday from all of us at SparkFun!
Please note - we will not be available for Local Pick up orders from December 24th-December 27th. If you place an order for Local Pick-Up we will have those ready on Monday, December 30th.
TuxCase - Arduino Enclosure
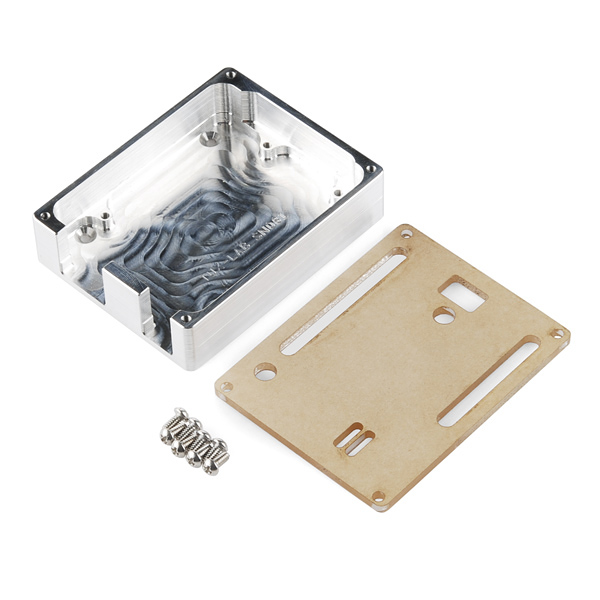
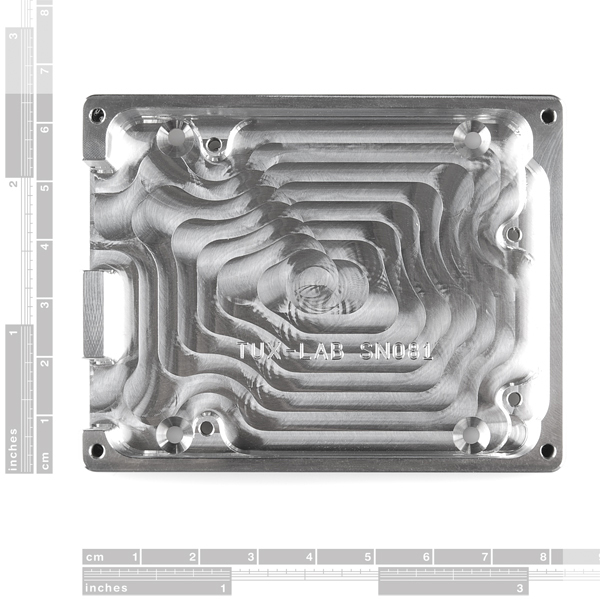
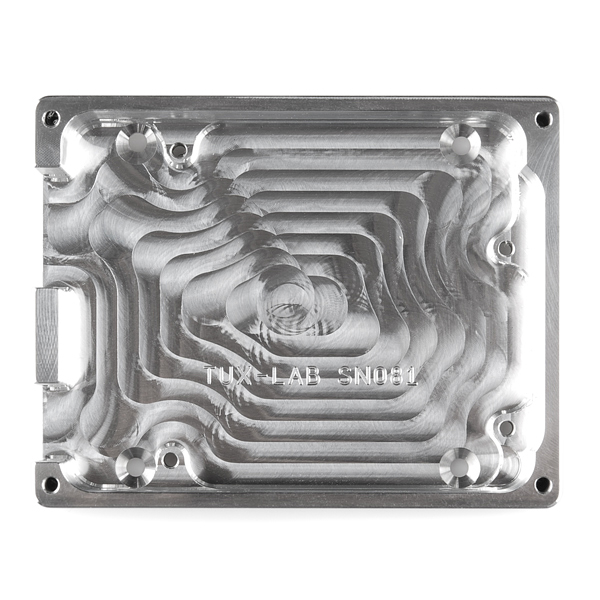
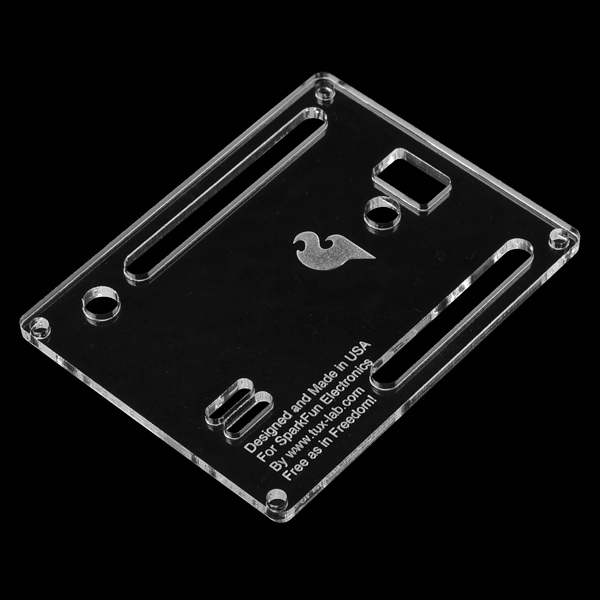
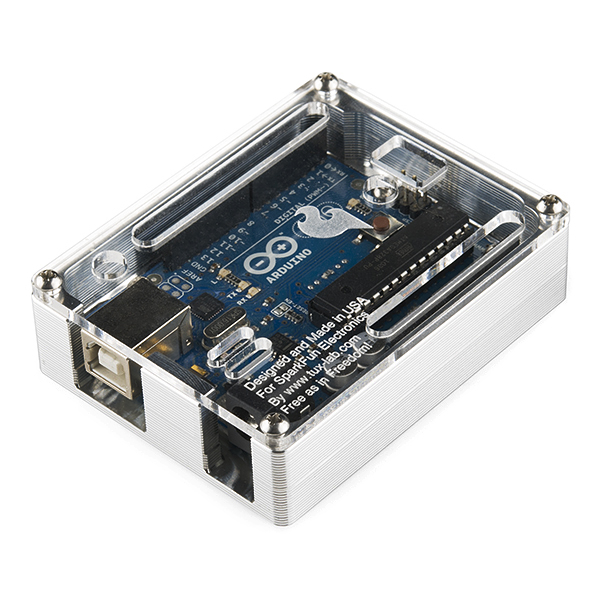
We've seen quite a few Arduino enclosures come and go, but few of them were quite this sturdy (or quite this pretty). The TuxCase from Tux-Lab is a nice snug enclosure for Uno style Arduino boards that is machined out of a chunk of 6061 extruded aluminum bar stock. A .118" thick acrylic cover protects the top side of the board while letting you see the status LEDs and providing access to things like the GPIO, ISP header and reset button. Of course there are openings milled out for the USB and barrel jack connectors so you can easily connect power to the board in the enclosure.
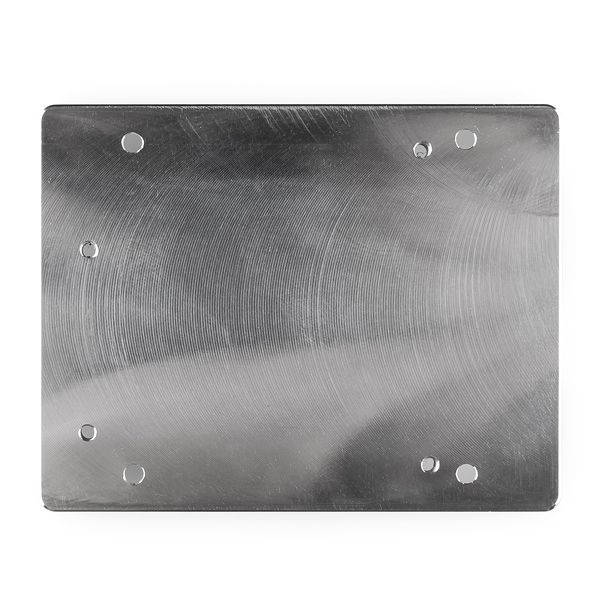
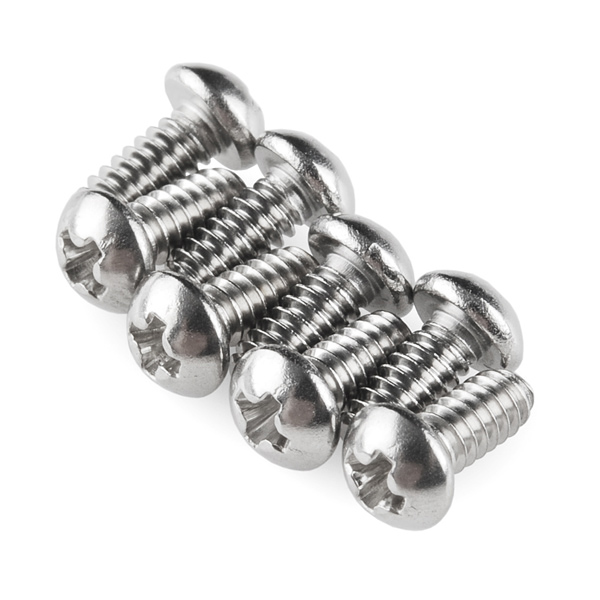
Eight 4-40 screws are included for attaching the Arduino board to the enclosure and for securing the acrylic cover. Also, there are four additional mounting hole drilled and chamfered at 100 degrees into the base of the enclosure.
Note: Shields will work with this case, but they will need long headers. If you have a shield that has through-hole components, the clearance might not be enough. Use some of the stackable headers (in the related products below) to gain extra clearance.
TuxCase - Arduino Enclosure Product Help and Resources
Core Skill: DIY
Whether it's for assembling a kit, hacking an enclosure, or creating your own parts; the DIY skill is all about knowing how to use tools and the techniques associated with them.
Skill Level: Noob - Basic assembly is required. You may need to provide your own basic tools like a screwdriver, hammer or scissors. Power tools or custom parts are not required. Instructions will be included and easy to follow. Sewing may be required, but only with included patterns.
See all skill levels
Comments
Looking for answers to technical questions?
We welcome your comments and suggestions below. However, if you are looking for solutions to technical questions please see our Technical Assistance page.
Customer Reviews
No reviews yet.

Will an Arduino Ethernet w/o POE fit in this encolsure?
Wait, did you just give us the CAD file so we can make our own?
It's open source...
Also it isn't that unusual for commercial enclosure manufacturers, e.g. Hammond Manufacturing, to make CAD files as well as dimensional drawings available for their products. The additional certainty and service this gives potential customers, especially those buying in quantity, would more than compensate for any sales lost from DIYer's occasionally rolling there own. Also, even if you have an appropriate 3D printer or CNC machining rig, it can take multiple hours per unit of this size. If you need more than a few it's just faster (and often not more expensive) to buy off-the-self enclosures.
Luckily I have access to a CNC and a laser cutter that can pump these things out no problem. Though, for me, I wouldn't waste my time unless I needed more than one. However, making some edits to the design so I can house a shield or other components, might be worth it.
How about a pic with an Uno inside and assembled. I'd like to see how the headers line up.
Go to the product page & you'll get a good pic of it in the case.
yep, working on it. also, I'm shooting a video in 5 minutes showing it.
Any chance of a Mega version?
Fantastic product!!!!!!!! Love it!!! Hope there soon will be a version for the Arduino Mega! I need a few of them. Thanks for a great product!
will this work with the r3? i'd think the screw by the reset switch would hit the header. i see from the pic you are not using the r3...
joshl, I don't think they actually touch since the holes for the mounting are sufficiently elevated from the bottom of the enclosure.
Definitely one of the nicer looking enclosures out there, for us who likes the industrial chic. Thanks for the CAD files, might try to make a hardwood version as well.
that's one derp for me. ;)
how does the arduino keep from shorting while all the bottom solder points touch the aluminum?
I can't seem to find a CAD file or dimensional drawings for the top, happen to know where these are?
Bandsaw, Behold the beauty of open source :)
Any chance that you have the g-code to machine one of these?
g-code is pretty tool and machine specific. You'd want to start with the CAD files which are provided.
How about one for the Raspberry Pi?
Man, that looks a lot like this idea and this
True, but there are only so many ways to machine something like this.