LED String Lights - RGB (10M)
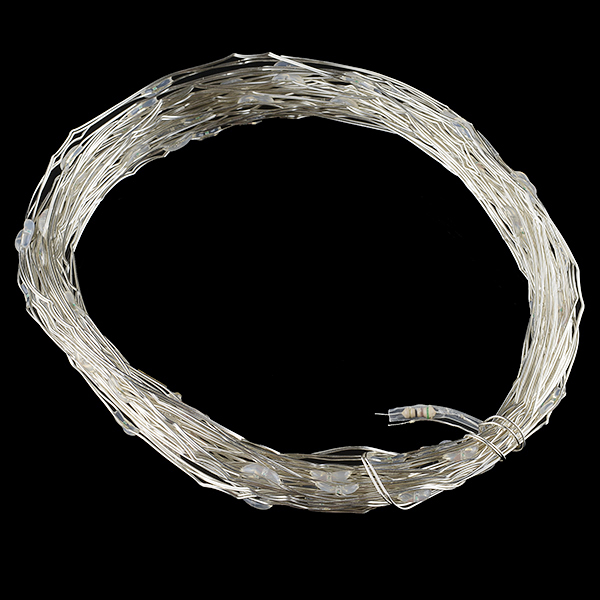
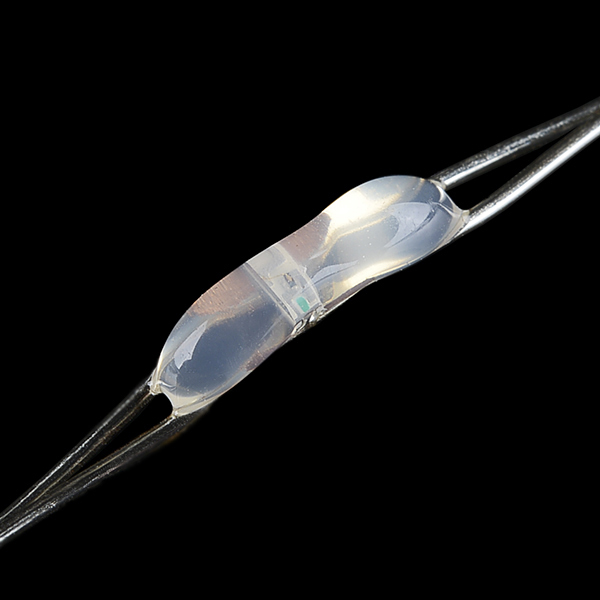
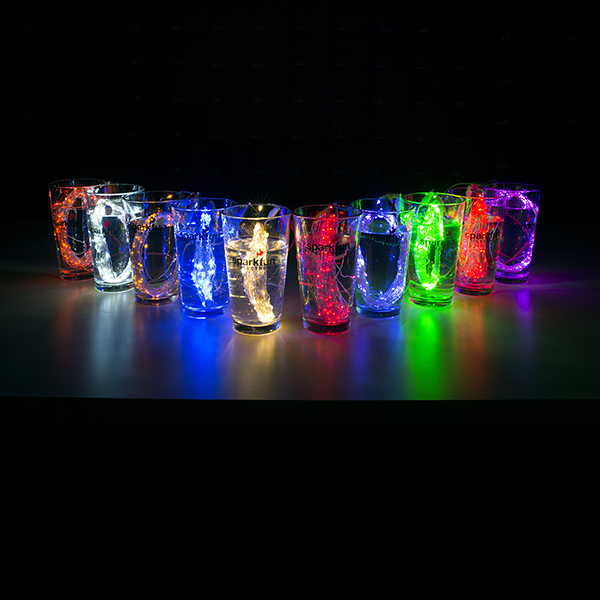
These LED string lights are a great way to add light to any project with little to no soldering required. The insulated strings come in 10m lengths with one RGB LED every 10cm for a total of 100 LED's. The RGB LED's automatically begin cycling through each different color upon powering on, so all you have to do is add 3-3.4V and they are ready to shine.
Note: 3-3.4V is the the working voltage of these strings. Please do not use 12V.
- 10m
LED String Lights - RGB (10M) Product Help and Resources
Core Skill: Electrical Prototyping
If it requires power, you need to know how much, what all the pins do, and how to hook it up. You may need to reference datasheets, schematics, and know the ins and outs of electronics.
Skill Level: Rookie - You may be required to know a bit more about the component, such as orientation, or how to hook it up, in addition to power requirements. You will need to understand polarized components.
See all skill levels
Comments
Looking for answers to technical questions?
We welcome your comments and suggestions below. However, if you are looking for solutions to technical questions please see our Technical Assistance page.
Customer Reviews
No reviews yet.

Just thought I'd comment: The LED strand isn't as listed in datasheet, it's 100 individual leds in parallel.
I hooked the LED strand up to a CC/CV benchtop supply, without the current limiting resistor, so I'm applying a semi fixed voltage across the two conductors/all the LEDs
To get outside of the 'only red led zone', you need to choose a target voltage, account for the voltage lost in the resistor for the given current, and then supply that...... assuming the resistor doesn't catch fire (if the resistor was more then an ohm, I don't think it has the power dissipation to handle 0.3A) . I would do the calculation, but alas I threw the resistor away, and don't know its ohm value.
Why, oh WHY! are these being retired? These LED strings are so useful! Please, let me know what I am supposed to use to replace this at about this cost.
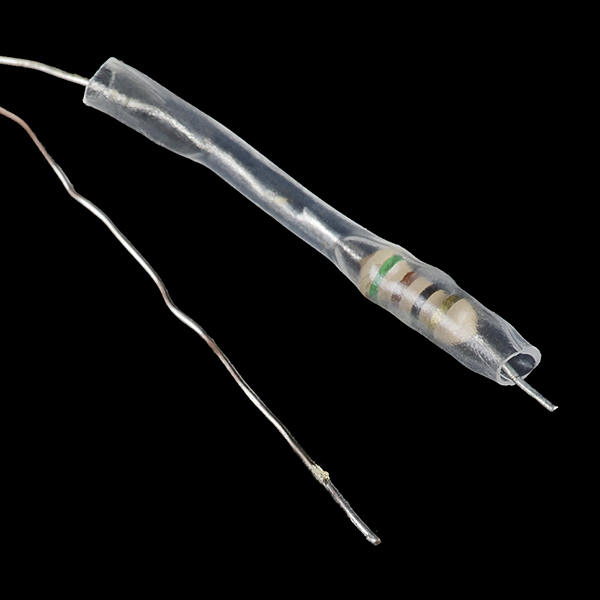
FYI - I just tested mine and the resistor on mine was 20 ohms.
Hope someone can help me out on this!
I'm looking to get this product and a suitable battery/battery pack to go with it. I want to cut these down into 10 light pieces and use them much like the "fairy lights" you can find in the bridal section of craft stores. (Those are sold as 12 light/4.5 foot strands and run off 2 coin cell batteries in a fairly slim battery pack. I believe the batteries are 2032's? I'll have to double check). I make masks and I add lights to them often, but the current product I am using is WAY over priced and too bulky. I'll be soldering my own LED lights from now on, and RGB string lights are on my list of soon-to-be-offered options!
My hope is to purchase these and solder them to a battery pack that is slim enough to be placed on the face without discomfort. My customers are all informed not to leave the lights on for extended periods of time to reduce the risk of burns from hot batteries and (obviously) to extend the life of the batteries.
So now, my questions: For a strand of only 10 lights, what sort of resistor, if any, should I be using? And in order to get these lights to cycle through all their colors, what kind of battery should I look into getting? Coin cell is a must, it cannot be heavy or bulky as my masks rely on ear straps to stay on. :)
I'm so terribly new to the world of LEDs and electrical wiring, any and all help, even the smallest tidbit, would be vastly appreciated! If you feel like this requires a longer explanation than should be rattled on about in a comment, feel free to email me DirtyCatDesigns@yahoo.com or use the contact form on my website, DirtyCatDesigns.com (this way you can check out the masks as well!)
Thank you everyone for everything in advance! <3
For anyone wanting to run these off 4.5-5V, I found that using a 47 ohm resistor works well. Note that I use this resistor after removing the one that comes with the string-- I have a need to cut the string into smaller segments, so I'm just using a 47 ohm resistor for each shorter string.
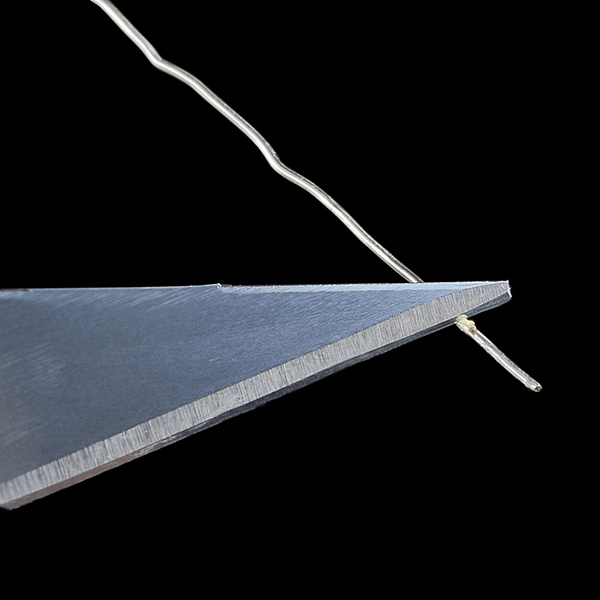
Also, if you cut the string into shorter strings, just use sandpaper to rough up the ends of the newly-cut wire (the wire has a coating so you can't solder or connect to it without "roughing up"). Use a lot of flux on the end of the wire, and you will be able to solder another wire, resistors, etc. to the end of the light string wire.
How short of a string did you cut yours into? And what sort of battery do you use to power up the lights? I just spewed on and on in the comment above yours asking for some help! You seem like the right person to ask! <3
So you can not make these lights blink slow or fast?
Since you've asked this question for products 11747 ( LED String Lights - Red ) through 11756 ( this one ), I'll just answer this one :)
You can make all the relevant strings blink fast/slow. Note that for this particular string (the RGB one), though, it is supposed to automatically cycle through colors and any time you blink them 'off' that cycle is reset. So where normally it might go red, green, blue, yellow, etc. (no idea what this string's color program is), if you blink it fast then all you might get is red/off/red/off/red/off, etc.
hah, my memory is horrible.. hey past self: please tell future self to not forget about already answering this question in one of those other products :D Also bug stilldavid about allowing merged comments across products (because he certianly doesn't have enough headaches as it is, nosiree)
So you can not make these lights blink slow or fast?
DANGER Will Robinson!!
Polarity was not clear to me from the "datasheet." On the Blue LED string - the negative side is on the resistor. On the RGB string, I found out (via my nose) that the resistor is on the POSITIVE side!? Nice bear-trap. So be careful when you connect these little suckers, and don't assume any consistency. I found the Solarbotics info to be helpful.
Reading the comments, it seems these really are 12 volts, but they need a higher rated resistor. As far as mine goes, a lot of the lights didn't turn on until about 7v and it really didn't get bright until 9v.
Yeah, so I definitely just put 12 volts through this and the resistor exploded. Can anyone tell me the value, so I can replace it?
I tested mine-- it was 10 ohms.
I really wish these came in shorter lengths. I've looked around the internet, and these look like they are the only ones perfect for my project, but I only need a small length of it.
just cut it, solder some lengths of actual wire instead of magnet wire to it, and do some resistance calculations. That way you have some extra if you want to use it for another project.
I, too, get mostly red when running about 4.0 volts (1 cell LiPo). I got better results running w/ a 2-cell LiPo battery (8.4 volts), but the resistor got pretty hot. I'd be afraid to try 12V w/out swapping out to a beefier resistor.
I'm not sure these are really 3V. The data sheet is somewhat vague, but it looks like 3V per group of 25. Therefore, I suspect these are really 12V. I say this because the Blue LED doesn't work properly at 3.5V, nor at 5V. I been afraid to try a higher voltage yet until I get a bit more info. Anyone else try these?
I'd be interested in these with strips if I could get them with practically no space between LEDs (like 6 LEDs per inch). Any chance of that ever happening?
Possibly in the future. That would likely be a very different product however, as that would change the power requirements drastically for a strand this long.
Are these just a mix of RGB LEDs (like color Christmas lights), or are the colors each on their own circuit to be controllable?
they are not controllable. there is a power wire and a ground wire.