Gertboard
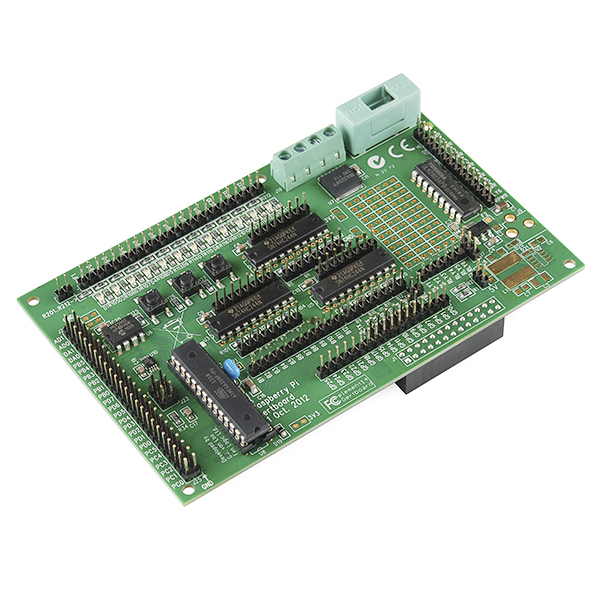
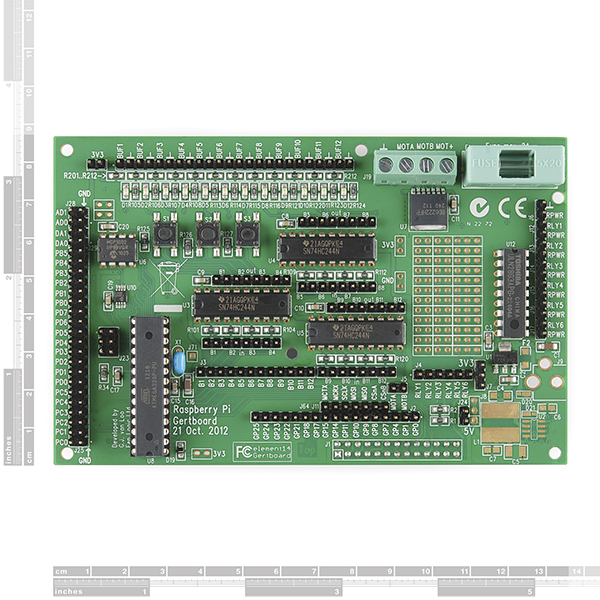
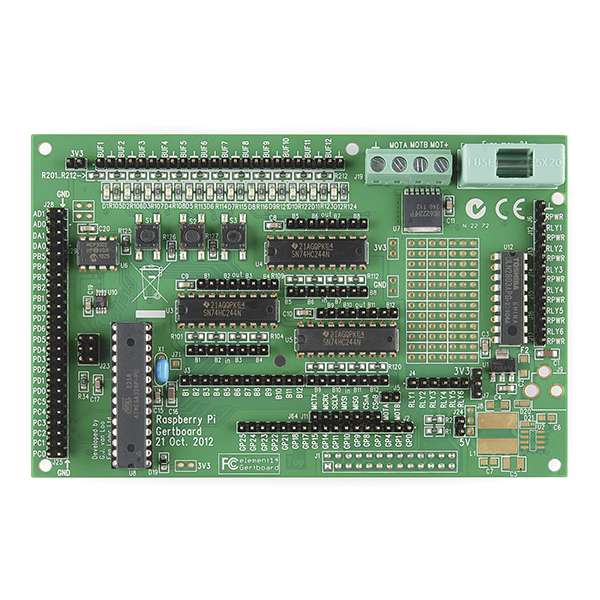
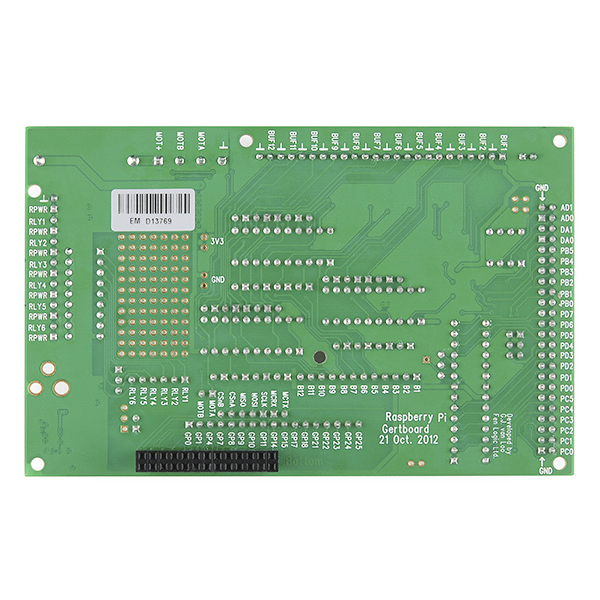
Named after its designer, Gert van Loo, the Gertboard is an IO expansion board for the Raspberry Pi with a *lot *of flexibility.
Plug the Gertboard into the GPIO header on your Raspberry Pi and you're ready to start detecting and responding to events in the real world. Jumper wires (called "straps") and pin jumpers are used to reconfigure the board in any number of ways. Whether you need to detect button presses or analog voltages, control motors or relays, the Gertboard is the ultimate tool for exploring the Raspberry Pi's full I/O potential!
**Features:
**
- Plugs directly onto Raspberry Pi GPIO socket
- Motor controller, capable controlling a motor bi-directionally, delivering 18V and 2A maximum
- Dual-channel D-to-A converter, 8-bit
- Dual-channel A-to-D converter, 10-bit
- Onboard Atmel ATmega328 MCU for running off-board programs which are written, compiled and uploaded to Gertboard from Raspberry Pi
- 6 x open collector outputs
- 12 x LED indicators
- 3 x momentary push switches
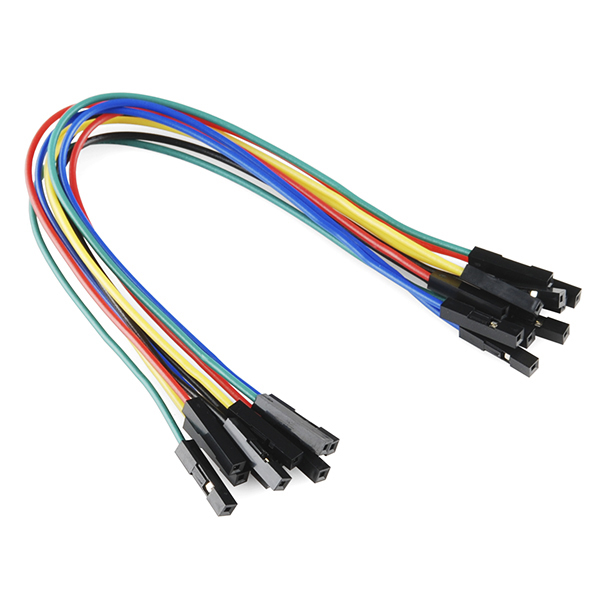
- 10 x strap cables included
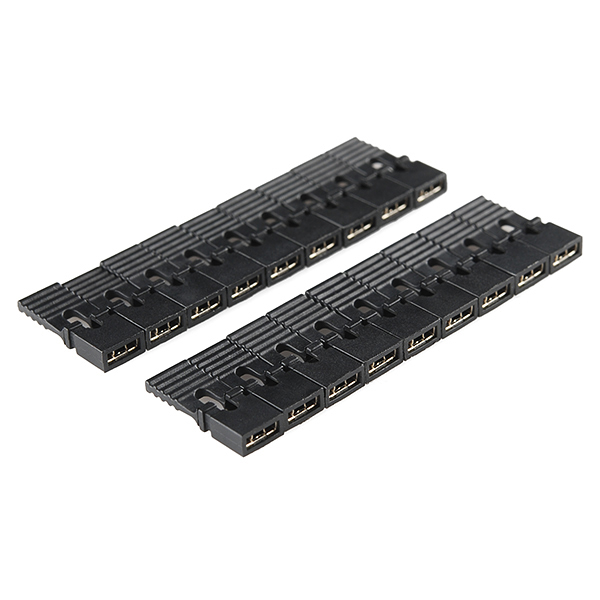
- 18 x jumpers included
- 1 x Fully Assembled Gertboard
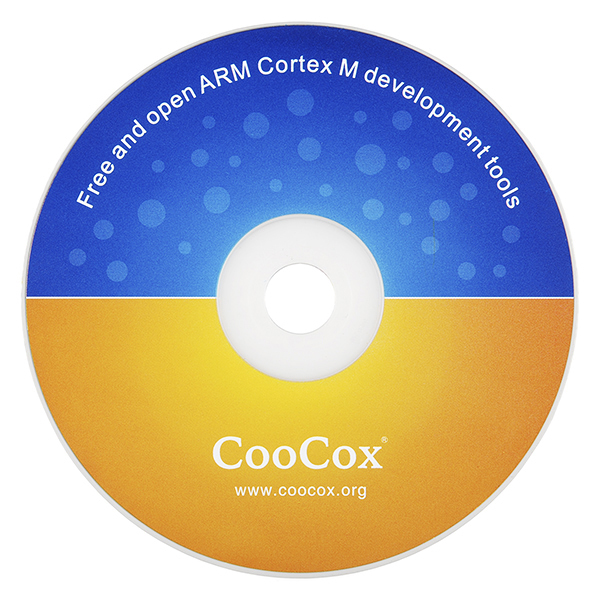
- 1 x Software CD (Open Source ARM Cortex M Dev Tools)
- 10 x Female to Female Jumper Wires
- 18 x On board Patch Clips
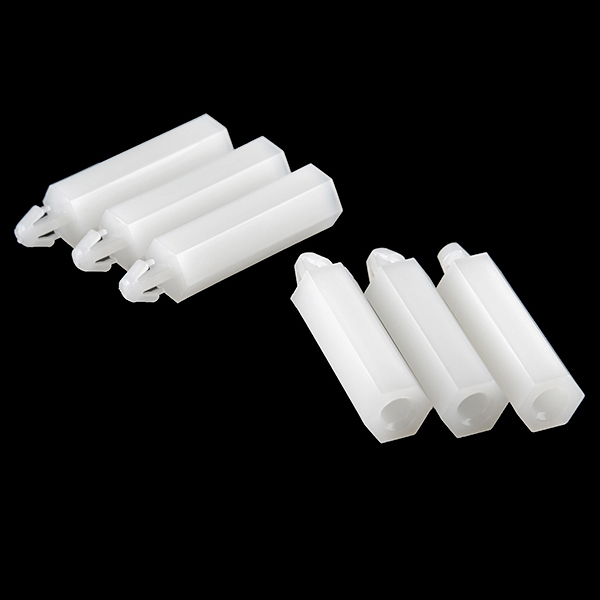
- 6 x Plastic Stand Feet
- [Schematic](http://cdn.sparkfun.com/datasheets/Dev/RPi/Assembled Gertboard Schematics.pdf)
- User Manual
Gertboard Product Help and Resources
Core Skill: DIY
Whether it's for assembling a kit, hacking an enclosure, or creating your own parts; the DIY skill is all about knowing how to use tools and the techniques associated with them.
Skill Level: Noob - Basic assembly is required. You may need to provide your own basic tools like a screwdriver, hammer or scissors. Power tools or custom parts are not required. Instructions will be included and easy to follow. Sewing may be required, but only with included patterns.
See all skill levels
Core Skill: Programming
If a board needs code or communicates somehow, you're going to need to know how to program or interface with it. The programming skill is all about communication and code.
Skill Level: Noob - Programming will be limited to basic drag and drop interfaces like ModKit or Scratch. You won't be writing code, but you will still need to understand some basics of interfacing with hardware. If you?re just using a sensor, it's output is analog.
See all skill levels
Core Skill: Electrical Prototyping
If it requires power, you need to know how much, what all the pins do, and how to hook it up. You may need to reference datasheets, schematics, and know the ins and outs of electronics.
Skill Level: Noob - You don't need to reference a datasheet, but you will need to know basic power requirements.
See all skill levels
Comments
Looking for answers to technical questions?
We welcome your comments and suggestions below. However, if you are looking for solutions to technical questions please see our Technical Assistance page.
Customer Reviews
5 out of 5
Based on 2 ratings:
1 of 1 found this helpful:
Indispensible Raspberry Pi R&D painkiller
Except for the most proficient and well-equipped hardware engineers, the Gertboard is a MUST-HAVE piece of kit, just as important as the Raspberry Pi itself.
The board's design is inspired by a brilliant concept - several independent pieces of equipment on the one board, which can be linked exactly as the user desires. LEDs and buttons help with the 'Hello, world" programming stages, an abundance of open collector outputs are on tap for driving those mains power relays, and an on-board ATMega microcontroller, easily programmed from the RPi, and linked to the RPi via TTY or SPI. takes care of any pin shortages. The documentation is wonderful as well, and puts a lot of other hardware documentation to shame! It also links to some very helpful online tutorial pages. If you're starting out on Pi programming, add this board to your RPi order. It's an absolute no-brainer! Also, add an extra pack of jumper leads - the mere 10 that are supplied with this board run out very quickly, and is the only flaw to the board's packaging. Apart from that, great product!
Awesome
Works wonderfully and is such a diverse element to add to the raspberry pi.

Thankfully they didn't call it the loo board.
What is the point of the buffered I/O's, as opposed to using the GPIO's directly? What does the "buffering" do?
Because the raspberry pi is intended to run linux, there is no guarantee that your process will be active when a input changes state. If the event is really shot (like, say, a pulse from a sensor that outputs PWM) and the process that handles USB or whatever is active, your process may miss the sensing window, meaning that you won't get the sensor update. Buffered inputs, like what this board allows for, eliminate this problem.
hello, you did not specify the characteristics of buffered inputs, which are the maximum ratings?
So when are you guys going to start selling the new Gertduino?
Can you look into selling the assemble-yourself Gertboards?
can you still use spi and i2c ?
Yes! The long single row header at the bottom of the board (GP0~GP25) gives you full access to all of the GPIO signal pins (3V3, 5V and GND are broken out elsewhere).
I2C-1 will be pins GP0 (SDA) and GP1 (SCL). SPI has two uses on this board; you can either connect the appropriate GP pins to the A/D+D/A headers with a few jumpers, or you can use straps to connect the GPIO SPI pins to the ATmega328P which allows you to program it directly from the Arduino IDE or a patched version of avrdude.
Basically, everything on this board is broken out and requires a bit of wiring to use. You can connect the 328P to the motor controller or buffers+switches+LEDs if you want. It's totally, 100% flexible, which makes it a pretty powerful prototyping tool! :)