Pi Tin for the Raspberry Pi - Blue
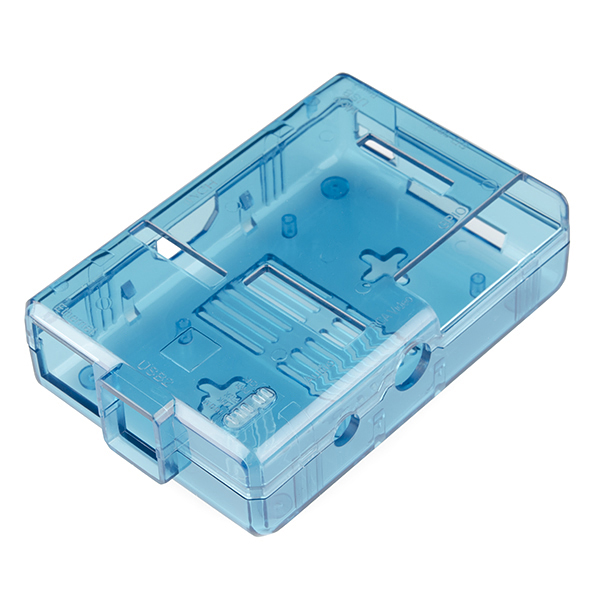
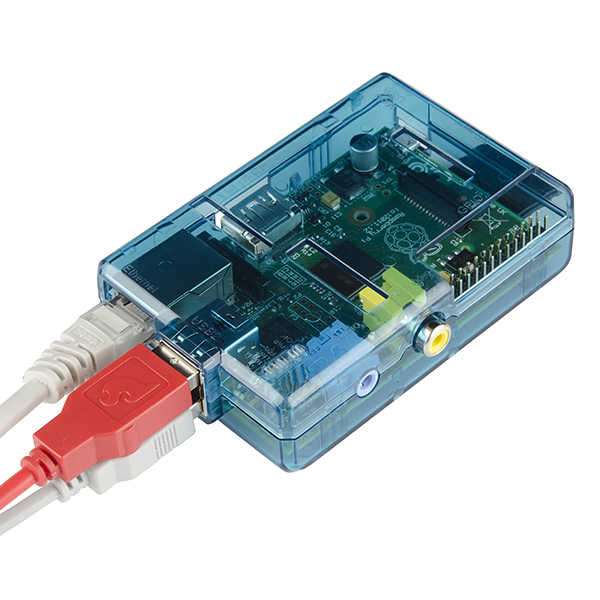
The Raspberry Pi is everybody's favorite little computer, the last thing that you'd want is for something bad to happen to it. Why not protect it with one of these snazzy plastic enclosures? These cases protect the Raspberry Pi from things like rogue wires that might short it out while still allowing full access to the board! Simply snap the RPi into the bottom half of the enclosure, then snap the two sides together.
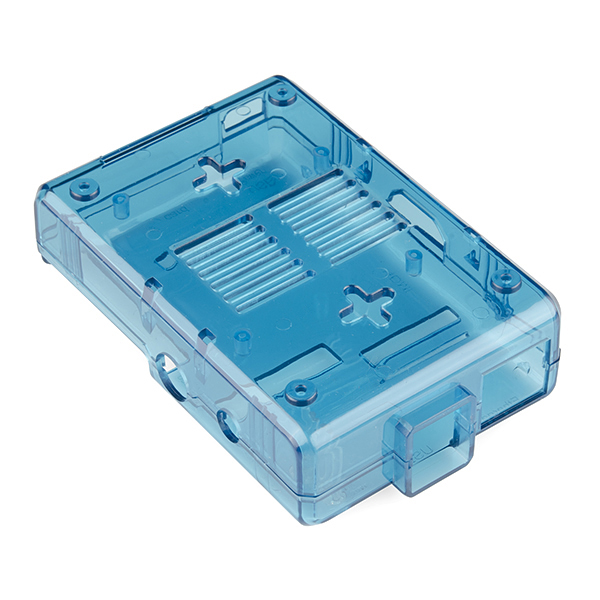
As you may have noticed, these Pi Tins are actually transparent with a blue hue. We have had a large number of you asking for different colored Pi Tins so we wanted to deliver! These transparent blue Pi Tins are perfect for blending your Raspberry Pi into your project, giving it a sleeker look.
The enclosure provides slots to access the peripheral header, USB ports, Ethernet, SD card, HMDI, composite video, audio, CSI and JTAG connectors as well as feet and vents to ensure the board gets proper cooling and plus-shaped wall mounting slots. All of the status LEDs on the Pi are visible through the case thanks to light pipes embedded in the design. This is a really slick case and once you've gotten your hands on a Raspberry Pi, you'll want to snag one of these to put it in!
Note: This Pi Tin is for the Raspberry Pi Model B only and will not fit over the Raspberry Pi B+ or the RPi2.
- 9.5x6.2x2.7cm
Pi Tin for the Raspberry Pi - Blue Product Help and Resources
Core Skill: DIY
Whether it's for assembling a kit, hacking an enclosure, or creating your own parts; the DIY skill is all about knowing how to use tools and the techniques associated with them.
Skill Level: Noob - Basic assembly is required. You may need to provide your own basic tools like a screwdriver, hammer or scissors. Power tools or custom parts are not required. Instructions will be included and easy to follow. Sewing may be required, but only with included patterns.
See all skill levels
Comments
Looking for answers to technical questions?
We welcome your comments and suggestions below. However, if you are looking for solutions to technical questions please see our Technical Assistance page.
Customer Reviews
No reviews yet.


One of the support posts that the PCB sits on is directly on the location of the P5 header. There's also no cutout for this header in the case.
I soldered wires to the through holes for the header. Not ideal, but it works.
Just a heads up for anyone looking to utilize the P5 connections, which includes extra GPIO and I2C lines.
It's funny they provided cutouts for the P2 and P3 headers, I would think more end users would be interested in the I2C instead of the JTAG functionality.