Raspberry Pi Enclosure - Translucent (RPi3, RPi2, B+)
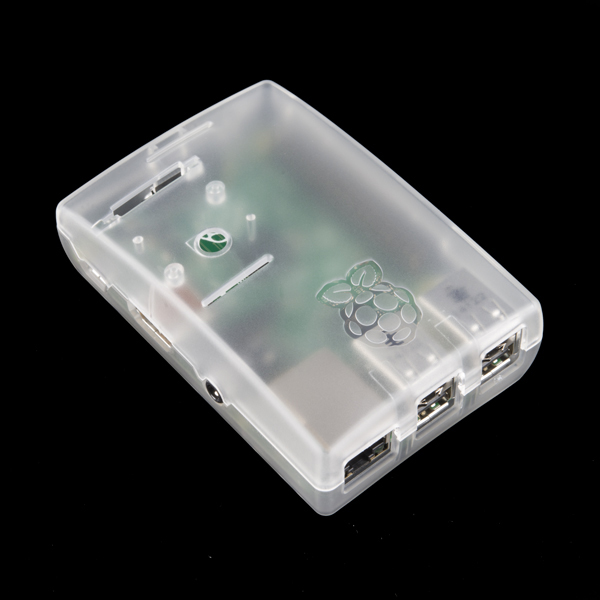
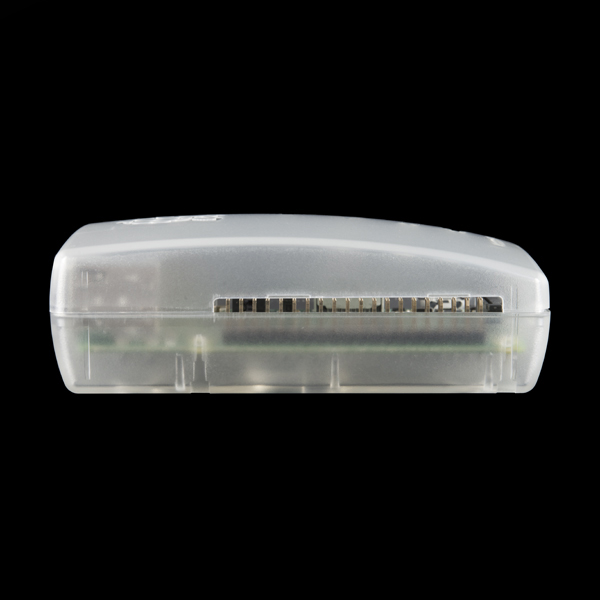
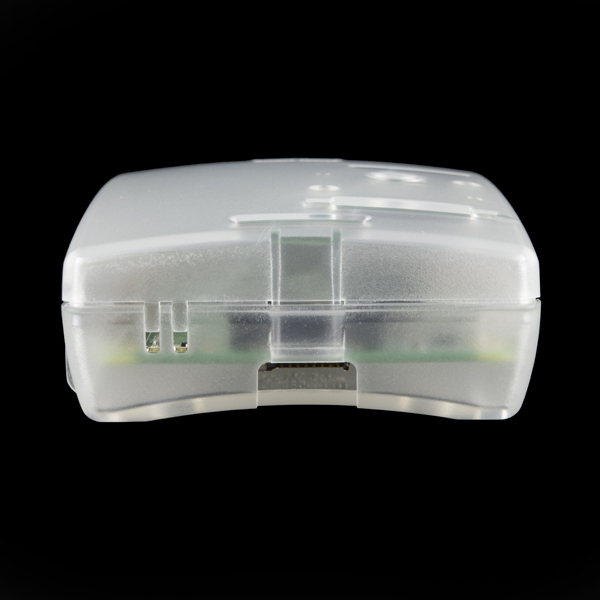
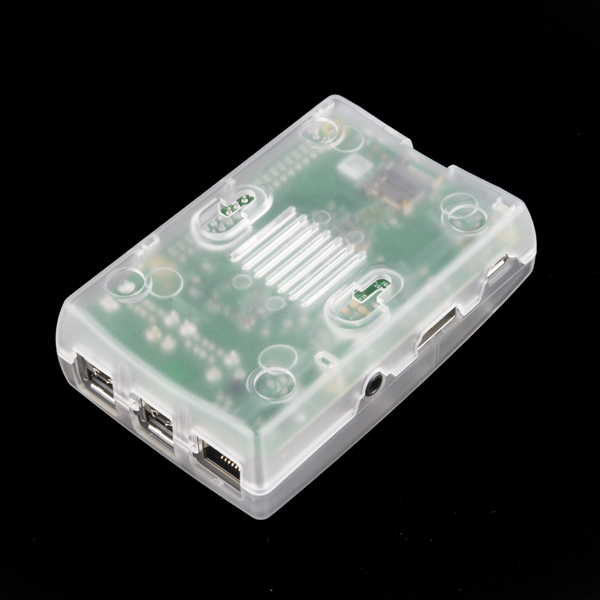
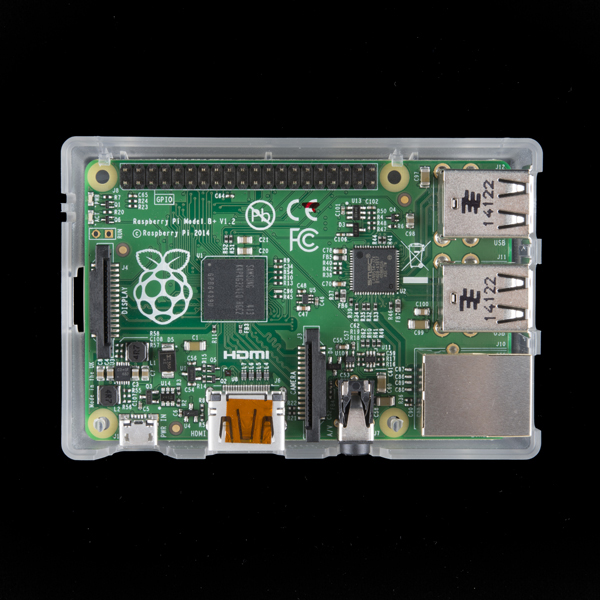
The Raspberry Pi is THE new favorite of development platforms, so the last thing that you’d want is for something bad to happen to it. Why not protect it with one of these snazzy clear plastic enclosures? These translucent cases protect the Raspberry Pi 3, RPi2, and Model B+ from things like rogue wires that might short it out while still allowing full access to the board as well as proper airflow to keep your new toy cool! Simply snap the RPi into the bottom half of the enclosure, then snap the two sides together.
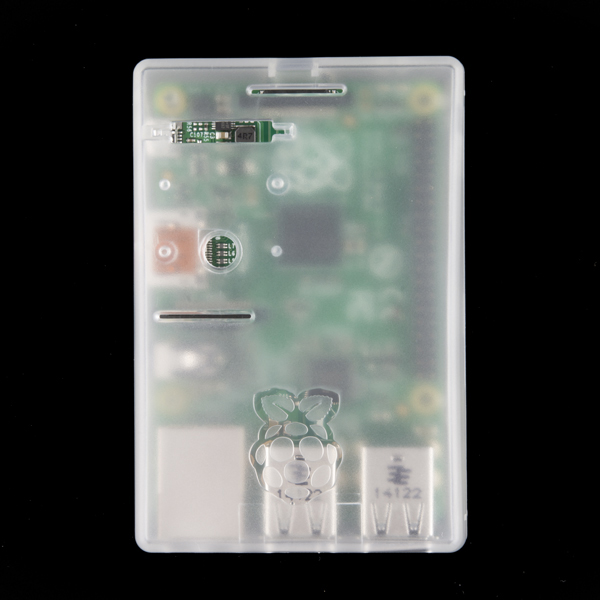
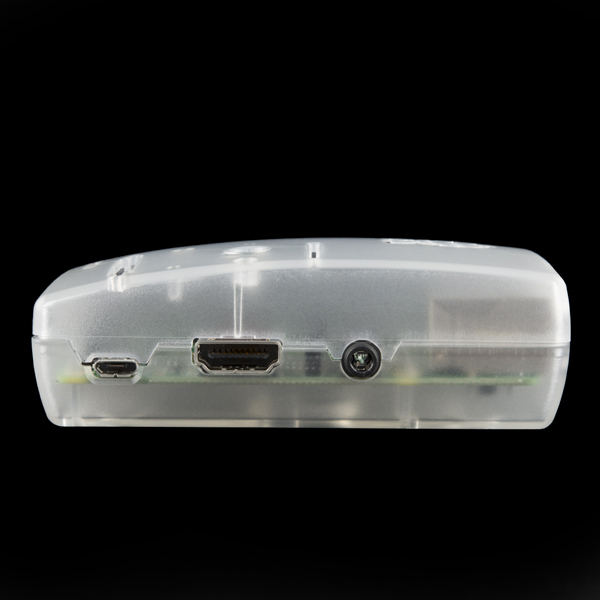
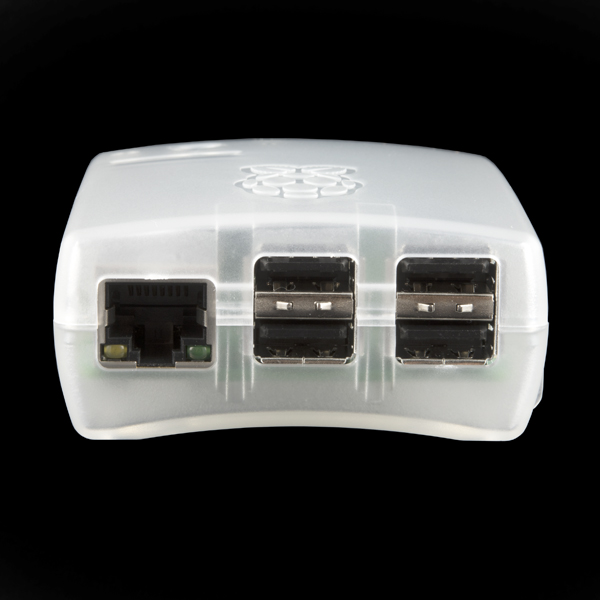
The enclosure provides slots to access the GPIO header, USB ports, Ethernet, microSD card, HMDI, 3.5mm jack, and CSI connectors as well as rubber feet and vents to ensure the board gets proper cooling and Pi Camera module mounting holes. All of the status LEDs on the Pi are visible through the case thanks to tunnel recesses embedded in the design and the two piece case can be taken apart without unplugging any cables. This is a really slick case and once you’ve gotten your hands on a Raspberry Pi, you’ll want to snag one of these to put it in!
Note: This case does NOT include a Raspberry Pi.
- 93.4mm x 62.7mm x 31.1mm
Raspberry Pi Enclosure - Translucent (RPi3, RPi2, B+) Product Help and Resources
Core Skill: DIY
Whether it's for assembling a kit, hacking an enclosure, or creating your own parts; the DIY skill is all about knowing how to use tools and the techniques associated with them.
Skill Level: Noob - Basic assembly is required. You may need to provide your own basic tools like a screwdriver, hammer or scissors. Power tools or custom parts are not required. Instructions will be included and easy to follow. Sewing may be required, but only with included patterns.
See all skill levels
Comments
Looking for answers to technical questions?
We welcome your comments and suggestions below. However, if you are looking for solutions to technical questions please see our Technical Assistance page.
Customer Reviews
4.6 out of 5
Based on 5 ratings:
3 of 3 found this helpful:
Great case ... and those screws
Took me a few minutes to figure out why two small screws were included. Put the camera module inside the case, with the lens coming out the large open hole in the top. The two screws attach the camera board to the posts on the inside of the upper case. The camera ribbon will tuck nicely inside of the case.
Perfect Fit!
This was a perfect fit for a Model B+. Everything clicked into place in about 60 seconds.
Great case, holes in all the right places
The pi fits well in the case and all i/o is accessible. I like that there is a slot for the a ribbon cable connected to the gpio pin header
good enough
The enclosure is the perfect size and it's clear, so cool to look at. I would have appreciated something easier to open back up. Pay attention as your putting your pi into it. There's only one way it seats correctly. I figured that out relatively easy. It's a bit less robust then I thought it could be. But over all I really appreciate it. All my output ribbons fit just fine. The usb,ether net, and other parts are readily accessible.

How can this case fits a Pi3 and a Pi2? both have different ports layout. I'm thinking of buying a couple, one for each one
Will this case fit a Pi 3?
Considering the Pi 2's Xenon flash crash, consider making a version of these boxes opaque!
Yes, it is suitable for the camera module!
Or, ah.. is that what a "CSI" connector is?
Or do we have to cut a slot into this case for the camera cable?
Is this case suitable for use with RPi camera module?