Circuit Scribe Lite Kit
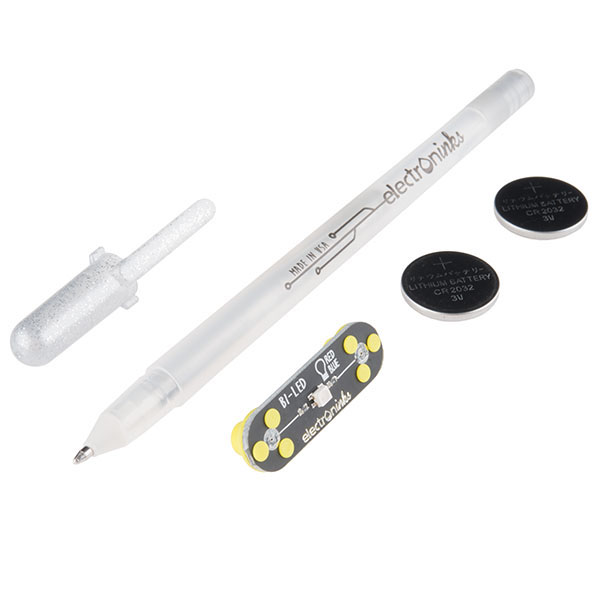
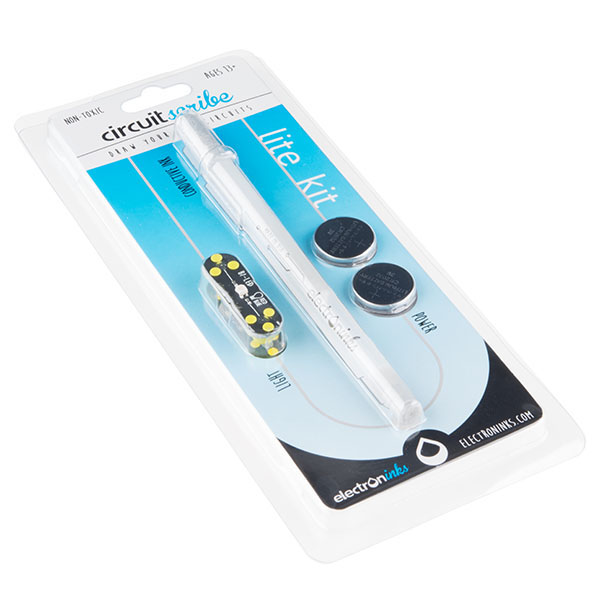
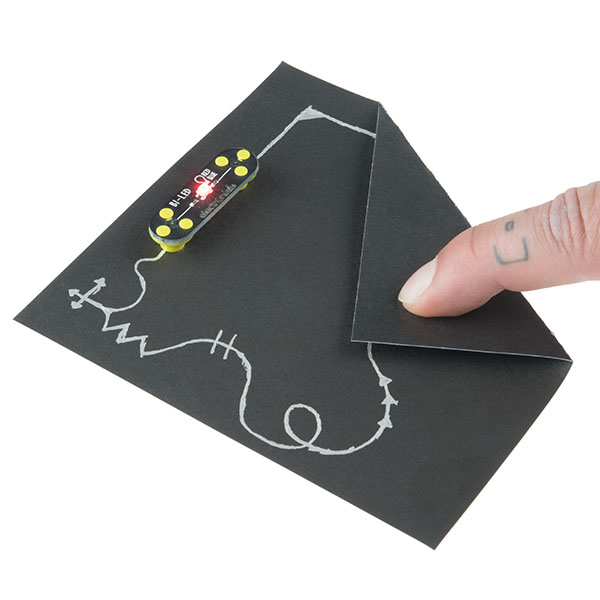
This is the Circuit Scribe Lite Kit, a all-in-one starter pack to create simple circuits with conductive ink. Once you unpack this kit set-up is simple, by drawing two lines that connect the LED module to a battery with the Conductive Ink Pen you will have your first basic circuit. Of course you don't need to just stop at lighting up an LED Module, the Conductive Ink Pen included in this kit can be used for any type of circuit you wish to create!
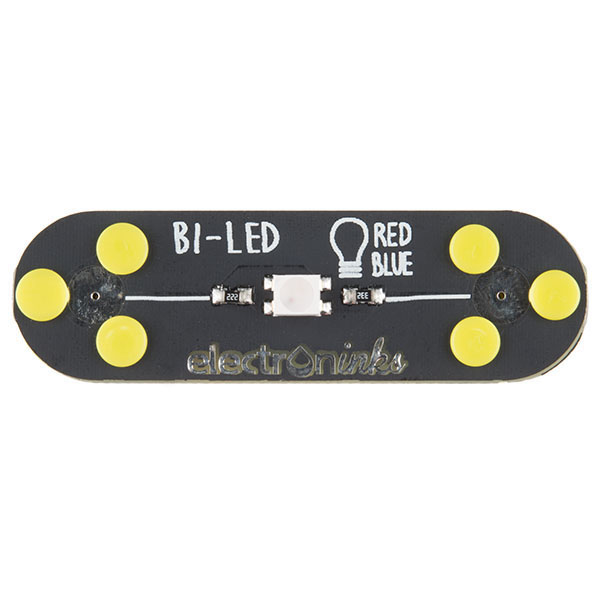
With Circuit Scribe you can draw exactly what you want, no wires or breadboard required. You can build a circuit with nothing but a coin battery, paper clip, and LED, or build out complex circuits with multiple components. The Conductive Ink Pen included in this kit uses a non toxic, silver conductive ink that writes on any surface a regular roller ball pen would with a resistance of 2-10 Ohms/cm. Meanwhile, the LED Module will glow either red or blue depending on which direction the current from the coin cell battery is flowing.
Note: Due to the requirements of shipping the batteries in this kit, orders may take longer to process and therefore do not qualify for same-day shipping. Additionally, these batteries can not be shipped via Ground or Economy methods to Alaska or Hawaii. Sorry for any inconvenience this may cause.
- 1x Conductive Ink Pen
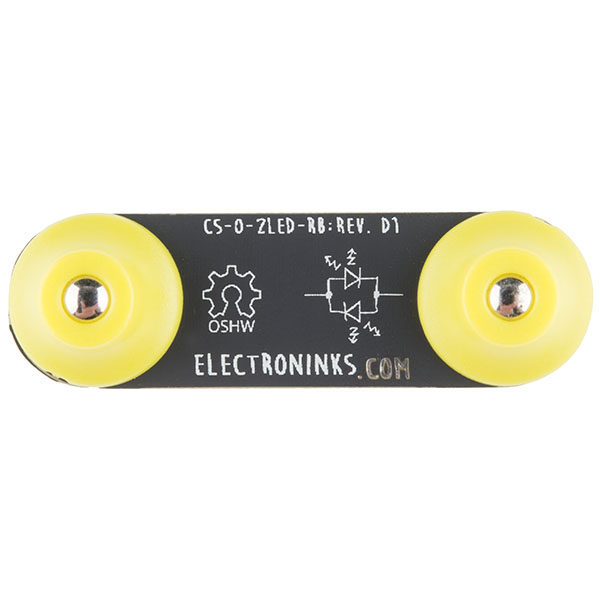
- 1x Bi-LED Module
- 2x 3V Coin Cell Battery (CR2032)
- Ink Resistance: 2-10 Ohms/cm
- Red Light: 2.2V
- Blue Light: 3.5V
- Line Width: 0.4mm
- Squeeze-Free Pen
Circuit Scribe Lite Kit Product Help and Resources
The Great Big Guide to Paper Circuits
May 22, 2015
Let's take a look at different materials we can use to combine paper crafting and electronics.
Origami Paper Circuits
May 26, 2015
A quick tutorial to get you started in the world of light up origami flowers.
Core Skill: DIY
Whether it's for assembling a kit, hacking an enclosure, or creating your own parts; the DIY skill is all about knowing how to use tools and the techniques associated with them.
Skill Level: Noob - Basic assembly is required. You may need to provide your own basic tools like a screwdriver, hammer or scissors. Power tools or custom parts are not required. Instructions will be included and easy to follow. Sewing may be required, but only with included patterns.
See all skill levels
Core Skill: Electrical Prototyping
If it requires power, you need to know how much, what all the pins do, and how to hook it up. You may need to reference datasheets, schematics, and know the ins and outs of electronics.
Skill Level: Rookie - You may be required to know a bit more about the component, such as orientation, or how to hook it up, in addition to power requirements. You will need to understand polarized components.
See all skill levels
Comments
Looking for answers to technical questions?
We welcome your comments and suggestions below. However, if you are looking for solutions to technical questions please see our Technical Assistance page.
Customer Reviews
5 out of 5
Based on 1 ratings:
Surprised how well it works!
I purchased the Circuit Scribe Lite Kit despite some negative reviews on line. I was surprised how well it worked!
Good for small projects.

Can I just by the pen? How much can this pen do (say how many inches or meters can it draw before it runs out?
Sparkfun does not yet stock the pen alone. It draws 60-200m and varies based on surface type. Porous surfaces like napkins yield 60m, and surfaces like photopaper can go 200m+. Normal staples/xerox etc. paper goes to around 150m.
I should never have backed this on kickstarter, seeing as I'm still waiting for them to fulfill the pledge reward.
I like how Adafruit won't stock a kickstarter until the campaign is completed, it's frustrating to see the products for sale here when I pledged Dec 15 2013.
I have soldered to the traces on plain paper but you have to be careful the traces will lift off. Also note: This does not make a good replacement for anything that oscillates. Like I created a 555 timer and had issues as the trace added resistance that normally would not be there with copper. You will have to experiment and test the resistance of the trace. Also note that if you make the trace thicker your resistance goes down.
Can the traces be be soldered with SMD components?
It's tricky and requires the right type of paper or surface (photopaper for example), but yes!
Can I buy just the conductive ink pen? I don't see a listing for just the pen without the LED module and batteries.
I would also like to buy just the pen. Will SFE be offering them?
I saw the "extreme" example. Perhaps I missed something but it wasn;t clear how they got the the processor attached to the paper. The mention super glue and conductive epoxy still unclear how that would work without creating a bunch or shorts or discontinuities.
You can use superglue in the center of the chip to hold it down, use silver epoxy, or z-axis tape as it said.
How do you make the electrical connections to other components like a an arduino mini/micro or other SMD? I saw the example but am unclear on the the connections. Ian
That LED module is actually magnetic, and can be used to squeeze a piece of paper between the module's feet and a steel surface. This video shows how that works: http://youtu.be/qS0pGW37U7k?t=52s
See an extreme example with an entire arduino drawn on paper with surface mount components: http://www.instructables.com/id/Paperduino-20-with-Circuit-Scribe/