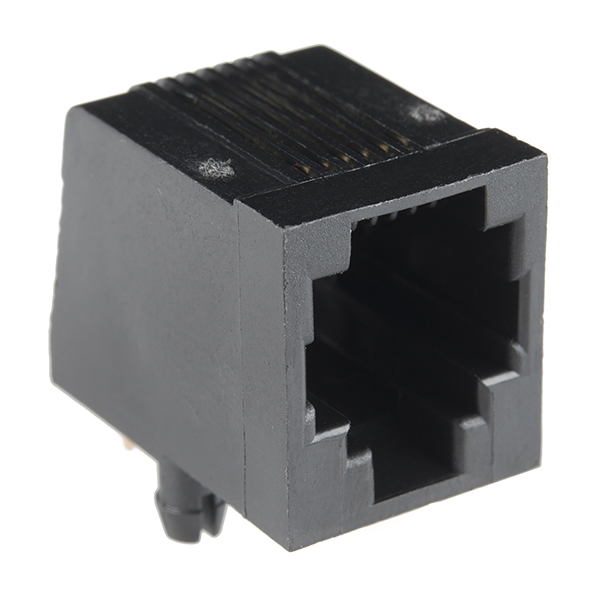
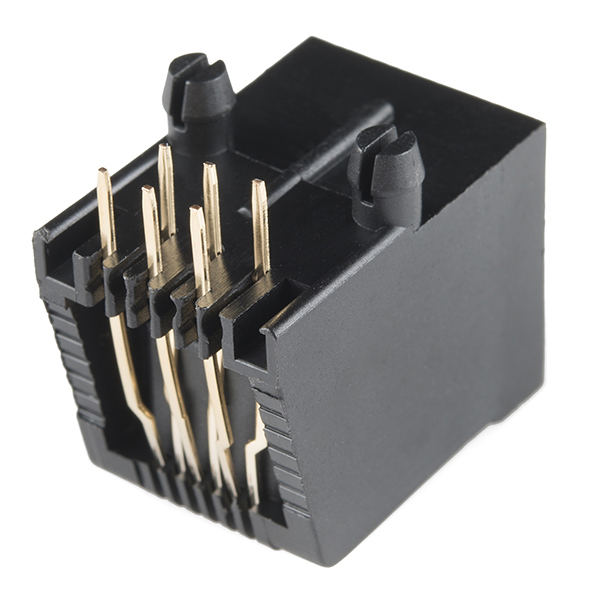
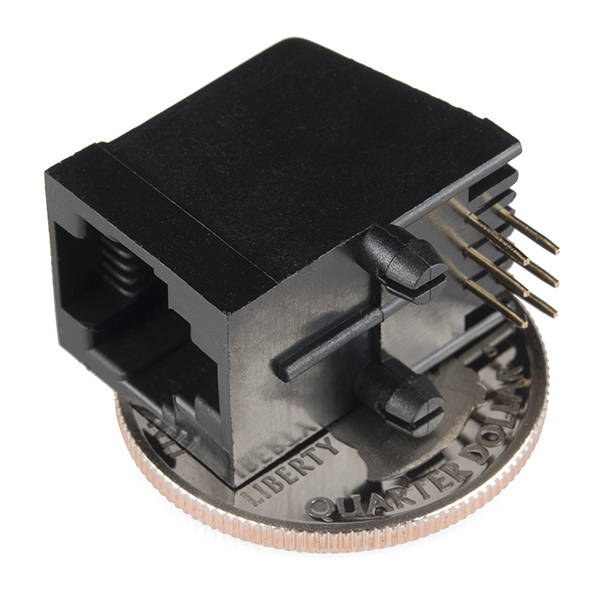
Through-hole RJ11 socket with PCB mounting posts. 6-pin connection - housing accepts common telephone connectors/wiring.
If you need a board for this connector be sure to check out our SparkFun RJ11 Breakout. Two boards are included so be sure to buy two RJ11 connectors to fully utilize them!
RJ11 6-Pin Connector Product Help and Resources
Core Skill: Soldering
This skill defines how difficult the soldering is on a particular product. It might be a couple simple solder joints, or require special reflow tools.
Skill Level: Noob - Some basic soldering is required, but it is limited to a just a few pins, basic through-hole soldering, and couple (if any) polarized components. A basic soldering iron is all you should need.
See all skill levels
Comments
Looking for answers to technical questions?
We welcome your comments and suggestions below. However, if you are looking for solutions to technical questions please see our Technical Assistance page.
Customer Reviews
No reviews yet.


Este conector é para Arduino ?
Whats the library for this in Eagle?
You can easily lift the conductors and move them over to the other slots. Use some pliers to bend them straight.
Just to let everyone know, this item is only one RJ-11 connector, NOT 2 like the photo depicts. I found out the hard way and had to make a second order for the 2nd connector needed for my project.
Use these and get the RJ45 breakout board (BOB-00716). The big pins won't fit but snip them off and superglue the connector to the board and solder the pins and a header. Works GREAT to get RJ11 or 12 phone cable to the breadboard.
A couple of minutes with your Dremmel tool or a small file and you can elongate the mounting holes of the RJ-45 breakout toward the center. It doesn't take much. This will allow you to use the board with an RJ-11 jack and still heat stake the mounting pins rather than super gluing.
Just for those interested. These do not fit standard through hole boards, you have to have a custom built board for these.
Either their break out board or your own custom Pcb.
The pin layouts are shifted 50% off center for the second row. So while one set of pins fit, the second set do not.