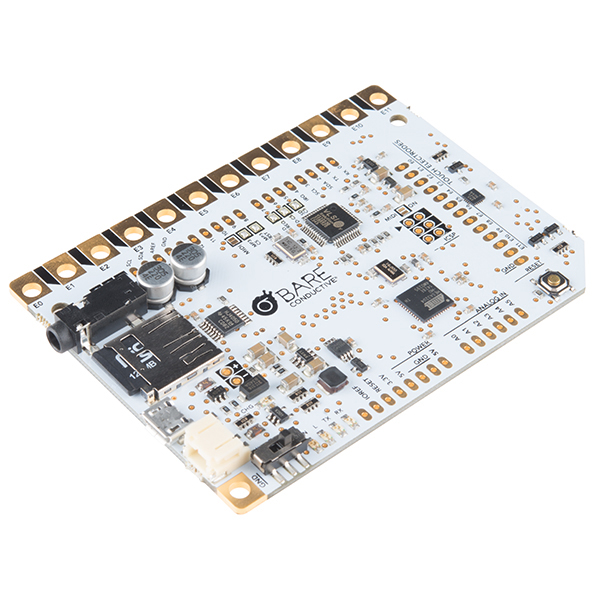
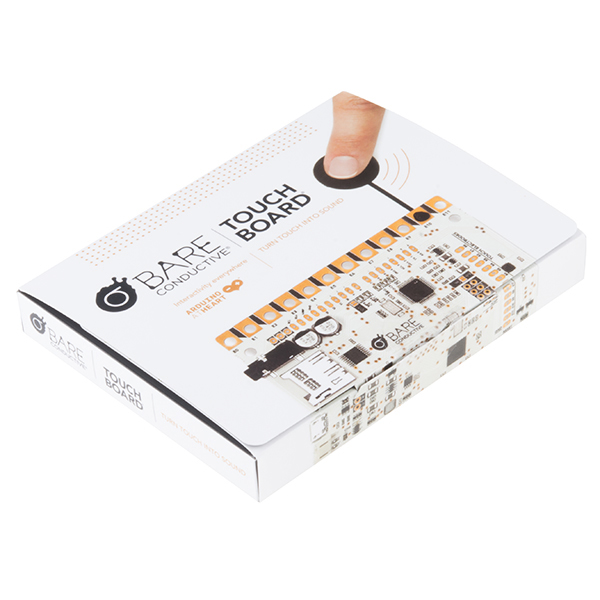
The Touch Board from Bare Conductive is an easy-to-use Arduino@Heart board that gives you the ability to turn almost any material or surface into a sensor. Each Touch Board offers 12 electrodes for your a conductive ink or other type of connector that can be drawn or attached to create light switches, musical instruments, or custom interactive surfaces all through the Arduino IDE. The Bare Conductive Touch Board is even equipped with an onboard MP3 player making each board capable of turning your favorite song into a MIDI tune. Simply put: if you can do something with an Arduino or Arduino-compatible device, you can do it (and more) with the Touch Board and some conductive ink as well!
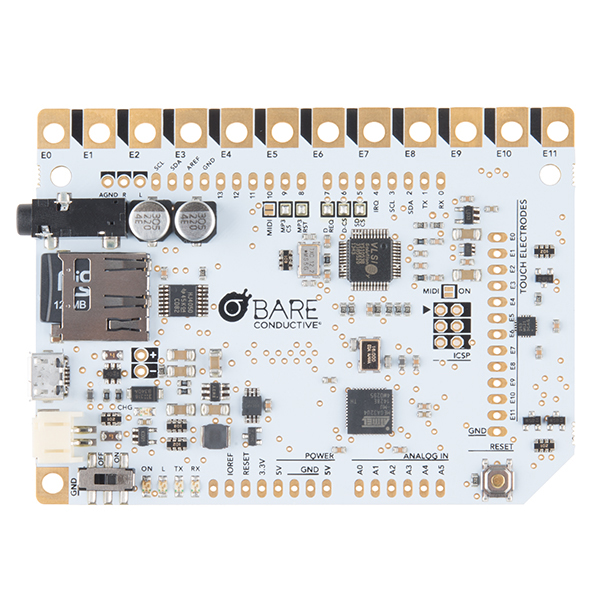
The Touch Board has been specifically designed to be a microcontroller board with dedicated capacitive touch and MP3 decoder ICs. Each board has a 3.5mm audio jack and micro SD card holder (for file storage), as well as its own 128MB micro SD card. The Touch Board has been based around the ATmega32U4 and runs at 16MHz from 3-5.5VDC. It has everything you would expect to be on an Arduino-type device including, a micro USB connector, a JST connector for an external lithium polymer (LiPo) cell, a power switch and a reset button. It should be known that there is limit of 32GB to the microSD card sized used with this board.
The Bare Conductive Touch Board is similar to the Arduino Leonardo and can be programmed using the Arduino IDE (1.5.6 or later). To power the Touch board simply attach it to a micro USB connection or from a 3.7V lithium polymer (LiPo) cell connected to the 2-way JST PH series connector. The onboard ATmega32U4 can appear to a connected computer as a mouse or a keyboard, serial port, or USB MIDI device.
Note: The Touch Board does NOT include a micro USB cable or LiPo battery. These items will need to be purchased separately and can be found in the Recommended Products section below.
- 1x Touch Board
- 1x microSD Card (128MB)
- Arduino compatible (recognized as an Arduino Leonardo in IDE)
- Atmel ATMega32U4 Microprocessor
- Freescale MPR121 dedicated touch interface
- VLSI VS1053B audio processor
- Arduino Shield Compatible (check pins available)
- 32 KB of Flash Memory of which 4 KB is used for bootloader
- 5V operating voltage (automatic voltage selector for USB or battery operation)
- Built in LiPo battery charging with onboard boost circuit for 5V operation
- 16 MHz clock speed
- Can be powered and programmed over USB
- 20 digital I/O pins (3 used for Touch IC and 5 for MP3 IC – can be disabled)
- 7 PWM channels
- 12 analog input channels
- 12 Touch electrodes of which 8 can be configured as extra digital inputs or outputs with PWM capability
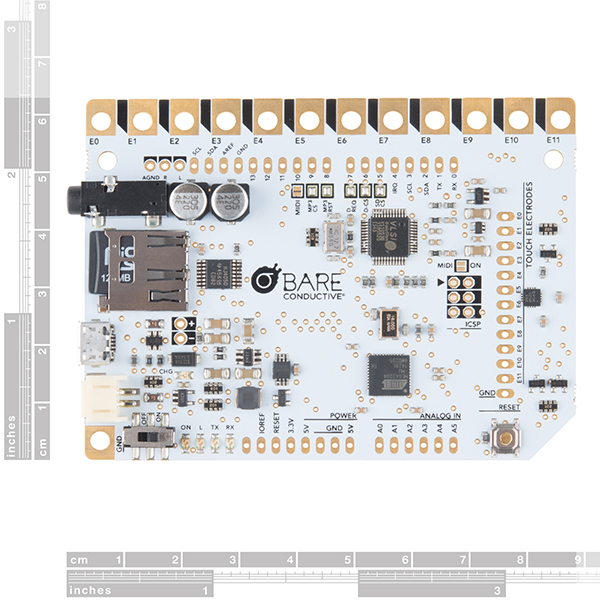
- 84mm x 62mm foot print with maximum height of 10mm (audio connector)
- Up to 32GB via micro SD card
- HID Capable
Bare Conductive Touch Board Product Help and Resources
Bare Conductive Musical Painting
May 5, 2015
Learn how to make a musical painting using the Bare Conductive Touch Board and Conductive Paint.
Choosing an Arduino for Your Project
December 11, 2017
Examining the diverse world of Arduino boards and understanding the differences between them before choosing one for a project.
Lost your SD card?
If you lost your SD card or deleted the original files from your card, you can download a copy here! :-)
Core Skill: DIY
Whether it's for assembling a kit, hacking an enclosure, or creating your own parts; the DIY skill is all about knowing how to use tools and the techniques associated with them.
Skill Level: Noob - Basic assembly is required. You may need to provide your own basic tools like a screwdriver, hammer or scissors. Power tools or custom parts are not required. Instructions will be included and easy to follow. Sewing may be required, but only with included patterns.
See all skill levels
Core Skill: Programming
If a board needs code or communicates somehow, you're going to need to know how to program or interface with it. The programming skill is all about communication and code.
Skill Level: Rookie - You will need a better fundamental understand of what code is, and how it works. You will be using beginner-level software and development tools like Arduino. You will be dealing directly with code, but numerous examples and libraries are available. Sensors or shields will communicate with serial or TTL.
See all skill levels
Core Skill: Electrical Prototyping
If it requires power, you need to know how much, what all the pins do, and how to hook it up. You may need to reference datasheets, schematics, and know the ins and outs of electronics.
Skill Level: Rookie - You may be required to know a bit more about the component, such as orientation, or how to hook it up, in addition to power requirements. You will need to understand polarized components.
See all skill levels
Comments
Looking for answers to technical questions?
We welcome your comments and suggestions below. However, if you are looking for solutions to technical questions please see our Technical Assistance page.
Customer Reviews
4.3 out of 5
Based on 3 ratings:
1 of 1 found this helpful:
It's working amazing best product ever
1 of 1 found this helpful:
Awesome sauce!
Simple. Easy. Beautiful. Paint, sew, make something simple or more complex Works with Ableton and Max, midi, music
So far, so good!
1 of 1 found this helpful:
Awesome!
Lov'it! I use it as a midi Controller for Ableton 10, works great!

I'm curious about the durability of this for use in a high-traffic public space. Has anyone tried putting this with the suggested clear coat, and if so, what material and how did it work?
Great question! There's a video attached to this page that we filmed back in 2015 for a project where we painted the conductive paint onto one of our walls here at SparkFun HQ. Here is the video from three years ago. Here is what the wall looks like today. It is important to note that this unit has never been intentionally turned off (only in the rare situation where we have lost power to the building). The paint is getting a little crackled (which needs a bit of a touch-up, to be fair) because I don't believe we put a clear coat on it. It is also one of the most visited parts on our in-building tours so it gets weekly, if not daily, attention and use.
There is also a link in the Documents tab that will show you how to paint over the conductive paint with a different color as well.
If you have any more questions feel free to ask or check out our Documents section! Thanks!