Walabot Developer
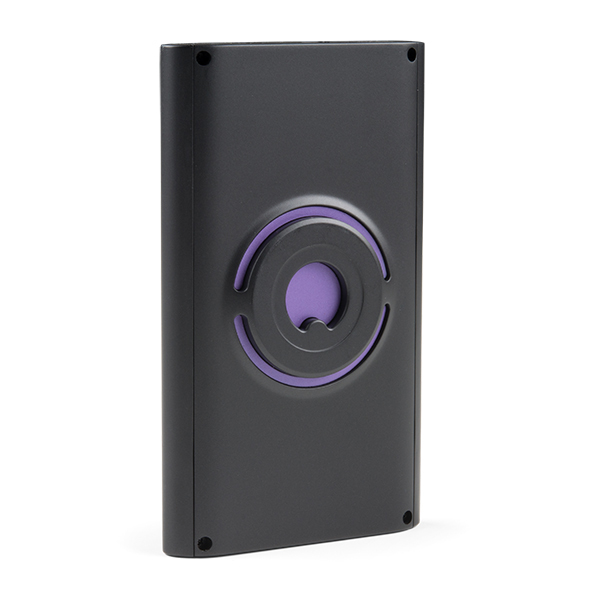
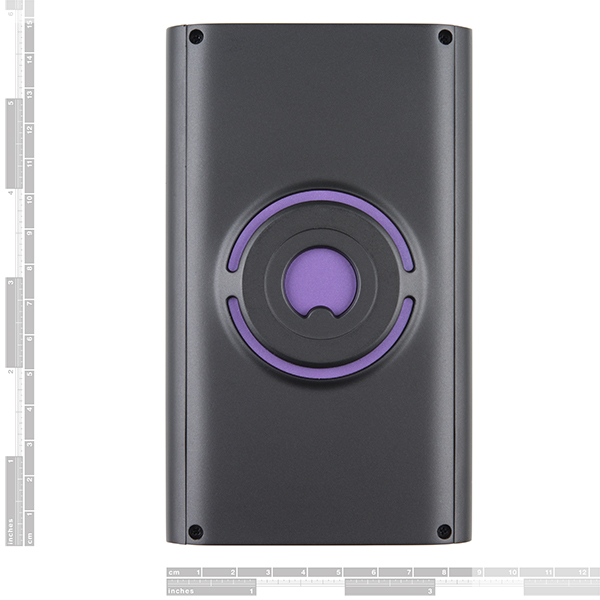
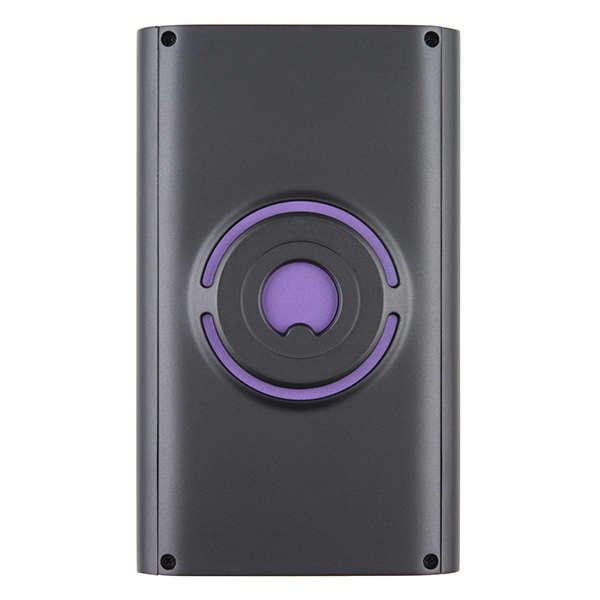
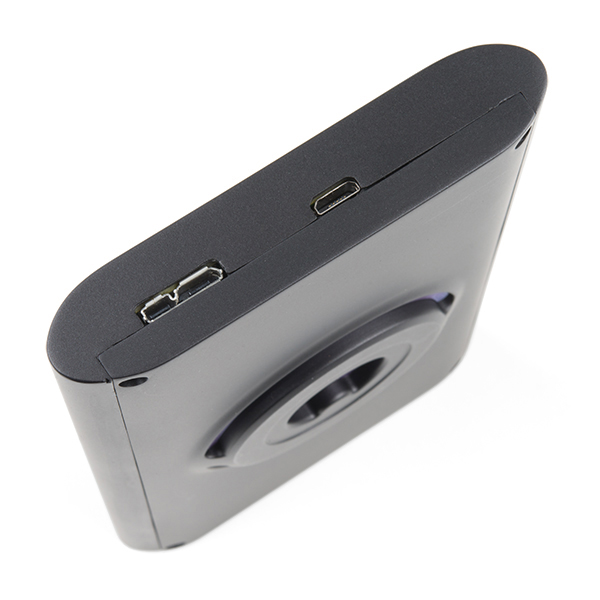
The Walabot Developer is a programmable 3D sensor inside a protective enclosure that looks into objects using radio frequency technology. This technology breaks through known barriers, bringing highly sophisticated sensing capabilities to your fingertips. This Walabot Developer version uses an 18-antenna array to illuminate the area in front of it and sense the returning signals. The signals are produced and recorded by a VYYR2401 A3 System-on-Chip integrated circuit. They are then communicated to a host device (like your phone or computer) using a USB interface, which is implemented using a Cypress controller.
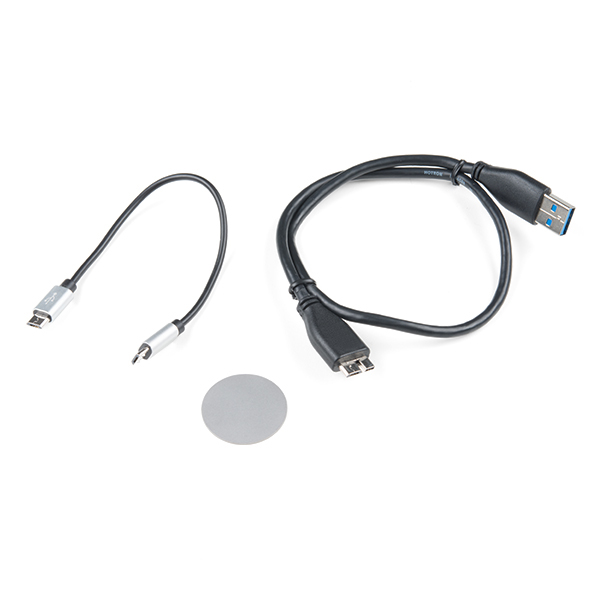
Through broadband recordings from multiple transmit-receive antenna pairs, the Walabot Developer is able to analyze and reconstruct a three-dimensional image of the environment. Analysis of sequences of images allows detecting changes in the environment. Each Developer version is capable of short-range imaging into dielectric environments such as drywall and concrete, as well as target and breathing pattern detection. Each includes a micro-B 3.0 to USB cable and a micro-B to micro-B USB cable.
- 1x Walabot Developer
- 1x micro-B 3.0 to USB cable
- 1x micro-B to micro-B USB cable
- Frequency range: 6.3--8GHz
- 18-antenna array
- Three-dimensional radio frequency-based sensor
- Uses an array of linearly polarized broadband antennas
- Radar mode API for 3D target tracking and monitoring
- Breathing API
- Imaging API
- Raw signal data
- High 3D resolution
- Range measurement and motion detection capabilities
- Walabot Black Shell Case
Walabot Developer Product Help and Resources
Getting Started with Walabot
February 15, 2018
See through walls, track objects, monitor breathing patterns, and more using the power of radio frequency with the Walabot! In this tutorial, we will explore Walabot’s features using the Software Demo Kit (SDK) on Windows and the Application Programming Interface (API) on Linux-based distributions for embedded projects.
Core Skill: Programming
If a board needs code or communicates somehow, you're going to need to know how to program or interface with it. The programming skill is all about communication and code.
Skill Level: Competent - The toolchain for programming is a bit more complex and will examples may not be explicitly provided for you. You will be required to have a fundamental knowledge of programming and be required to provide your own code. You may need to modify existing libraries or code to work with your specific hardware. Sensor and hardware interfaces will be SPI or I2C.
See all skill levels
Core Skill: Electrical Prototyping
If it requires power, you need to know how much, what all the pins do, and how to hook it up. You may need to reference datasheets, schematics, and know the ins and outs of electronics.
Skill Level: Rookie - You may be required to know a bit more about the component, such as orientation, or how to hook it up, in addition to power requirements. You will need to understand polarized components.
See all skill levels
Comments
Looking for answers to technical questions?
We welcome your comments and suggestions below. However, if you are looking for solutions to technical questions please see our Technical Assistance page.
Customer Reviews
No reviews yet.

This video is very helpful and comprehensive: https://www.youtube.com/watch?v=k_32oZrIzY8
Yeah, there were a few teardowns and reviews of the Walabot online. I have not seen that one yet. Thanks for linking. =)
Are there 18 or 15 antennas?
As listed in the datasheet, the Walabot Creator has 15 antennas and Walabot Developer has 18 antennas. The information listed in under the Features tab is correct, with 18 antennas, since this product is the Developer version.
What is the ERP of this? And what frequency does this operate at?
I am not familiar with the acronym "ERP" but the frequency range is listed in the description under the "Features" tab:
What kind of an image do you get if you use it like a studfinder on a wall?
It depends on the program and app that you are using. Some of it is documented in the tutorial => Getting Started with Walabot: Example SDK | Imaging - Short Range. If you were reading a pipe behind a wall or table:
It would look like this in the SDK for Windows:
This is how the values may look when using it with Python on a Raspberry Pi:
Those are a few basic examples to get started. You would need to adjust the code for your application. Eventually, you could develop a project similar to the Android app to see the orientation of the material behind a wall similar to the SDK for Windows, map an image, and determine the dielectric properties of the material (like metal, plastic, or wood) => https://youtu.be/p3gDX75a_b4 . I have not tested the Walabot Developer's app for Android.