SparkFun IoT RedBoard - ESP32 Development Board
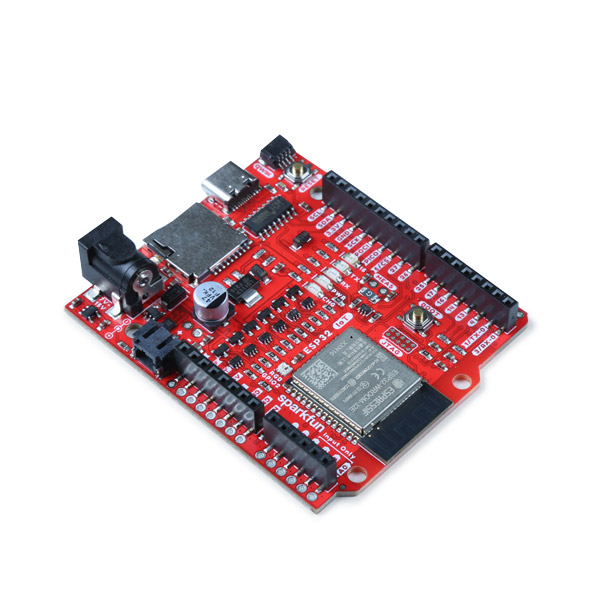
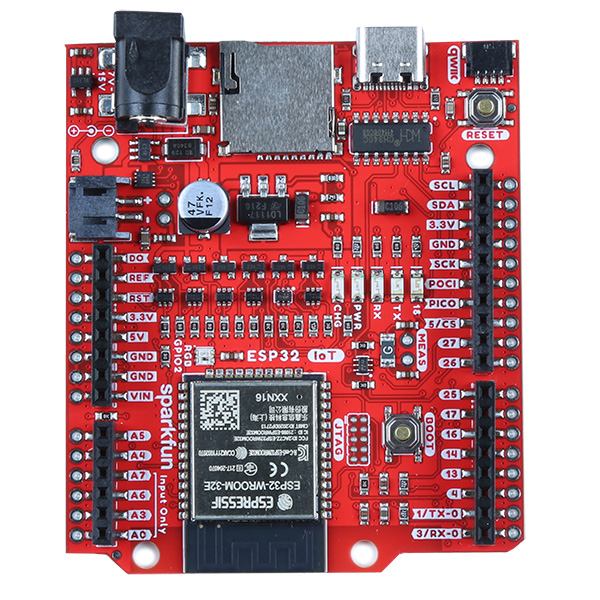
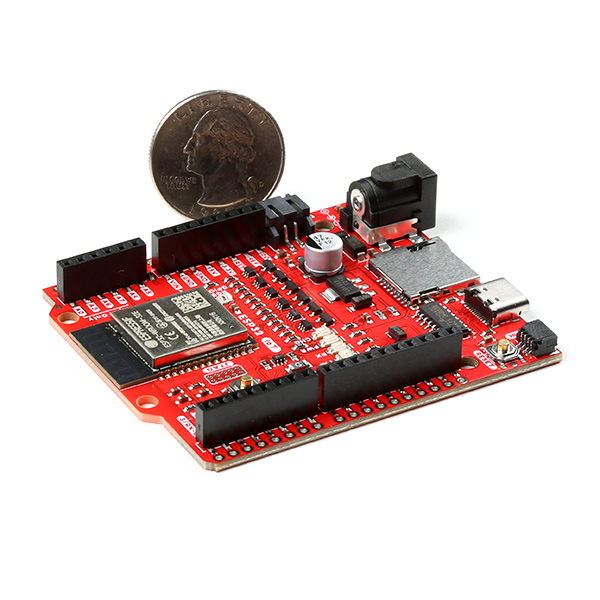
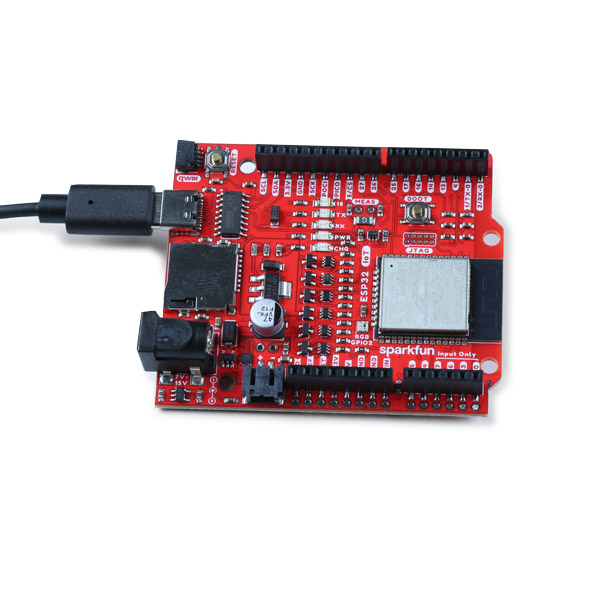
The SparkFun IoT RedBoard is an ESP32 Development Board that includes everything but the kitchen sink! Espressif's ESP32 WROOM is a powerful WiFi and Bluetooth® MCU module that targets a wide variety of applications. At the core of this module is the ESP32-D0WDQ6 chip which is designed to be both scalable and adaptive. The IoT RedBoard can target a wide variety of applications, ranging from low-power sensor networks to the most demanding tasks, such as voice encoding, music streaming, and MP3 decoding. The IoT ReadBoard also utilizes our handy Qwiic Connect System which means no soldering or shields are required to connect it to the rest of your system!
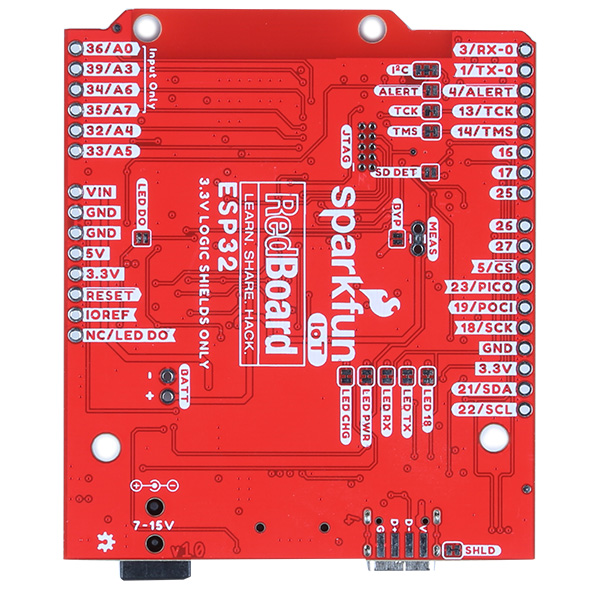
The USB-to-serial is achieved with a USB-C connector with through hole anchoring and the ubiquitous CH340G requiring fewer driver installs. We've included 3.3V voltage translation and a Qwiic connector to the edge of the board to allow for quick and seamless connection to our ever-growing line of I2C based Qwiic products. The board even includes a microSD socket if your application requires you to log and save data to a memory card. For remote power, we have included a 2-pin JST connector to attach a single cell, LiPo battery. There's also a built-in LiPo charge IC (MCP73831) and fuel gauge (MAX17048).
The operating system is freeRTOS with LwIP; TLS 1.2 with hardware acceleration is built in as well. Secure (encrypted) over the air (OTA) upgrade is also supported, so that users can upgrade their products even after their release, at minimum cost and effort.
The SparkFun Qwiic Connect System is an ecosystem of I2C sensors, actuators, shields and cables that make prototyping faster and less prone to error. All Qwiic-enabled boards use a common 1mm pitch, 4-pin JST connector. This reduces the amount of required PCB space, and polarized connections mean you can’t hook it up wrong.
- CPU and OnChip Memory
- ESP32-D0WD-V3 embedded, Xtensa dual-core 32-bit LX6 microprocessor, up to 240MHz
- 448KB ROM
- 520KB SRAM
- 16KB SRAM in RTC
- WiFi
- 802.11b/g/n
- Bit rate: 802.11n up to 150Mbps
- A-MPDU and A-MSDU aggregation
- 0.4µs guard interval support
- Center frequency range of operating channel: 2412 ~ 2484MHz
- Bluetooth®
- Bluetooth® V4.2 BR/EDR and Bluetooth® LE specification
- Peripherals
- microSD card, UART, SPI, SDIO, I2C, LED PWM, Motor PWM, I2S, IR, pulse counter, GPIO, capacitive touch sensor, ADC, DAC, TWAI® (compatible with ISO 11898-1, i.e. CAN Specification 2.0)
- Integrated Components on Module
- 40MHz crystal oscillator
- 4/8/16 MB SPI flash
- 4-pin Qwiic Connector
- 2-pin JST Connector for Single Cell, LiPo Batteries
- Built-in LiPo Charge IC (MCP73831)
- Default Charge Rate: 500mA
- LiPo Fuel Gauge (MAX17048)
- LEDs
- CHG
- PWR
- RX/TX
- User LED
- Addressable RGB LED (WS2812)
SparkFun IoT RedBoard - ESP32 Development Board Product Help and Resources
IoT RedBoard ESP32 Development Board Hookup Guide
August 18, 2022
Delve into the functionality-rich world of the IoT RedBoard ESP32 Development Board!
GNSS Correction Data Receiver (NEO-D9S) Hookup Guide
October 27, 2022
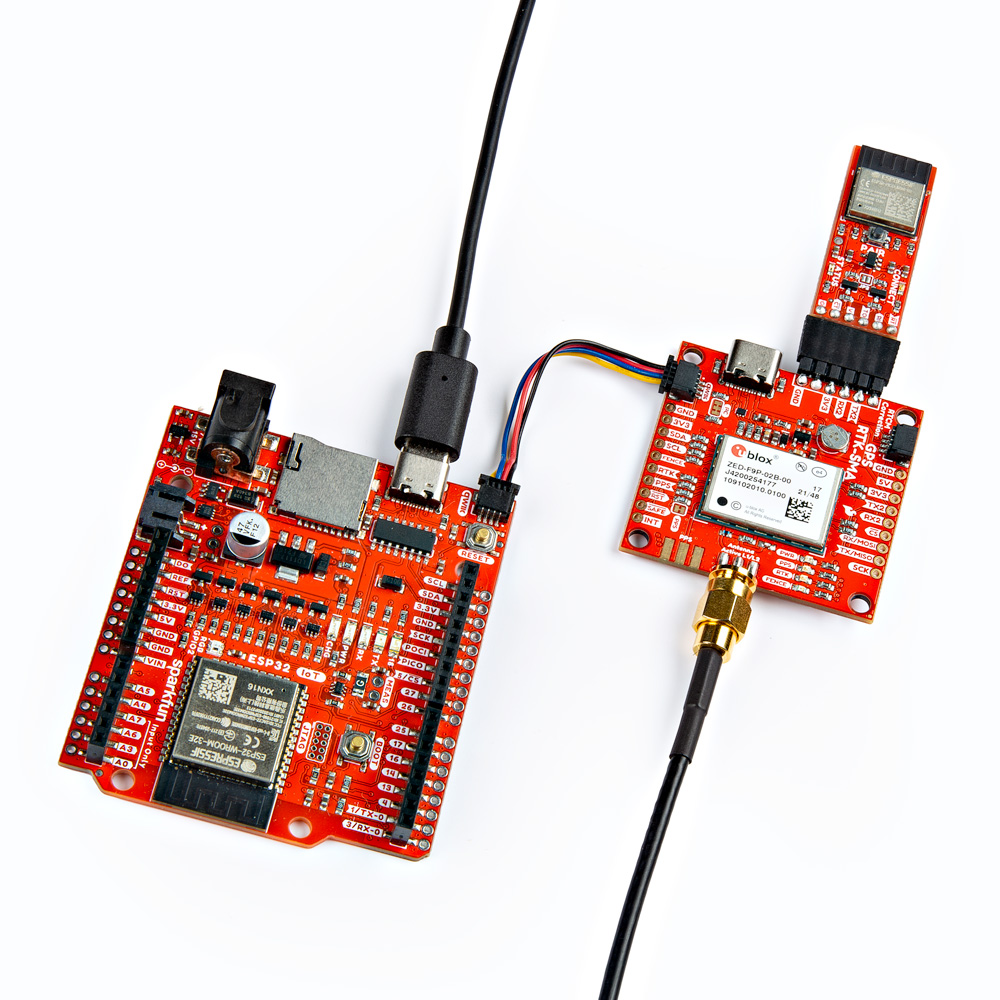
Add GNSS correction data to your high precision GNSS (HPG) receiver with the u-blox NEO-D9S! This tutorial will get you started with the ZED-F9P, NEO-D9S, and the ESP32 IoT RedBoard.
Audio Codec Breakout - WM8960 Hookup Guide
January 26, 2023
The SparkFun Audio Codec Breakout - WM8960 is a low power, high quality stereo codec chock full of features. In this tutorial, some of these features by using an Arduino microcontroller to configure the audio codec and pass audio to the headphone or speaker channels.
Getting Started with u-blox Thingstream and PointPerfect
January 23, 2023
Interested in high precision GNSS without setting up a base station?
Analog MEMS Microphone (VM2020) Hookup Guide
February 9, 2023
Get started with the SparkFun analog MEMS microphone breakout board! In this tutorial, we will be connecting the differential MEMS microphone to an Arduino using the WM8960 audio codec.
LiPo Fuel Gauge (MAX1704X) Hookup Guide
February 23, 2023
Monitor your LiPo battery with the LiPo fuel gauge! In this tutorial, we will be using the MAX17043 and MAX17048 to monitor a single cell, LiPo battery over the Arduino Serial Monitor. We will also connect a display to view the output without the need to connect the microcontroller to a computer.
Fading with the MOSFET Power Switch and Buck Regulator
July 1, 2024
In this tutorial, we will slowly turn on the load and then slowly turn it off using the N-channel MOSFET.
Core Skill: Programming
If a board needs code or communicates somehow, you're going to need to know how to program or interface with it. The programming skill is all about communication and code.
Skill Level: Rookie - You will need a better fundamental understand of what code is, and how it works. You will be using beginner-level software and development tools like Arduino. You will be dealing directly with code, but numerous examples and libraries are available. Sensors or shields will communicate with serial or TTL.
See all skill levels
Core Skill: Electrical Prototyping
If it requires power, you need to know how much, what all the pins do, and how to hook it up. You may need to reference datasheets, schematics, and know the ins and outs of electronics.
Skill Level: Rookie - You may be required to know a bit more about the component, such as orientation, or how to hook it up, in addition to power requirements. You will need to understand polarized components.
See all skill levels
Comments
Looking for answers to technical questions?
We welcome your comments and suggestions below. However, if you are looking for solutions to technical questions please see our Technical Assistance page.
Customer Reviews
3 out of 5
Based on 7 ratings:
2 of 2 found this helpful:
Non-functional waste of money
None of my computers work with this board while other boards not from SparkFun do. Doesn’t matter which OS it is: Windows 10, LinuxMint or RaspberryPi OS, it never works.
Try following the hookup guide (ensure the correct drivers are installed too!) https://learn.sparkfun.com/tutorials/iot-redboard-esp32-development-board-hookup-guide/software-setup-and-programming - any luck?
If not, head over to www.sparkfun.com/returns to initiate a return
1 of 1 found this helpful:
Awesome and powerful board!
Grabbed this board for a research project and it has snowballed into a conference talk. I will likely be buying these in bulk for handouts throughout the year. Great work, SparkFun!!
1 of 1 found this helpful:
No
was following the hook up guide for this board and i cant find any link to the example programs mentioned in the tutorial and they don't feature the code anywhere in the guide afaik EDIT: im not sure how else to respond to this but i think i phrased my initial issue incorrectly. i dont have access to File -> Examples -> WiFi -> WiFiAccessPoint and im not sure what to do about this as i cant comment on the tutorial or the product page for this board and google doesnt return any results for "Examples for SparkFun ESP32 IoT RedBoard"
Hi, I just noticed this comment. If you have not already, make sure to have the board selected as "SparkFun ESP32 IoT RedBoard" to view ESP32 related examples in the Arduino Menu. Selecting the board definition will bring up the related libraries for any architecture.
Are you following along here? https://learn.sparkfun.com/tutorials/iot-redboard-esp32-development-board-hookup-guide/example-1-blink It should be File -> Examples -> Basics -> Blink
Good, but misaligned header!
I dislike the offset header for the 10-pin connector for 26, 27, ..., SDA and SCL -- this board cannot be used on solderless breadboards with standard 0.10" spacing. I wish I had noticed earlier that this layout keeps the same spacing mistake as Arduino boards. Other than that, it does all that I expected.
Avoid
I am beginning to wonder if Sparkfun sells any Arduino boards or their versions of Arduino boards that actually work. It started with the basic ESP32 development board which didn't connect on any of my Windows or Mac machines. So I went back to an Arduino 4 wifi which I was able to load the Blink program on to but after that it stopped working. Sparkfun graciously sent me this board as a replacement but the same thing happened. I was able to upload the blink program and it worked but then after that nothing else would upload. I haven't had this issue with the same type of boards purchased from Adafruit or knockoffs that I've purchased on line or in Hong Kong or directly from Arduino.
Sorry to hear you are running into issues here. We do quality control the products we manufacture inhouse. If you could post on the forums and provide as many details as possible we can try and see what the problem is: https://forum.sparkfun.com/
Easy to setup and use
It was very easy to setup, using the examples on the SparkFun web site. I'd like to see a future version with more Audio I/O capabilities (ADC, DAC, support variable audio sample rates and bit depth, 3.5mm jacks, etc.) Thanks for a great product!

Had to uninstall every USB driver and reboot before my computer would recognise this board. However, all working now. Strange design choice to wire the activity led to the SCK line that in a datalogger was sure to be used. Regards, Ron
Will there be any interest in making this with the external antenna hookup?