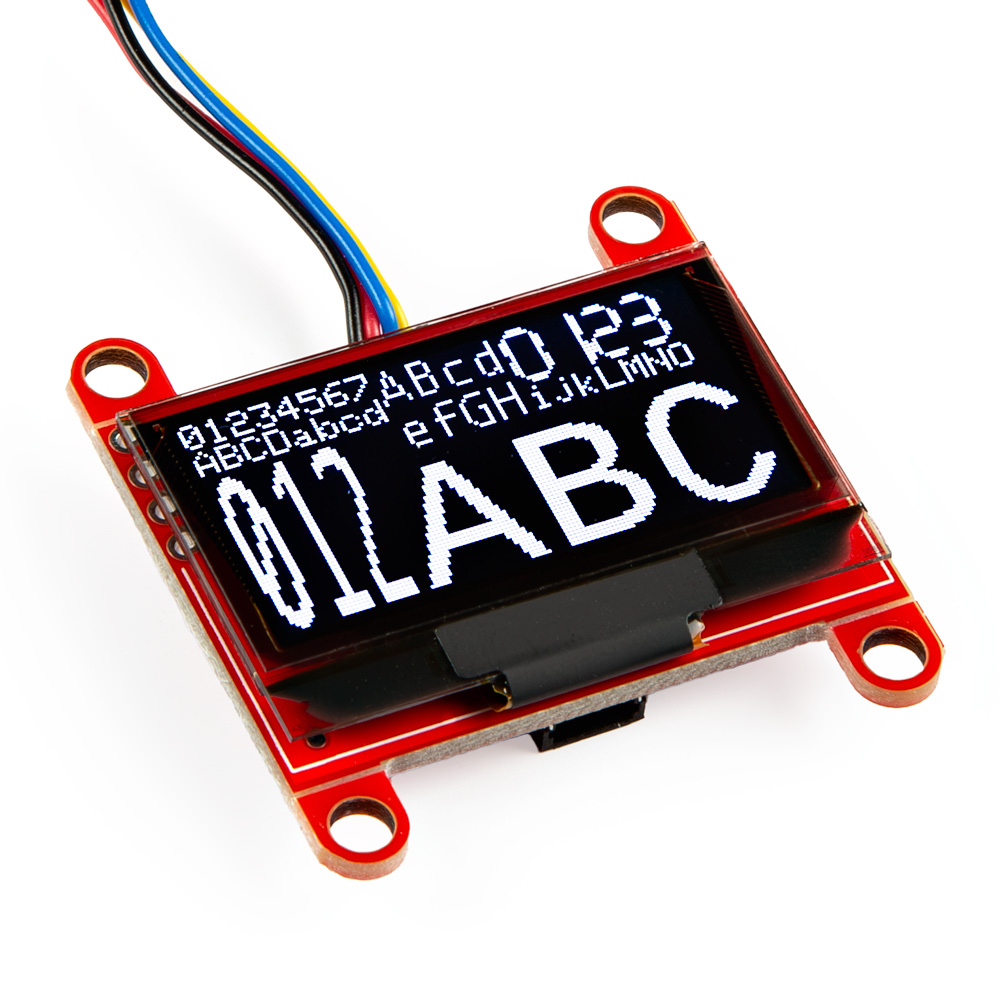
SparkFun Qwiic OLED - (1.3in., 128x64)
The SparkFun Qwiic 1.3in OLED is a compact, easy-to-use display perfect for adding a visual element to your Arduino, Raspberry Pi, or other microcontroller projects. With a vibrant 1.3-inch OLED screen and a resolution of 128x64 pixels that deliver crisp white-on-black, it's ideal for displaying text, graphics, and even simple animations.
Since this OLED is Qwiic-enabled, hook-up is a breeze and requires no soldering! The default I2C address is 0x3D, but by soldering the address jumper on the back of the board, you can select 0x3C.
The SparkFun Qwiic OLED 1.3in. takes advantage of the existing SparkFun OLED Arduino library to make it simple to get up and running quickly. Download it through the Arduino Library Manager tool by searching for 'SparkFun OLED' or download it from the GitHub repository linked in the Documents tab.
Whether you're a beginner or an experienced maker, the SparkFun Qwiic OLED is a versatile and affordable display that can add a lot of functionality to your projects.
The SparkFun Qwiic Connect System is an ecosystem of I2C sensors, actuators, shields and cables that make prototyping faster and less prone to error. All Qwiic-enabled boards use a common 1mm pitch, 4-pin JST connector. This reduces the amount of required PCB space, and polarized connections mean you can’t hook it up wrong.
- Number of Pixels: 128 x 64
- Panel Size: 34.5 x 23.0 x 1.4 (mm)
- Active Area: 29.42 x 14.7 (mm)
- I2C Address: 0x3D (default), 0x3C (selectable)
- 2x Horizontal Qwiic Connectors
- Supply Voltage: 3.0-3.3V
Comments
Looking for answers to technical questions?
We welcome your comments and suggestions below. However, if you are looking for solutions to technical questions please see our Technical Assistance page.
Customer Reviews
3 out of 5
Based on 3 ratings:
not compatible with other SparkFun hardware
Works fine with Adafruit Metro Mini board... but does NOT work properly with SparkFun's own Qwiic Pro Micro - USB-C (ATmega32U4), displays nonsense on right half of screen. Misbehaves the same way with both OLED displays I bought on the same order.
Okay
But it needs proper “learn” pages for it to make it work however,
Seems very good with graphics but the arduino library doesn't have enough fonts for me.
Seems very good with graphics but the arduino library doesn't have enough fonts for me.
I would like a 7x14 font to get 4 rows of text with as large a font as possible. So far I haven't managed to generate a font using the MicroView tutorial (https://learn.sparkfun.com/tutorials/microview-hookup-guide/creating-fonts-for-microview). I know this isn't a MicroView, but the fonts provided with theSparkFun_Qwiic_OLED_Arduino_Library are from https://github.com/geekammo/MicroView-Arduino-Library.


I tried a quick test using a Qwiic Pro Micro C. Neither the example code for this device as shown in the Hookup guide, nor the Hello Example in the library seem to work right. The left half of the display seems to work; the other half is filled with random dots though the dot pattern is the same across restarts. Writing to the right half puts something on the screen but not the correct character patterns. The erase() method does not change the pattern on the right half, including anything previously written there.
I swapped out the Pro Micro with a SAM21 Qwiic Micro and everything seems to be working ok.
To be continued ...