FTDI Basic 3.3V - USB to Serial Retail
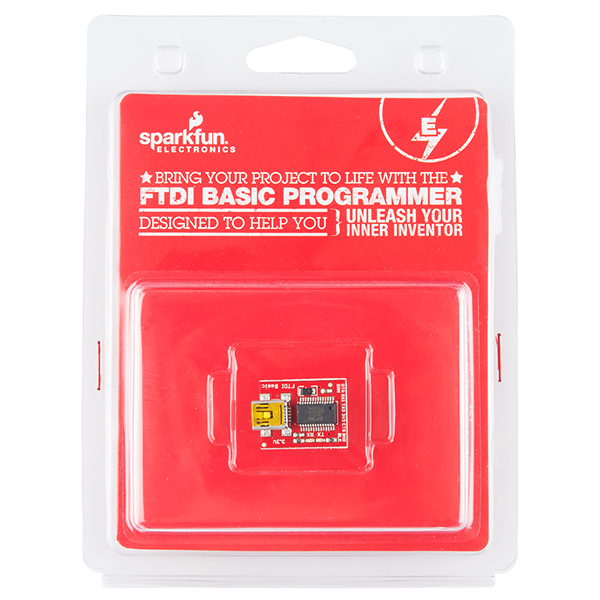
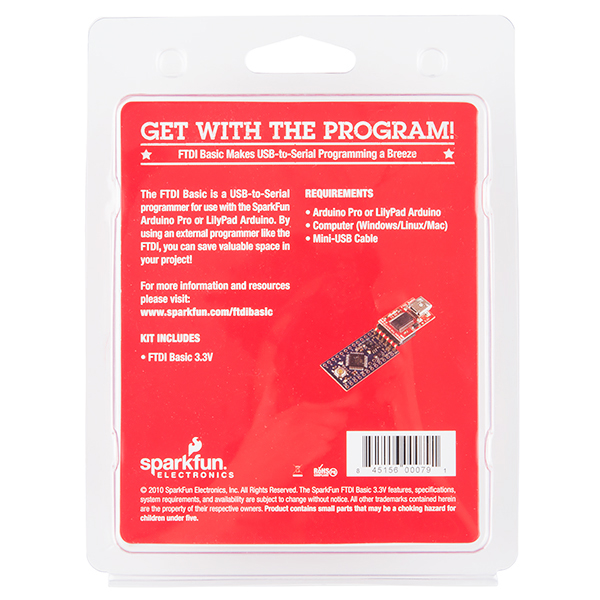
This is the retail version of our FTDI Basic 3.3v. This is the same as our regular FTDI Basic, but in retail packaging.
This is a basic breakout board for the FTDI FT232RL USB to serial IC. The pinout of this board matches the FTDI cable to work with official Arduino and cloned 3.3V Arduino boards. It can also be used for general serial applications. The major difference with this board is that it brings out the DTR pin as opposed to the RTS pin of the FTDI cable. The DTR pin allows an Arduino target to auto-reset when a new Sketch is downloaded. This is a really nice feature to have and allows a sketch to be downloaded without having to hit the reset button. This board will auto reset any Arduino board that has the reset pin brought out to a 6-pin connector.
The pins labeled BLK and GRN correspond to the colored wires on the FTDI cable. The black wire on the FTDI cable is GND, green is DTR. Use these BLK and GRN pins to align the FTDI basic board with your Arduino target.
There are pros and cons to the FTDI Cable vs the FTDI Basic. This board has TX and RX LEDs that allow you to actually see serial traffic on the LEDs to verify if the board is working, but this board requires a Mini-B cable. The FTDI Cable is well protected against the elements, but is large and cannot be embedded into a project as easily. The FTDI Basic uses DTR to cause a hardware reset where the FTDI cable uses the RTS signal.
This board was designed to decrease the cost of Arduino development and increase ease of use (the auto-reset feature rocks!). Our Arduino Pro and LilyPad boards use this type of connector.
Note: We know a lot of you prefer microUSB over miniUSB. Never fear, we've got you covered! Check out our FT231X Breakout for your micro FTDI needs!
FTDI Basic 3.3V - USB to Serial Retail Product Help and Resources
Core Skill: Electrical Prototyping
If it requires power, you need to know how much, what all the pins do, and how to hook it up. You may need to reference datasheets, schematics, and know the ins and outs of electronics.
Skill Level: Rookie - You may be required to know a bit more about the component, such as orientation, or how to hook it up, in addition to power requirements. You will need to understand polarized components.
See all skill levels
Comments
Looking for answers to technical questions?
We welcome your comments and suggestions below. However, if you are looking for solutions to technical questions please see our Technical Assistance page.
Customer Reviews
No reviews yet.


if some one could prove it worked for them not just me
Sorry for the delayed response. These are pretty reliable little boards, so you shouldn't be seeing any issues with it. If you do run into problems, try reinstalling the drivers first, and if possible, try a different USB cable. If you still have problems, please contact us at techsupport at sparkfun dot com.
The driver link is and has been down for a while found the file though http://dc168.4shared.com/download/8FuQNqx-/CDM20817_tambolihpagecom.zip?tsid=20120210-003636-927a6953
dumb question, but are the TX and RX lines on here 3v3 as well?
see dumb question. I see now that yo ucan connect vccio to whatever voltage you want to make it 3.3, 2.8, 5v, etc.
Questions are never dumb my friend. Not asking a question in fear of ridicule is dumb. However, ridicule is in no way dumb because its a form of hazing and hazing is always fun.
What's the difference between this one and http://www.sparkfun.com/products/9873 ?
I've afforded the second one and I'm in trouble anytime I try to download an sketch to my Arduino Pro board. I need to press RESET button. Any suggestion?
The link on the back of the packaging doesn't lead anywhere.