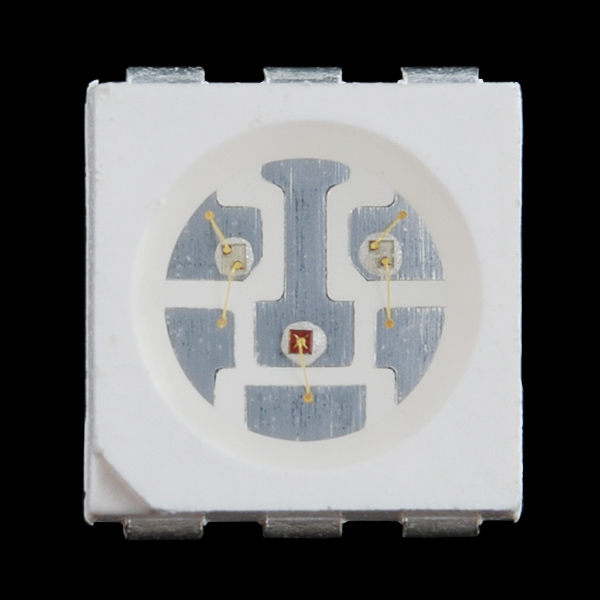
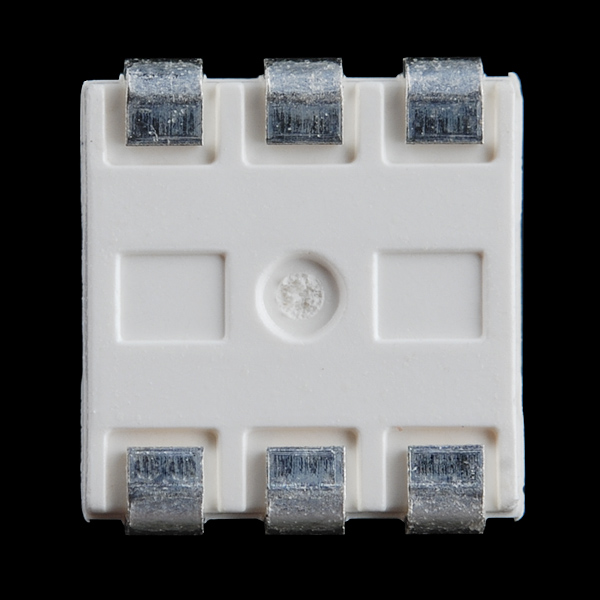
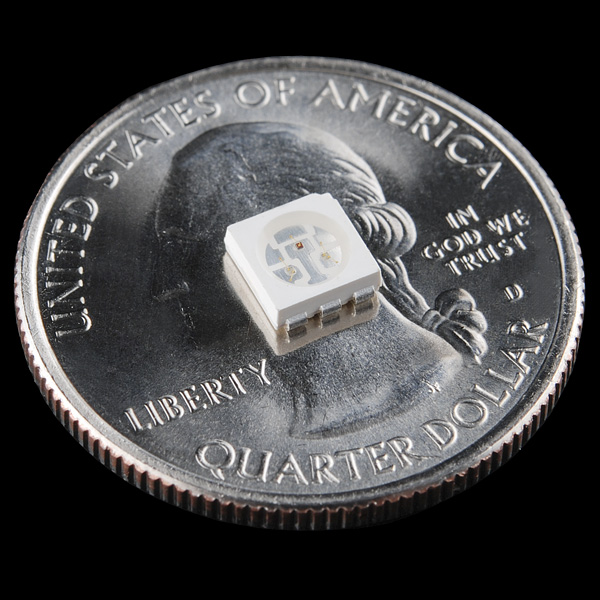
LED - SMD RGB
These are the same RGB LEDs that were used for the old WS2801 breakout board. They're great when you need a lot of color from not a lot of board space.
Forward Voltage:
- Red: 2.0-2.5V
- Green: 3.1-3.8V
- Blue: 3.1-3.8V
- Viewing angle: 120 degrees
- Red: (640nm) @ 250mcd
- Green: (525nm) @ 880mcd
- Blue: (470nm) @ 180mcd
LED - SMD RGB Product Help and Resources
"Non-Addressable LEDs"
To clarify, this was used with the old WS2801 IC [ https://www.sparkfun.com/products/retired/10444 ] for this breakout board [ https://www.sparkfun.com/products/retired/10504 ]. The RGB LED did not have the built-in driver until BOB-11820 [ https://www.sparkfun.com/products/retired/11820 ].
Core Skill: Soldering
This skill defines how difficult the soldering is on a particular product. It might be a couple simple solder joints, or require special reflow tools.
Skill Level: Competent - You will encounter surface mount components and basic SMD soldering techniques are required.
See all skill levels
Core Skill: Electrical Prototyping
If it requires power, you need to know how much, what all the pins do, and how to hook it up. You may need to reference datasheets, schematics, and know the ins and outs of electronics.
Skill Level: Competent - You will be required to reference a datasheet or schematic to know how to use a component. Your knowledge of a datasheet will only require basic features like power requirements, pinouts, or communications type. Also, you may need a power supply that?s greater than 12V or more than 1A worth of current.
See all skill levels
Comments
Looking for answers to technical questions?
We welcome your comments and suggestions below. However, if you are looking for solutions to technical questions please see our Technical Assistance page.
Customer Reviews
No reviews yet.


If you can't hotplate these (I do with an identical unit), the best way I've found to solder them is to apply solder paste to the OUTSIDE edges of the pads, place the led in the middle, then using a hot iron (I'm at 680), push the solder towards the led. It's absurdly simple once you've done just one, and after hundreds of these buggers (I have components on the other side of the board), I've only messed up one and that was because I put it on backwards and didn't take the time to hot air it off, so I tore a pad. DERP!
Yep, these can be easily soldered with just an iron as Bruce said!
Does anyone know if you can use these with copper tape to make paper circuits? And if so, is there a trick to hooking them up?
Yes, I've done that will my students in our library makerspace. I don't use a resistor so it's almost impossible to absolutely control which color you get, but they are fun!
oops! nvm
Just checked Google for Manufacturers of a similar LED. I found this: http://en.ofweek.com/manufacturer/LED-SMD-RGB
Hey Guys, I wonder if anyone could tell me roughly how many of these I could drive with an arduino promo mini without the need for transistors as relays?
Just checked Google for a image of a similar LED.
I found this:
http://www.superbrightleds.com/pdfs/5050-RGB.pdf
Perhaps this is similar enough to use.
:)
Just recieved my order of 10.
I wanted to see if they would work for a project.
The data sheet is not working for the pin outs and is blank for most of the first few pages. I don't know why.
Could the folks of Spark Fun please post the part number/manufacture so we can at least find a good data sheet. Or post the relevent information on the current consumption and ratings. The voltages you have already put.
I have not tried these for my project just yet.
Thanks again. :)
Not sure why you can't access the datasheet, it looks OK here (maybe try a different computer?) In the meantime, here is the pinout from the datasheet. This is a top view of the chip:
6 5 4
| | |
- - -
^ ^ ^
| | |
1 2 3
1 to 6: green
2 to 5: red
3 to 4: blue
There is a mark on the corner nearest pin 1. The Vf on the LEDs is 2.0V for the red, and 3.1V for the green and blue. The absolute max current is 30mA for any LED (I'd keep it at 20mA to extend the life). Hope this helps!
Like a SMD version of Dr. Theopolis ( http://en.wikipedia.org/wiki/Dr._Theopolis ) ...
Hmmmm - clicking the Datasheet link led to a bunch of unpleasant activity. I ended up with 20+ new windows opened and what not. Sparkfun, please store all reference material on your own server space so that we don't have to visit more or less obscure external places of the cyber-world...
It is stored on a server that I believe is being rented by Sparkfun.
Does anybody know where I can find a Eagle library with this LED's footprint?
You can also use the RGBLED5050 from Adafruit's library.
its the RGB_LED_SMD in the Yetda library in Eagle.
It looks like the footprint for LED-TRICOLOR-5050 is the same, but the pinout is different. You might be able to adapt it (or just force-route to the correct pads).