LED Indicator Light - Red
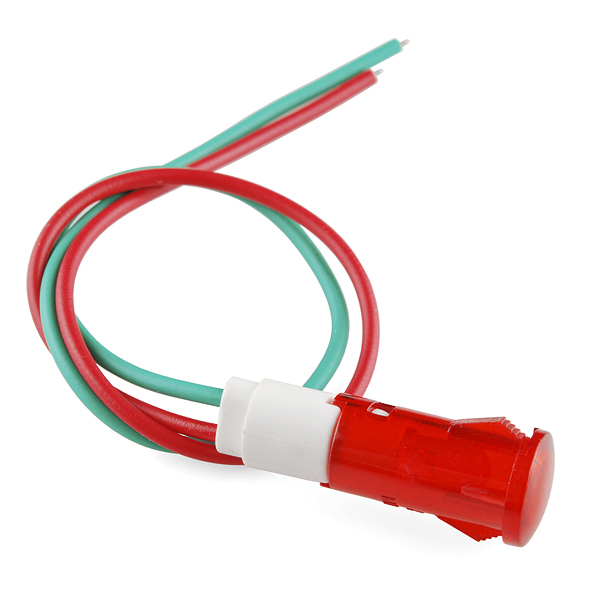
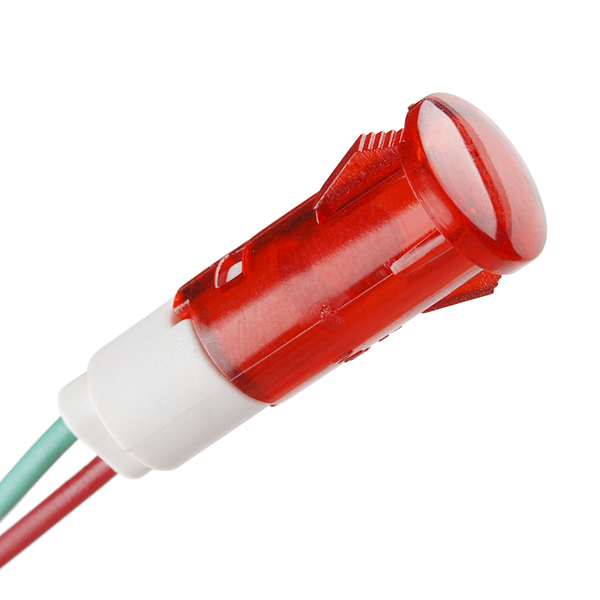
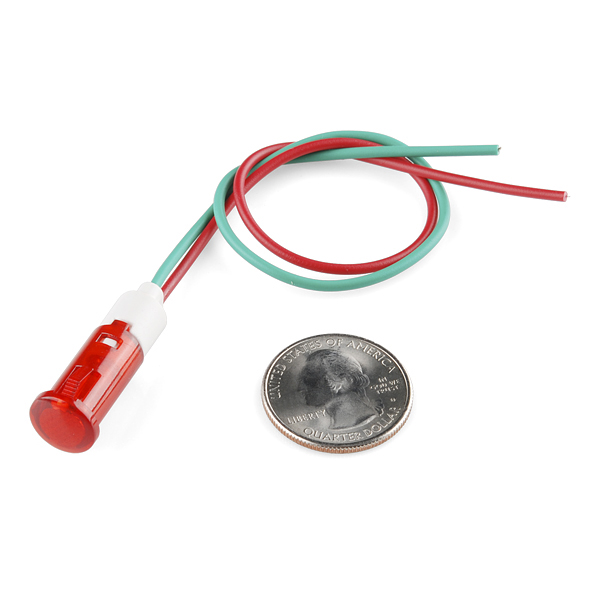
This indicator light has a forward voltage of 6vdc and can be snap-in panel mounted in an 8mm diameter hole. These are great power indicators for your enclosed project. These lights come with 8" bare wire leads. There is a resistor in-line with the red LED which keeps it from burning up at 6 volts and the unit as a whole draws 20mA of current.
LED Indicator Light - Red Product Help and Resources
Core Skill: Electrical Prototyping
If it requires power, you need to know how much, what all the pins do, and how to hook it up. You may need to reference datasheets, schematics, and know the ins and outs of electronics.
Skill Level: Rookie - You may be required to know a bit more about the component, such as orientation, or how to hook it up, in addition to power requirements. You will need to understand polarized components.
See all skill levels
Comments
Looking for answers to technical questions?
We welcome your comments and suggestions below. However, if you are looking for solutions to technical questions please see our Technical Assistance page.
Customer Reviews
4.5 out of 5
Based on 2 ratings:
1 of 2 found this helpful:
Easy to install, needs more colors
These make a great "grab and go" plug in indicator light for most simple projects. I have several installed into several project boxes and love them. I just wish they came in more than red. I would love to see green (finished) and yellow (low battery?). Other than that, these are great because they save you a good deal of time due to a little less soldering. I usually put jumper wire connectors on the end so that they can be disconnected easily for servicing.
Great LED with a Great Price!
These LED Indicators are great for any of my projects that require visual indication (status lights, power lights, etc.) One thing I have noticed with these is that the wires have a tendency to become loose if they are pulled too much, and can possibly detach, so I put a small amount of hot glue at the point where the wires enter the case.


I would love to see these in green. I have used several of them at 5v and they work great. But I would like to use a red and a green at the same time to indicate different things. Power on, power off, that kind of thing. I have a solar charger project that I am currantly working on where I need a "charging" and a "charged" light. The need for a color charge is obvious.
I am trying to make a red glowing eyeball on a hitch receiver that glows when the break is pushed. Will this light work with an application like this.
Will this light up with 5v? This is much more appealing if I don't have to run every pinout from Arduino through a transistor...
Probably - it'll just be a bit more dim as a tad less current passes through it.
this unit gives off a nice glow at 5V
I use several of these at 5v and they are seen easily even in sunlight.
I agree with the last comment. The hole needs to be larger than 8 mm.
A 3/8 in (about 9.5 mm) hole works quite nicely.
Just a note, the hole diameter for this product should be 9mm and not 8mm. I just bought a couple of these to put into a panel and the 8mm hole size is too small. for even the end to push into.
Is this OK for 12v? I'm installing a switch panel in my truck.
Sure, but without knowing the specs of the device it will be difficult. The write up mentions 6vd forward voltage on the LED, yet it also states that a resitor is in series with the LED - no value on the resistor :(. That means the forward voltage of the LED is LESS than 6vdc as evidenced by the resistor (the resistor is going to develop a voltage across it and if there isn't enough voltage left after the forward voltage drop of the LED it probably won't conduct). So, if we knew the TRUE forward voltage of this LED, along with the current requirements (write up mentions 20ma) then you can easily use Ohms law to figure out the proper resistor to use in series with the LED to prevent it from being burnt out at 12vdc. A word to the wise though, your car will develop voltage transients over 100v, especially while cranking, so you will need more protection if you want to operate off car voltage.