SparkFun 7-Segment Serial Display - Kelly Green
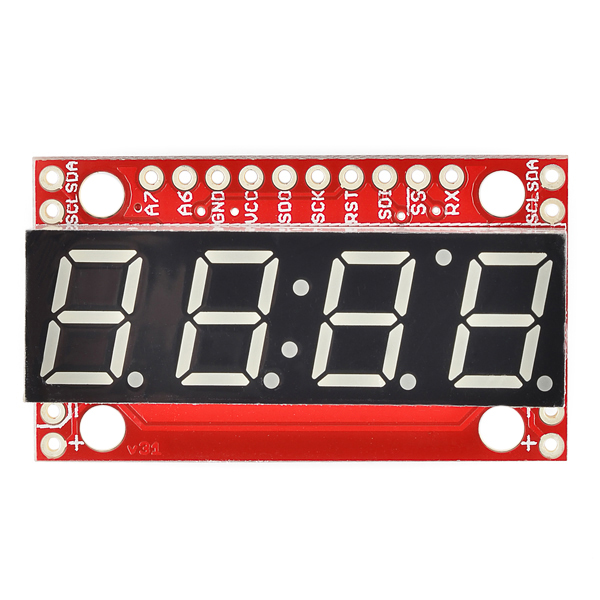
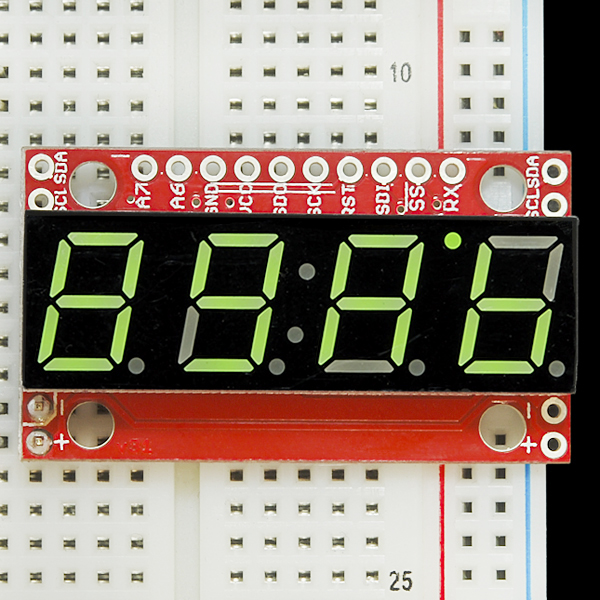
4-digit 7-segment displays are really neat little devices, it's a shame that they can be so cumbersome to control. Well we've solved that problem by making them a little bit "smarter." The SparkFun 7-Segment Serial Display combines a classic 4-digit 7-segment display and an ATMega328 microcontroller allowing you to control every segment individually using only a few serial lines.
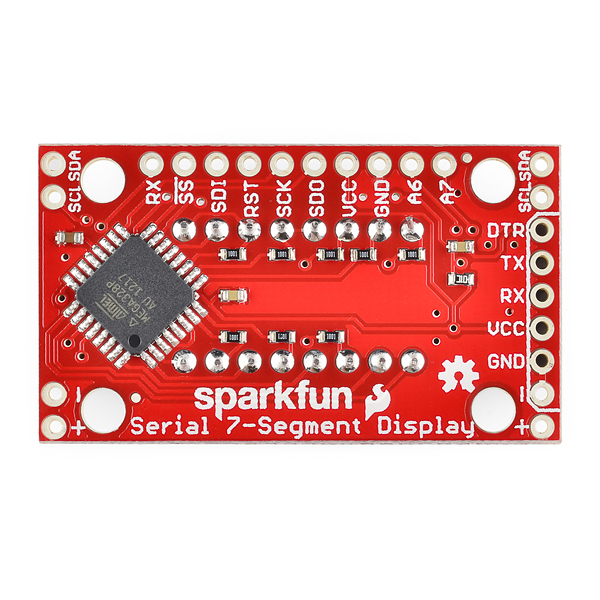
The Serial 7-Segment Display can be controlled in one of three ways: Serial TTL communication, SPI serial communication or I2C serial. You can even program it for stand-alone operation since the ATMega328 comes pre-loaded with the Arduino bootloader! There is also an FTDI header on board and we've provided a hardware profile for the Arduino IDE to make it even easier to program.
We've made some layout changes to this design as well which will make it easier to incorporate these into your project. We've moved the power and I2C pins to the sides of the board such that you can chain them together in order to display longer strings of digits. We've also added mounting holes to the boards so you can mount them on standoffs (no more hot glue!)
Replaces:COM-09767
- 4 digit green alpha-numeric display with TTL, SPI or I2C Serial Interface
- Display numbers, most letters, and a few special characters
- Individual control of decimal points, apostrophe, and colon
- Selectable baud rate
- Selectable brightness
- Baud rate and brightness values retained in non-volatile memory
- Individual segment control for each digit
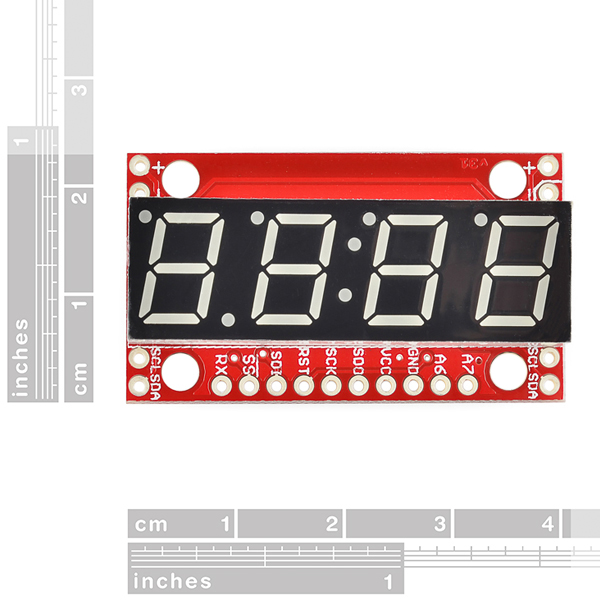
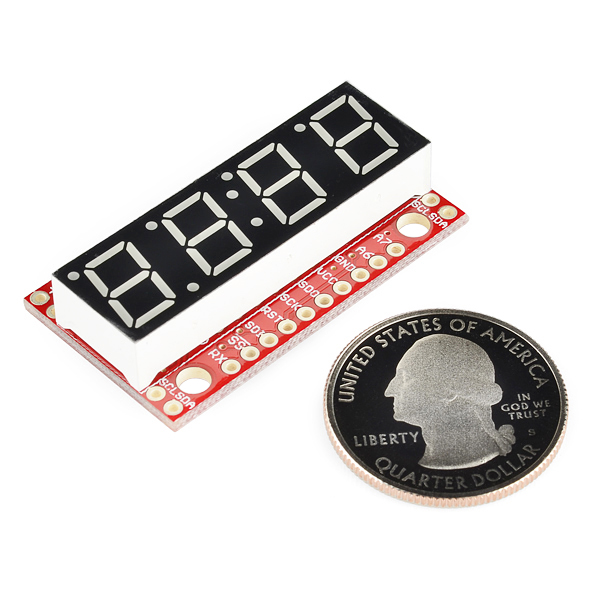
- 41mm x 23mm (1.6in x 0.9in)
SparkFun 7-Segment Serial Display - Kelly Green Product Help and Resources
Using the Serial 7-Segment Display
August 13, 2013
How to quickly and easily set up the Serial 7-Segment Display and the Serial 7-Segment Display Shield.
Dungeons and Dragons Dice Gauntlet
August 13, 2013
A playful, geeky tutorial for a leather bracer that uses a LilyPad Arduino, LilyPad accelerometer, and seven segment display to roll virtual 4, 6, 8, 10, 12, 20, and 100 side dice for gaming.
Core Skill: Soldering
This skill defines how difficult the soldering is on a particular product. It might be a couple simple solder joints, or require special reflow tools.
Skill Level: Noob - Some basic soldering is required, but it is limited to a just a few pins, basic through-hole soldering, and couple (if any) polarized components. A basic soldering iron is all you should need.
See all skill levels
Core Skill: Programming
If a board needs code or communicates somehow, you're going to need to know how to program or interface with it. The programming skill is all about communication and code.
Skill Level: Rookie - You will need a better fundamental understand of what code is, and how it works. You will be using beginner-level software and development tools like Arduino. You will be dealing directly with code, but numerous examples and libraries are available. Sensors or shields will communicate with serial or TTL.
See all skill levels
Core Skill: Electrical Prototyping
If it requires power, you need to know how much, what all the pins do, and how to hook it up. You may need to reference datasheets, schematics, and know the ins and outs of electronics.
Skill Level: Noob - You don't need to reference a datasheet, but you will need to know basic power requirements.
See all skill levels
Comments
Looking for answers to technical questions?
We welcome your comments and suggestions below. However, if you are looking for solutions to technical questions please see our Technical Assistance page.
Customer Reviews
No reviews yet.

I just got an Arduino Leonardo R3 experimenter (20-013-134) set from Amazon.com that has an 8x8 led matrix and a four digit 7 segment display by SainSmart.com. They are both dumb and I need your backpacks to make them smart. I did not see a backpack for your Led matrix or the 7 segment display. Do you have backpack for these that I can buy? I upgraded all of my LCDs to ones with color backlights and I use your LCD serial backpack for all of them. I love your backpacks and breakout boards. These people also have 3D printer brain kits that I have never seen before. My kit also has an ultra sonic range finder, an MP3 player infrared remote control with receiver chip and a prototyping shield.
The schematic uses 1k resistors on the pins, perhaps dropping that to 220ohm will increase the brightness? i'm hesitant with using 0-ohms because i am scared to fry the display!
Yes, 1K is a horrible value if you want to run the display at 3.3v (as I do). The LED's are barely get enough current to light up and disappear under office lamp standard illumination. Ohms law says that I want to use something closer to 47 Ohms not 1000 Ohms so I'm questioning why 1K was selected. It's not even a good value for 5V.
The red ones are fine, the green one is so dim it is useless. Too bad I didn't read the comments below first, I see this is a known problem.
Any chance I can get the measurements for this?
The dimensions of the PCB are here: https://github.com/sparkfun/Serial7SegmentDisplay/wiki/Hardware%20Specifications#wiki-physical-dimensions. That section also says a little bit about the depth of the display. Hope that helps!
Perfect little display for my Digispark thermostat project. Only requires two wires for communication plus Vin and ground. It is not as bright as some others but readable.
I am writing in c to control the display over SPI. Can someone please describe the bit order and SPI mode the display is expecting?
Update to my last comment on the brightness, I discussed this issue with sparkfun, the problem is the resistors used are limiting the current and keeping the displays dim. They do not seem to believe this is a design flaw, but seeing(or not) how this is a display its only function is to be seen.
They suggested soldering around the resistors, which with SMD can be quite a pain. I found another method using the conductive paint that sparkfun sells you can put a little dab on each resistor and when it dries you will see the display at least double in brightness.
Not impressed, these are so dim that they can only be displayed in dark areas. i have used many of thier older ones (red not green, i ordered green by mistake), even after cranking the brightness up they are not bright at all!!!!