HUB-ee - Arduino Prototyping Shield
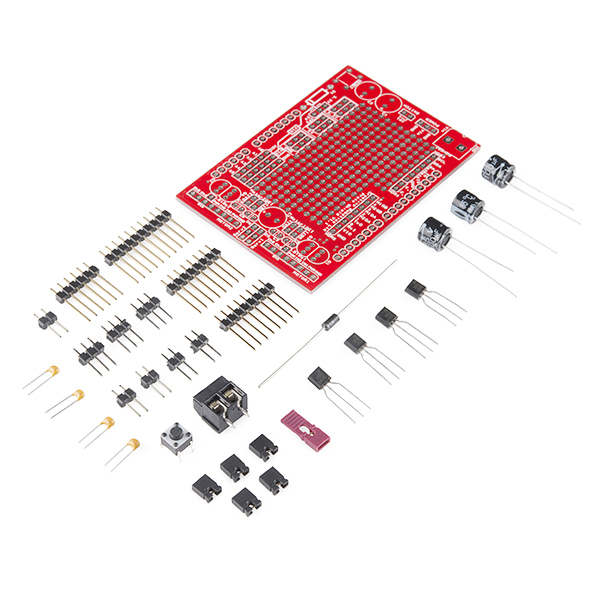
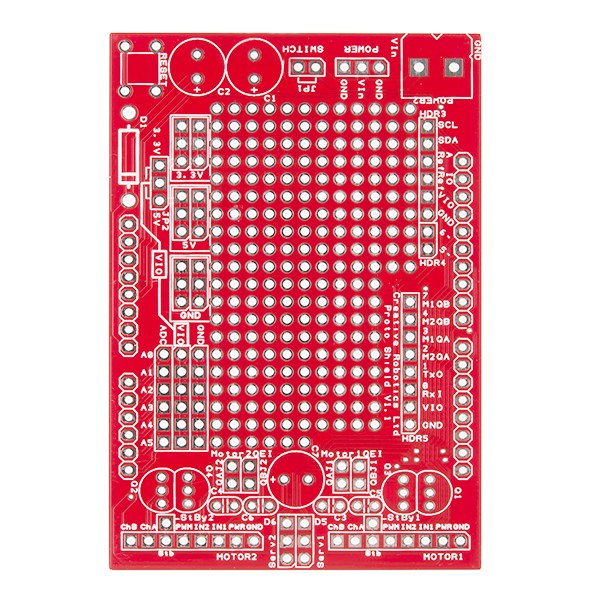
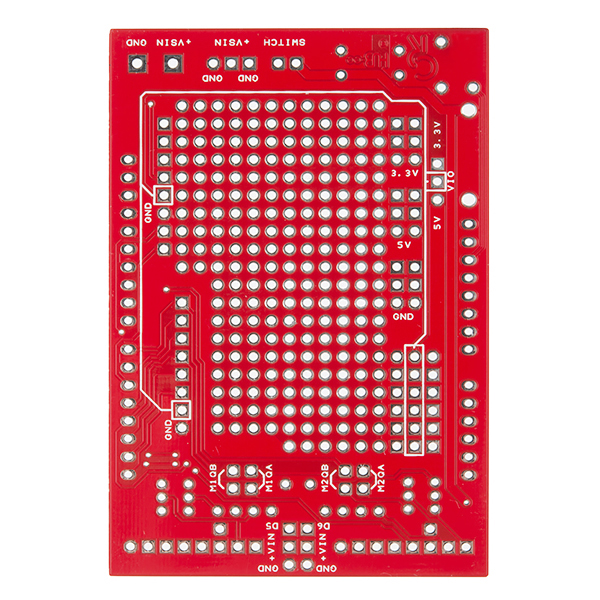
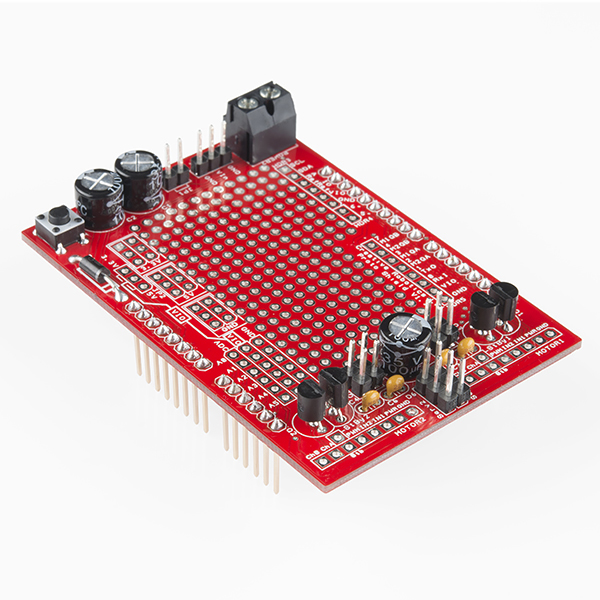
This shield makes it easy to connect up a pair of HUB-ee wheels to an Arduino Uno or Leonardo board. You can power two wheels and get full sensor feedback via their quadrature encoder sensors. Connections between the board and HUB-ee wheels are via a pair of single row 0.1” headers. HUB-ee wheels can be attached by soldering a connector breakout board or mini-splitter to each header, or by directly soldering ribbon cable to the board and crimping a Micro-MaTch connector to the other end.
The board has two pairs of jumper links so you can disconnect the wheel sensors, freeing up four of the Arduino pins for other purposes, and a prototyping area to add your own stuff.
Note: This comes in kit form and must be soldered together by the end user.
Comments
Looking for answers to technical questions?
We welcome your comments and suggestions below. However, if you are looking for solutions to technical questions please see our Technical Assistance page.
Customer Reviews
No reviews yet.


wouldn't it have been more usefull to have HUB-ee sockets on the shield rather then having to use a seperate breakout? i know it would make the shield a bit bigger, but unless you supply a appropriate jumper cable making it easier its a bit of a hassle to connect to the motors efficiently.
We scratched our heads over this when designing the boards and concluded that this was a better all round option because ... if you want the cheapest version you can just buy a single cable, cut it in half and solder it to the board, or you can solder on a break out board to have the connector, or a cable splitter board to run pairs of wheels in sync.
I am of the feeling that the board should have had the Hub-ee connectors on the board. To save money, perhaps the pinouts that you have now could also be there. That way one could use the connectors or use the wires.
If the headers had been there, I would have purchased it tonight. Without the headers, it doesn't seem worth it because I can connect the cables from my boards just as I do now.
Thanks for the feedback, it is a good point and I think we will try and include connectors plus pin headers in the future. We are just testing our own Arduino Leonardo clone that has exactly this set-up - It has a pair of HUB-ee connectors but their pins are also available on 0.1in holes that you can solder our breakout boards to.
Thank you. I'll wait for a version with the HUB-EE connectors to come out.
Hey CreativeRobotics, Cool board, thanks! You can also crimp on 1x8 pins to the cable to plug into this shield.
I had one gotcha with this board. You HAVE TO enable the internal pull-ups on the wheel encoder pins to get the wheel encoders to work. Also, the sample arduino code on the product page has left/right backwards in several places -- like the left encoders are actually the right encoders. Stuff like that.
Thanks! The need for pull-ups is explained in the user guide but you are right to point out that it is an importnat detail that we should have made clearer. I have updated our product page with this info. We made an even worse mistake by not updating the code examples - the video and the motion control example both relate to the earlier version of the board where pull-up resistors were not required so I can see how that confuses thinge even more.
We will update the code examples, and correct the left/right wheel confusion - We should have stuck with 'Wheel1' and 'Wheel2' to match the schematic.
We appreciate the feedback, and we hope you enjoy using the shield.
Ah! It seems that we did actually correct the 'motion control example' code with 'Wheel1' and 'Wheel2' and pull-ups enabled - we just didn't upload the latest version to the website. Bad us. It is fixed now.