SparkFun Block for Intel® Edison - OLED
The Intel® Edison is an ultra small computing platform that will change the way you look at embedded electronics. Each Edison is packed with a huge amount of tech goodies into a tiny package while still providing the same robust strength of your go-to single board computer. Powered by the Intel® Atom™ SoC dual-core CPU and including an integrated WiFi, Bluetooth LE, and a 70-pin connector to attach a veritable slew of shield-like "Blocks" which can be stacked on top of each other. It's no wonder how this little guy is lowering the barrier of entry on the world of electronics!
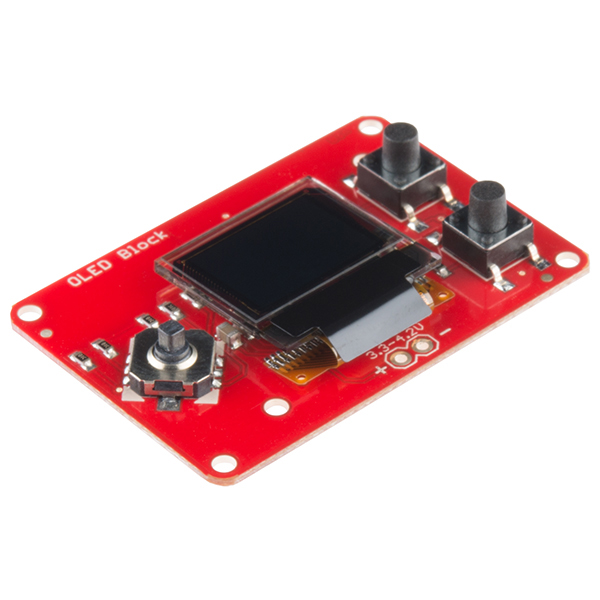
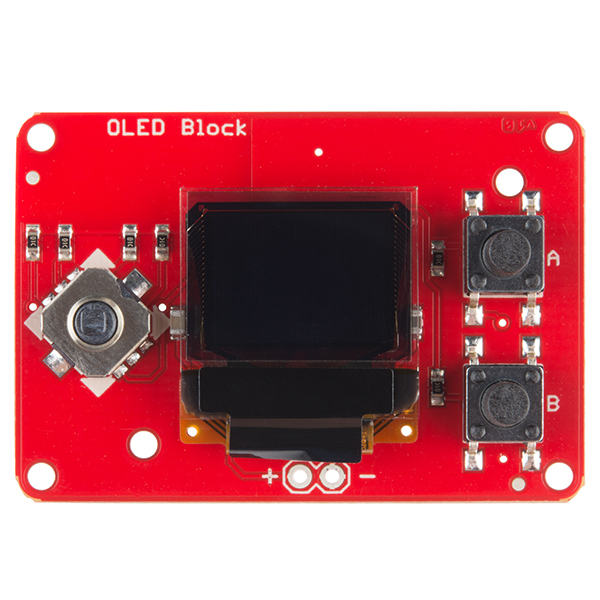
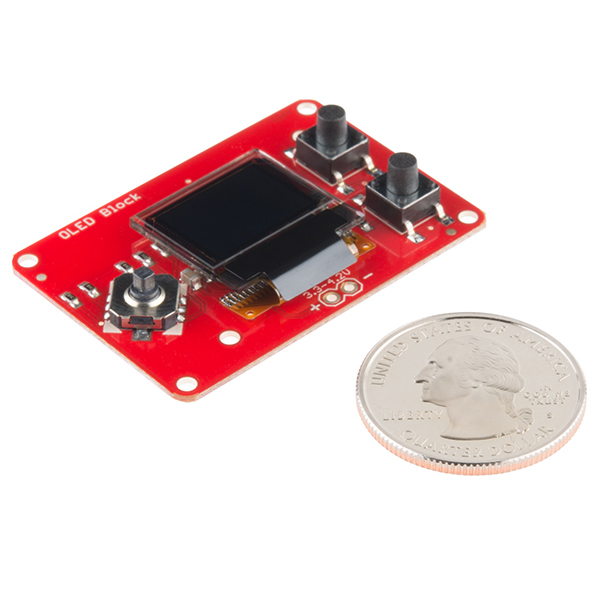
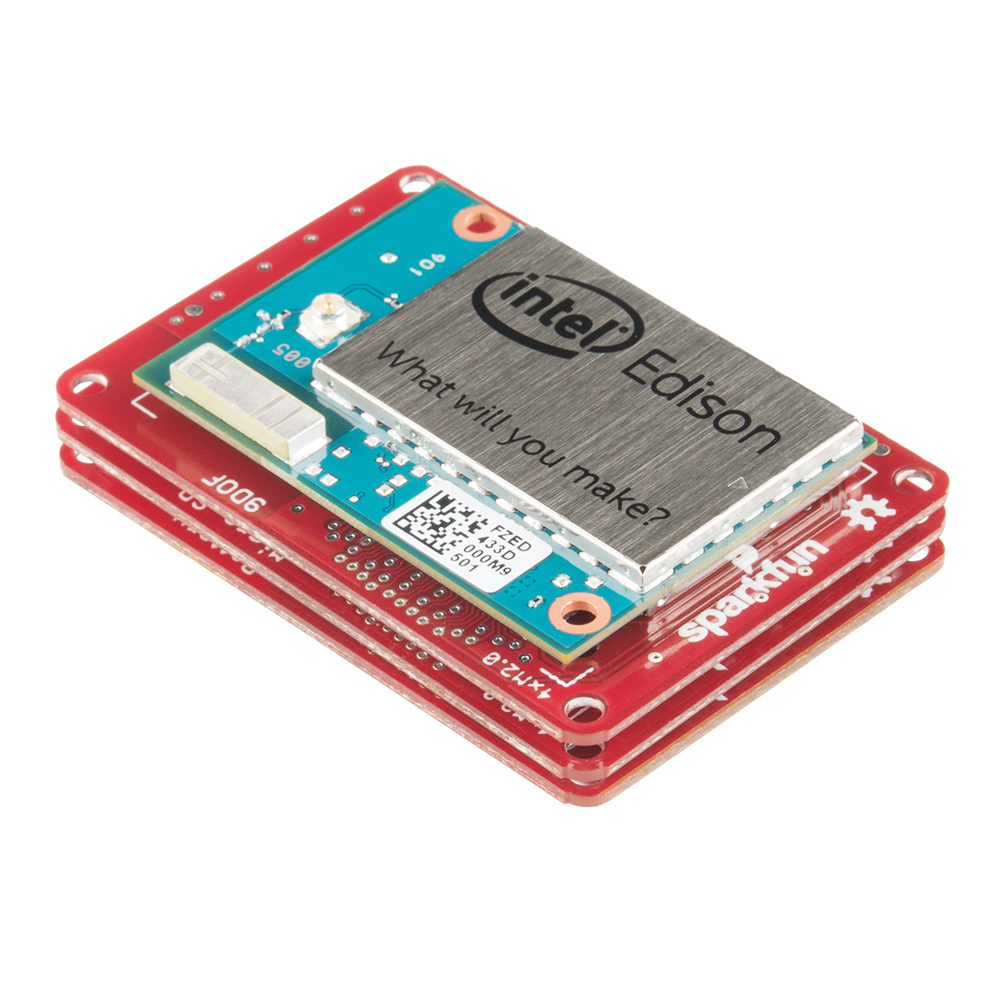
Equip your Edison with a graphic display using the Edison OLED Block! Simply snap this board onto your Edison to gain access to a 0.66", 64x48 pixel monochrome OLED. To add some control over your Edison and the OLED, this board also includes a small joystick and a pair of push-buttons which can be used them to create a game, file navigator, or more!
If you are looking to add a little more stability to your Intel® Edison stack, check out this Hardware Pack. It will provide you with increased mechanical strength for stacking Blocks on your Edison!
SparkFun Block for Intel® Edison - OLED Product Help and Resources
SparkFun Blocks for Intel® Edison - OLED Block
February 13, 2015
A quick overview of the features of the OLED Block for the Edison.
Edison Getting Started Guide
December 5, 2014
An introduction to the Intel® Edison. Then a quick walk through on interacting with the console, connecting to WiFi, and doing...stuff.
Programming the Intel® Edison: Beyond the Arduino IDE
January 7, 2015
Intel's Edison module goes beyond being just another Arduino clone. Check this tutorial for advice on how to get the most out of your Edison by writing code in C++!
General Guide to SparkFun Blocks for Intel® Edison
January 5, 2015
A general guide for using SparkFun Blocks for Intel® Edison in your next project!
Loading Debian (Ubilinux) on the Edison
December 5, 2014
How to load a Debian distribution (specifically Ubilinux) onto the Edison.
Installing libmraa on Ubilinux for Edison
January 5, 2015
libmraa is a tool kit for interacting with various Intel single board computers.
Core Skill: DIY
Whether it's for assembling a kit, hacking an enclosure, or creating your own parts; the DIY skill is all about knowing how to use tools and the techniques associated with them.
Skill Level: Noob - Basic assembly is required. You may need to provide your own basic tools like a screwdriver, hammer or scissors. Power tools or custom parts are not required. Instructions will be included and easy to follow. Sewing may be required, but only with included patterns.
See all skill levels
Core Skill: Programming
If a board needs code or communicates somehow, you're going to need to know how to program or interface with it. The programming skill is all about communication and code.
Skill Level: Competent - The toolchain for programming is a bit more complex and will examples may not be explicitly provided for you. You will be required to have a fundamental knowledge of programming and be required to provide your own code. You may need to modify existing libraries or code to work with your specific hardware. Sensor and hardware interfaces will be SPI or I2C.
See all skill levels
Core Skill: Electrical Prototyping
If it requires power, you need to know how much, what all the pins do, and how to hook it up. You may need to reference datasheets, schematics, and know the ins and outs of electronics.
Skill Level: Rookie - You may be required to know a bit more about the component, such as orientation, or how to hook it up, in addition to power requirements. You will need to understand polarized components.
See all skill levels
Comments
Looking for answers to technical questions?
We welcome your comments and suggestions below. However, if you are looking for solutions to technical questions please see our Technical Assistance page.
Customer Reviews
No reviews yet.

Awesome little board!
Here is a basic example of using the OLED to display:
Written in C and using the ping pong driver.
github.com/AMStrix/edison-sparkfun-oled-control
Can we have a video demonstration for this?
They're all still in the works (hence the long wait. That, and the need for libraries and SFE's moving. The picture is really of a prototype that does work.
I'd rather they get the thing made than make a video on a prototype with software that might not run on the final board.
Will it be possible to stack Oled, Battery pack and Edison together somehow?
You can peel the battery off the foam tape that atttaches it to the board, and then your able to stack the OLED and battery block.
Not initially. The OLED block is and end block (only one connector) because you don't want to cover up the screen. The battery block is currently and end block as well. We are trying to find a way around that, but because of battery size etc., the initial offering of the battery block will only be an end block.
They will be, something I'm 99% sure of.
Why is the OLED monochrome? The device has 1GB of ram. I could store a full 32-bit double-buffered surface for this thing. Are there color screens for this in this form factor?
Not that I've seen, they're pretty much all LCD at that size.
It's pretty hard to tell... Is it possible to stack a battery block and this onto the same Edison?
yeah you just need to unglue the battery from the battery block and move it somewhere else
Hey guys,
I'm trying to get the oled block to work with the "pong" example.
Following the instructions on the oled block page, everything compiles correctly however when I try to run the example I get an error:
"terminate called after throwing an instance of 'int'"
I am running debian (ubilinux), not the default edison OS install - I'm assuming this is whats causing things to fail?
Any ideas? Does the oled block work on debian?
Cheers,
d.
I had the exact same error. Installed Ubilinux and mraa as per tutorials. I copy over the pong example, it compiles fine, but throws:
'terminate called after throwing an instance of 'int'
when I run it, unless I run it as root or with sudo. But when I run it privileged, the OLED works fine, but the buttons do not.
Is this block comparable with the GPIO and base blocks?
The pong example worked for me first try on ubilinux. Definitely had to run with sudo. The buttons worked as well but not when I have the GPIO block in the stack. Try taking that off.
-
-
I am trying to get the Edison OLED working using node.js and mraa. I have tried a number of things based on the mraa javascript examples but cannot get it to work. I can read the pusbuttons using mraa but spi does not work and I cannot find anything in google searches.
Make sure you are on the latest mraa and are using the right spi output. IIRC, the Edison has 2 SPI...
Also me trying to use OLED block by mraa and node.js. Have you same working sample via javascript? thanks in advance.
I am using the Edison_OLED.cpp & edison_fonts.h with some success. However Blanks (" " or decimal 32) and negatives(- or decimal 45) are not in the font sets for 2 or higher. This makes showing negative numbers and clearing the screen hard to do. Will these be added anytime in the near future?
Hello, I received this block but I can't figure out how to make it work. I succeed to get the button thanks to gpios but no way to do something with the screen. Do we have to put a battery on the +- holes on the bottom of the board? I tried to light up the screen with SPI thanks to the SparkFun Micro OLED Breakout code but using libmraa for intel edison but it doesn't. Can you confirm that we have to use SPI (i2cdetect -r -y x detects nothing). I know that you are working on an hookup guide but could you please write some basics information there? Thank you in advance
We've got some example code in the GitHub repo, and there'll be a tutorial posted shortly. For help getting started with the code, check out our Programming the Edison tutorial.
I have followed the code and executed the example. The OLED display still does not light up.
Try contacting technical support. Explain your Edison's setup and they should be able to help you out.
I second that request, I've just received mine and have no idea how to get started.
We've posted some example code in the GitHub repo to help get started. Tutorial's coming soon!
The example did not work. The display does not turn on.
someone in the forum pointed out that you need to update the os image, it fixed it for me as well
For the curious:
Forum: Board index ‹ Technical Discussions ‹ SparkFun Product Questions :: Edison OLED block
Firmware update instructions: Edison Getting Started Guide :: Updating the Firmware Image
Doesn't work with the newest OS image for me.
I actually had to download an older image it seems like, from this page: https://downloadcenter.intel.com/download/24389
The version I used was: Rel-1-Maint-WW42.
Hope this helps others that are struggling.
On the picture of the OLED block from the sensor pack I see what appears to be an unpopulated header for 3.3-4.2v. From the tutorial I see I can power the stack with a LiPo attached here. If the board is also powered by USB will the battery be charged? Is it recommended to only power by either USB or Battery but not both?
Any answers? I'd like more detail on powering the edison through the oled block.
There's a bit of info about this header in the hookup guide.
Those pins deliver power to the Edison's VSYS bus, which is regulated to 3.3V by the Edison. It won't charge a LiPo, but the LiPo supply voltage is within the tolerable range of that supply. It's definitely recommended to only use one supply at a time.
Jim, I read that the Edison does NOT regulate the power on VSYS, and that if you supply too much power, it will break the Edison. Is that true, or does it really regulate the power?
It takes 4v to get the edison to boot, but 4.5v to get the screen to come on.
Hi, regarding the Oled display addon available for pre-order now - are they end block or can be have the battery, Oled and Edison modules stack up together? If it's the end block how do we power-up Edison and the Oled display?
I wonder if there are any plans for a 1x1 screen. 64x48 is going to be just overwhelming. So much power in OS and hardware and no sound or decent screen. All of the screens (not many) I could find working with Edison are ports from Arduino. C'mon, people, make Edison spark and sing!
Thankfully, SFE stocks these already! For some odd reason you'll find them in the LED section. I don't know why, must be some issue their side.
Quick question. Edison module does not support video I/O and yet there is an OLED breakout board that can be used with it.
How does this breakout board interface with Edison? Does it communicate over I2C or something? If there is a datasheet for this breakout board, how can I access it?
Thanks...
Looks like it's the same display that's used in SparkFun Micro OLED Breakout and the MicroView, so have a gander at those products for some more details :)
You are correct, this is essentially a microview block.
Is the mating connector for the 70-pin connector going to be sold here? or can you link us to it somewhere?
We do plan on carrying the connectors some time after we get them in. Right now the supply and lead times on these is horrible. Once we get them in and have a good steady supply we'll start sharing.
I was going to ask, and I wasn't sure if that's what Jonathan was getting at, if there was going to be some kind of ribbon cable that could break the LCD away from it's board? So that the screen itself could be as far from the other components as possible, does that make sense?
Good to know. Thanks.
How do you connect this?
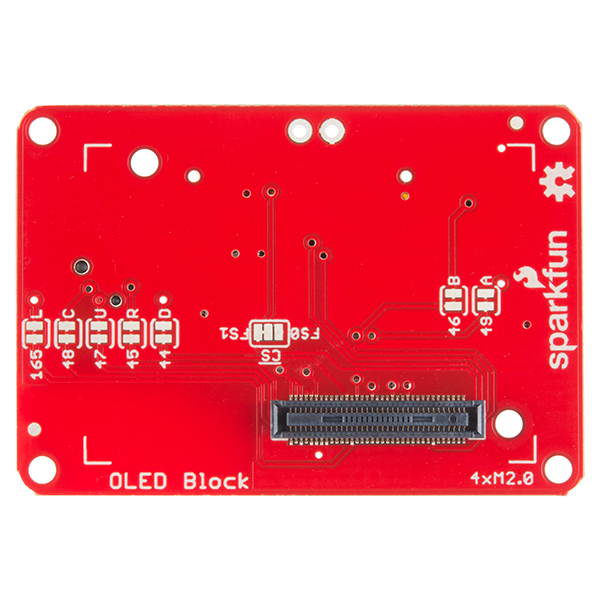
There is a connector on the bottom of the board that connects with the Edison
How is that possible? The Edison does not have a 70 pin connector on top.
Technically the connector on the bottom of the OLED block and the connector on the bottom of the Edison mate.
Ah! The Edison goes on the bottom of the stack and the OLED on the top. :-)
Will y'all be releasing schematics for these breakout boards at any point?
We will be once they are finalized. This is one of the rare occasions where we release something before its 100% finished. All the boards have working prototypes, but some may get some tweaking before they are released.
Judging by the fact that literally everything in the Edison category is sold out, I'd say that people like them.
We haven't had stock yet of anything in the Edison category. Because of the launch we are posting these early but we have yet to get initial stock and in some cases have not 100% finalized the design.
Oh, yes, that would make sense...
That said, we do already have quite a few preorders. 20-some for this SKU, a hundred or so for others. There's definitely interest.