SparkFun GPS Shield Kit
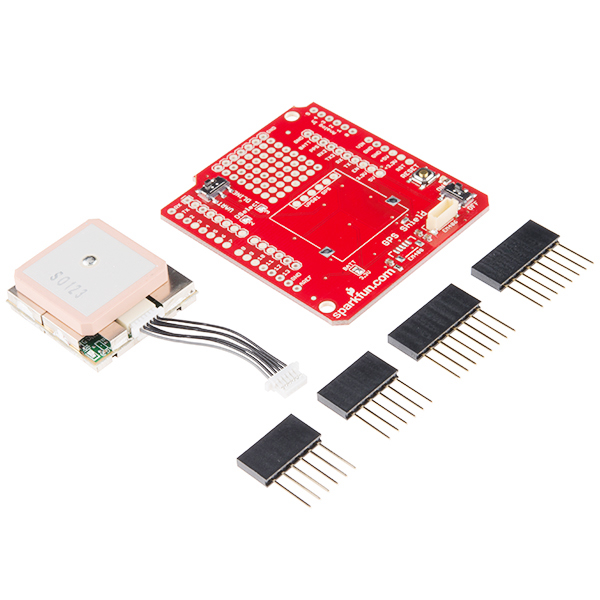
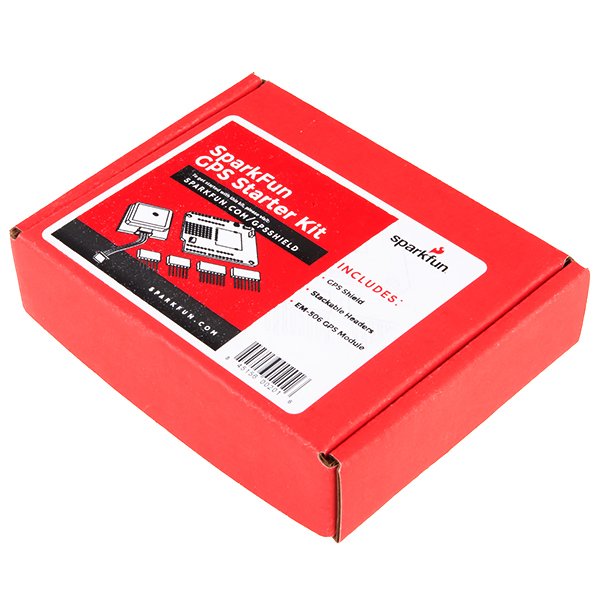
This is the SparkFun GPS Shield Kit, a great launch pad for anyone looking to get into the world of GPS. This little kit includes our GPS Shield, an EM-506 GPS Receiver with interface cable, and a set of R3 headers to solder onto the shield. Adding GPS to your Arduino has never been easier. Multiple GPS receivers attach easily to the shield, and with the example sketch (check below), you will be able to locate your exact position within a few meters. Here's where we are. GPS also gives you amazingly accurate time!
A connector for the popular EM-506 GPS receiver is populated on the board, and footprints for EM-408 and EB-85A connectors are also made available (connectors are not included and can be found below in the related items). The regular GPS pins (RX, TX, PPS, etc.) are also broken out to a 10-pin 0.1" pitch header, and a small prototyping area is also provided.
The DLINE/UART switch switches the GPS module's input/output between Arduino's standard TX/RX pins or any digital pins on the Arduino (default setting uses pins 3 and 2 connected to TX and RX, respectively). The DLINE/UART switch must be set to DLINE in order to upload code through the Arduino IDE.
The shield also includes the footprint for a 12mm coin cell battery holder to provide battery backup to the optional EB-85A GPS module.An ON/OFF switch is included which controls power to the GPS module. Additionally, the Arduino reset switch is also brought out.
- EM-506 connector populated
- EM-408 and EB-85A connector footprints provided and connected for optional use
- UP501 connector and footprint
- Coin cell battery socket footprint provided and connected for optional battery backup of EB-85A GPS module
- Standard Arduino sized shield
- Prototyping area
- GPS serial and PPS signals broken out to a 0.1" header for additional device connections
- Arduino reset button
- DLINE/UART switch controls serial communications
- ON/OFF switch controls power to GPS module
SparkFun GPS Shield Kit Product Help and Resources
GPS Shield Hookup Guide
March 9, 2015
This tutorial shows how to get started with the SparkFun GPS Shield and read and parse NMEA data with a common GPS receiver.
Core Skill: Soldering
This skill defines how difficult the soldering is on a particular product. It might be a couple simple solder joints, or require special reflow tools.
Skill Level: Noob - Some basic soldering is required, but it is limited to a just a few pins, basic through-hole soldering, and couple (if any) polarized components. A basic soldering iron is all you should need.
See all skill levels
Core Skill: Programming
If a board needs code or communicates somehow, you're going to need to know how to program or interface with it. The programming skill is all about communication and code.
Skill Level: Competent - The toolchain for programming is a bit more complex and will examples may not be explicitly provided for you. You will be required to have a fundamental knowledge of programming and be required to provide your own code. You may need to modify existing libraries or code to work with your specific hardware. Sensor and hardware interfaces will be SPI or I2C.
See all skill levels
Core Skill: Electrical Prototyping
If it requires power, you need to know how much, what all the pins do, and how to hook it up. You may need to reference datasheets, schematics, and know the ins and outs of electronics.
Skill Level: Competent - You will be required to reference a datasheet or schematic to know how to use a component. Your knowledge of a datasheet will only require basic features like power requirements, pinouts, or communications type. Also, you may need a power supply that?s greater than 12V or more than 1A worth of current.
See all skill levels
Comments
Looking for answers to technical questions?
We welcome your comments and suggestions below. However, if you are looking for solutions to technical questions please see our Technical Assistance page.
Customer Reviews
4.3 out of 5
Based on 4 ratings:
GPS Shield
This was really easy to use on my Uno. Solder the headers, download TinyGPS and I was receiving data in less than an hour. It would have been quicker if I'd remembered to set the correct pins on SoftwareSerial. (You need to change them from the example code). This does not work out of the box on my Mega, as you can't use pins 2 and 3 for SoftwareSerial... The board allows you to cut the traces and solder on wires to connect to other Arduino pins, but the pads are very small so this is no easy task. Additionally frustrated by a bad jumper wire. I knew that the GPS was not going to be accurate, but I had hoped that it would be repeatable so that I could use it to true up the dead reckoning for my mobile robot, but there appears to be some drift. At my parents in the UK, where I was only getting 3 sattelites indoors, the latitude & longitude drifted by over 1000m in a few minutes. This is terrible so I hope that it will be better when I get to experiment more at home in the USA. Though when I first tried it here it had my altitude at 3000m... In Oklahoma! Bottom line so far is: Really easy to use, but disappointing locating and may not be suitable for guiding my autonomous robot in my house. If I find that it is better outdoors, I'll let you know.
Works great!
I bought this shield kit to evaluate the EM-506 even though I won't use the shield in my project. I plugged it into my Arduino Due and it worked right away, although it took several minutes to get the initial GPS fix. Subsequently it re-acquires in a few seconds after power cycle.
I soldered wires to pins 2 and 3 on the shield so I could connect to Serial 3 (pins 14 and 15) on the Due -- I can't seem to find a Software Serial port library for the Due, so any help is appreciated. My project requires 5 serial ports!
Also, does anyone know the part number for the female PCB mount EM-506 connector, and a source. I'll need one for my project.
Thanks,
Great GPS Module for Arduino
This gps even works OK indoors and can output a location +-25ft. Outside is more accurate though. Only complaint is that with the current board setup, it is hard to mount the antenna on the board without covering some of the solder jumpers.
Easy to use
This is a great and easy to use package. Paired with Mikal Hart's TinyGPS++ library the GPS data is painlessly retrieved. I have used other GPS receivers with Microchip MCUs but this package along with TinyGPS++ takes much of the drudgery out of programming.


Will this work with the Photon redboard ?
Please does anyone know If it works with the particle photon? Maybe with the Arduino shield on http://store.particle.io