SparkFun Nintendo DS Screen Kit
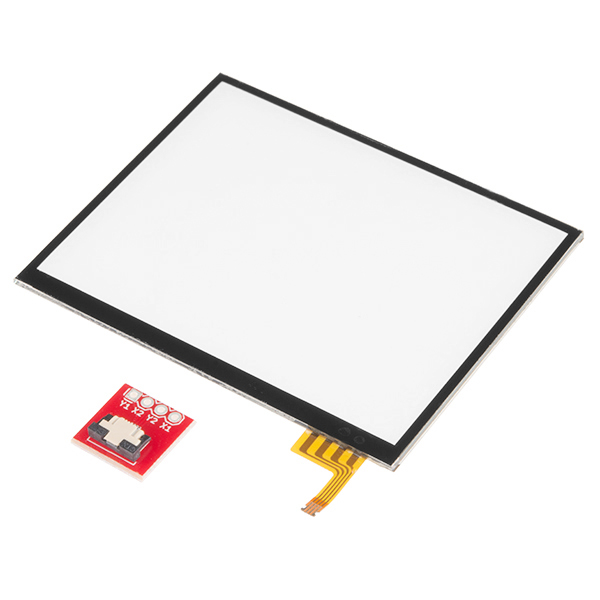
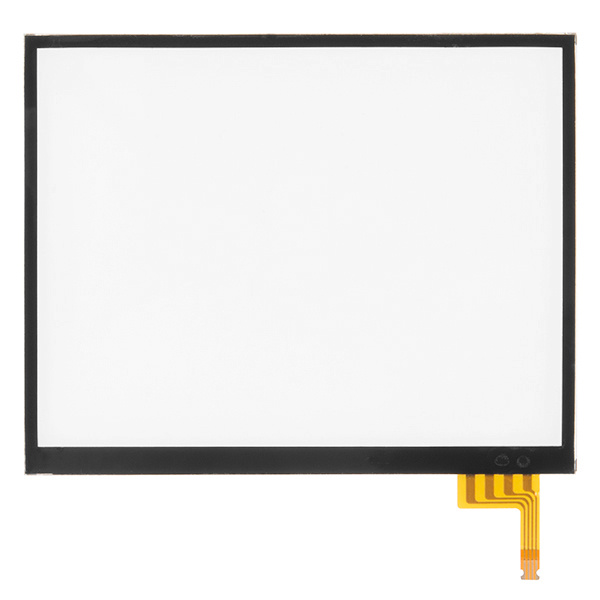
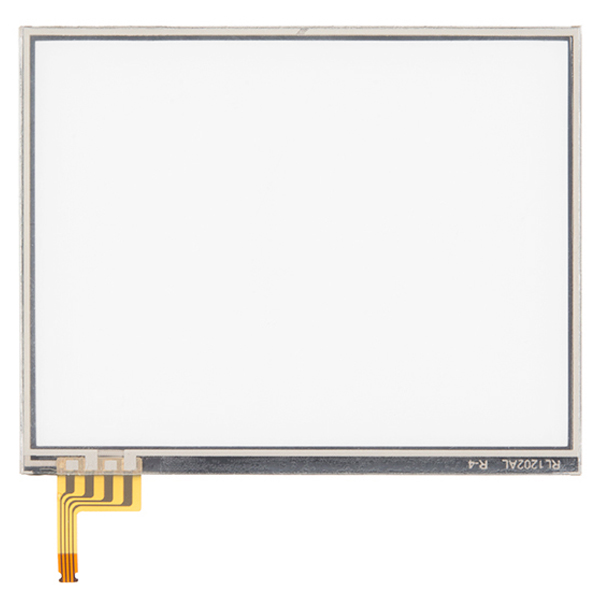
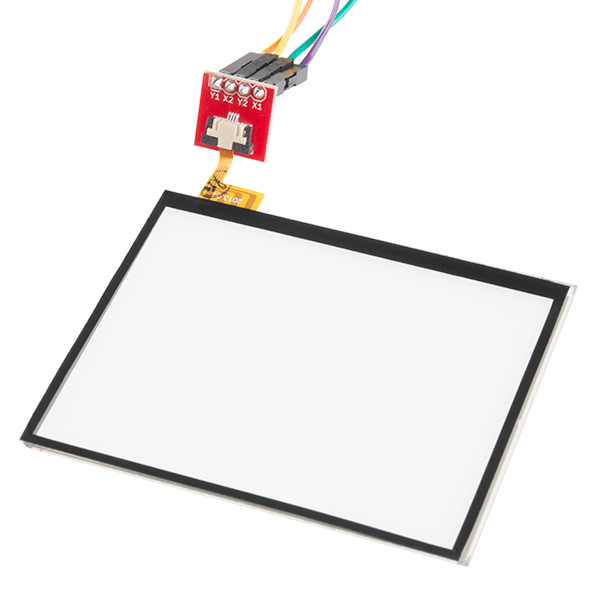
This Nintendo DS Screen Kit joins two of our more unique products together to provide you with an easy means to equip your next project with touchscreen functionality. Inside each kit is one Nintendo DS Touchscreen and one SparkFun Touchscreen Connector Breakout. All you need to do to set this kit up is to simply attach the touchscreen's ribbon cable into the connectors connector, solder on some headers or wires and connect it up. That's it!
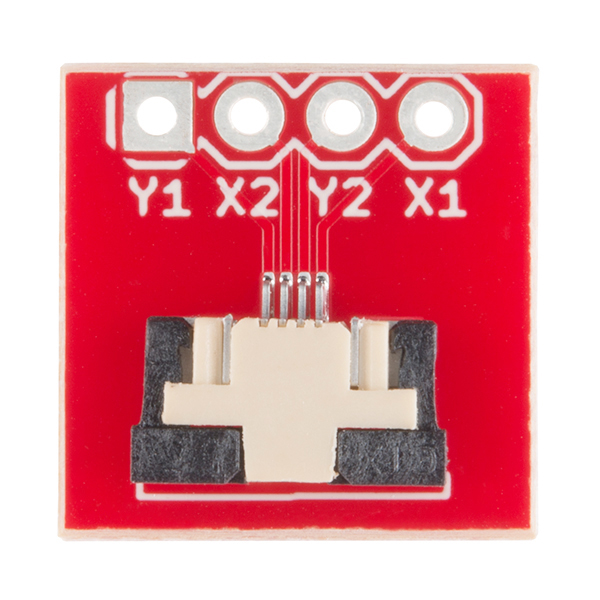
SparkFun Touchscreen Connector Breakout uses an attached 4-pin right angle ZIF connector to connect to the touchscreen's four GPIO cable. Readings from the screen are taken by putting 5V across two of the pins with an analog to digital conversion on the other two pins therefore achieving full X and Y position recognition.
- Schematic
- Eagle Files
- Datasheet (Connector)
- [How Does It Work?](https://cdn.sparkfun.com/datasheets/LCD/Accessories/HOW DOES IT WORK.pdf) (Touch Screen)
- Bildr Tutorial
- GitHub (Design Files)
SparkFun Nintendo DS Screen Kit Product Help and Resources
Core Skill: Soldering
This skill defines how difficult the soldering is on a particular product. It might be a couple simple solder joints, or require special reflow tools.
Skill Level: Noob - Some basic soldering is required, but it is limited to a just a few pins, basic through-hole soldering, and couple (if any) polarized components. A basic soldering iron is all you should need.
See all skill levels
Core Skill: Electrical Prototyping
If it requires power, you need to know how much, what all the pins do, and how to hook it up. You may need to reference datasheets, schematics, and know the ins and outs of electronics.
Skill Level: Rookie - You may be required to know a bit more about the component, such as orientation, or how to hook it up, in addition to power requirements. You will need to understand polarized components.
See all skill levels
Comments
Looking for answers to technical questions?
We welcome your comments and suggestions below. However, if you are looking for solutions to technical questions please see our Technical Assistance page.
Customer Reviews
5 out of 5
Based on 1 ratings:
1 of 1 found this helpful:
Very nice digitizer
very nice digitizer and the breakout board makes it nice for trying out projects on a breadboard.

Would this work for turning an E-ink screen into a touch screen?
What is the diagonal screen size? I don't see it anywhere, and it would help in finding a display to put behind it.
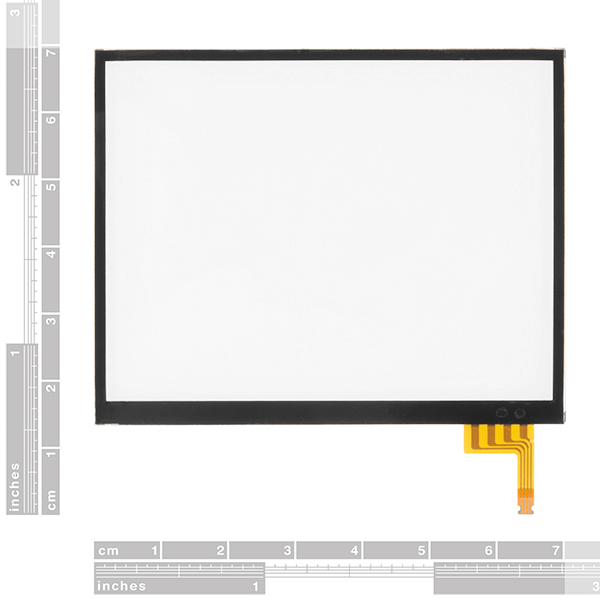
Well its a Nintendo DS touch screen. Their displays are 3" diagonal, 2.4"*1.8" dimensions. 4:3 aspect ratio. So a 4:3 3" screen should be what you are looking for.
Hope this helps!
will any of these display boards work with Arduino?
Well this is not a Display board. its only the touch-screen interface. you would need to put a seperate lcd underneath the screen for a full on touch display.
As for the screen here working with arduino it's pretty easy. The Bildr tutorial linked in the description shows you exactly how to use it.
The video for this touch screen has it connected to a Redboard, so it will work with an Arduino.
It would be good if the breakout connector was sold separately too, as I've had an NDS screen in my parts draw for about 5 years and it's too small to connect to anything without that crucial part.
We used to sell the breakout for ~$5. Maybe just get the kit and have an extra touchscreen?
The 3DS has a microphone, analog stick, and parallax barrier that all use this same connector, and I ordered several of these breakouts before to use on those. If somebody wants to get this for those, the screens might be a bit excessive.
Moar stuff is always good 8}