SparkFun TeensyView
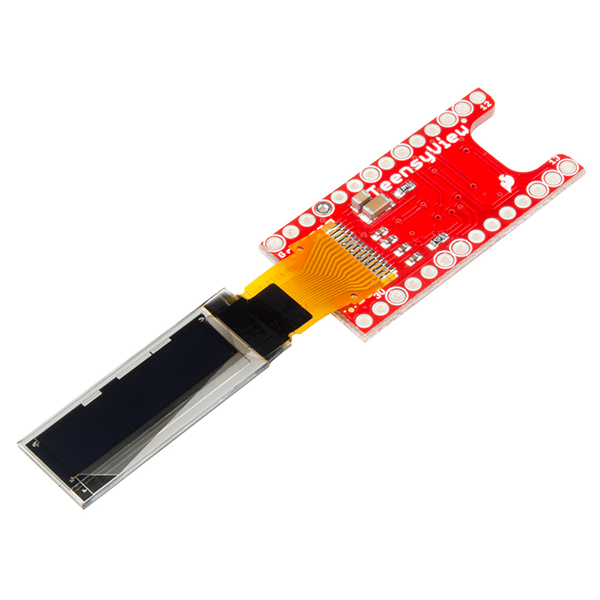
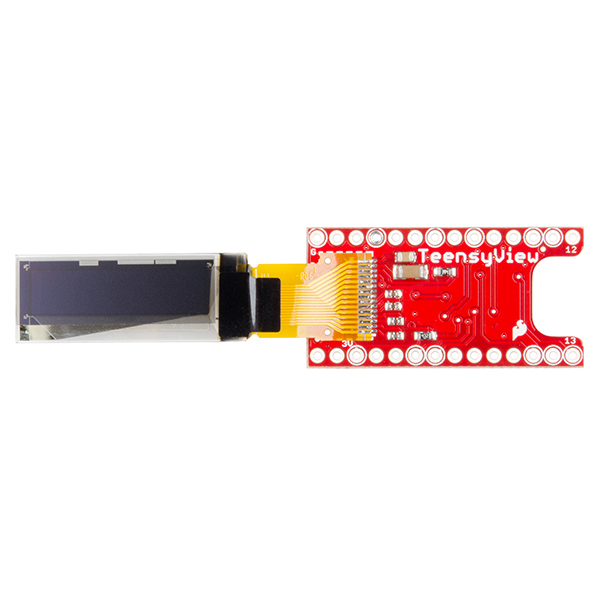
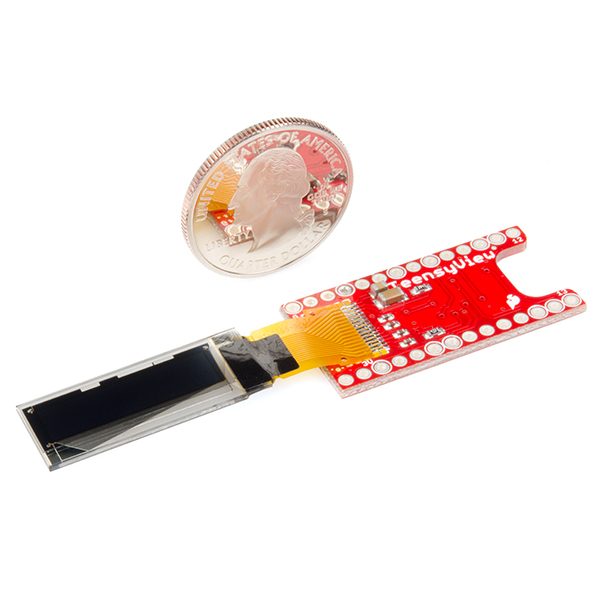
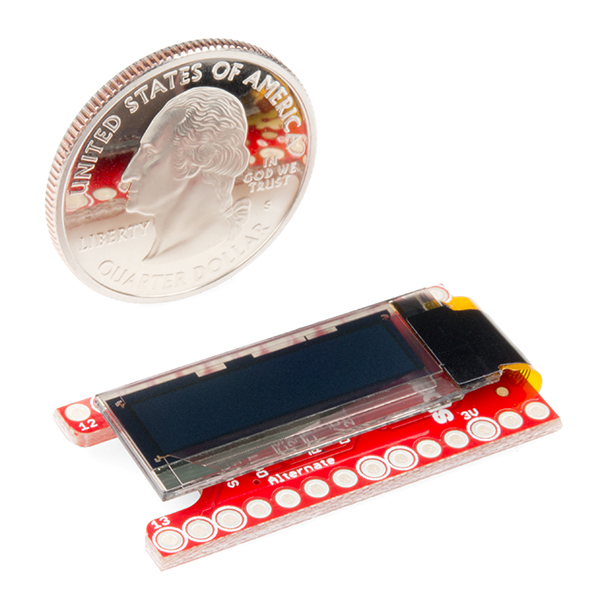
The SparkFun TeensyView brings you an easy way to add a small, white-on-black OLED to your Teensy development board. The 128x32 monochrome display is controlled with the popular SSD1306 IC, and is a great way to display debug information and to visualize data without the need for a serial terminal. The board matches the Teensy 3 form factor perfectly, and was designed from the ground up to be as flexible as possible while still being able to nest down into a low-profile addition for the Teensy.
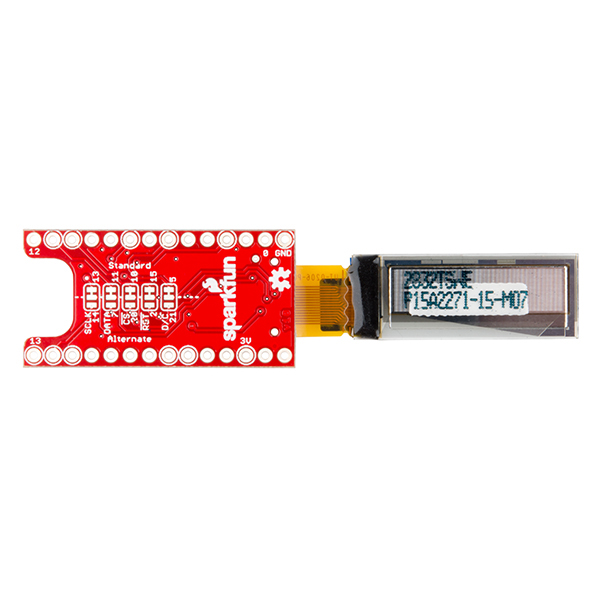
The TeensyView comes with everything you need except the headers. Additionally, there are jumpers on one side of the board that allow you to configure how the OLED communicates with the attached Teensy. Since this is a headerless board, you have the option to solder on whatever type of header best fits your needs. Headers you may find useful with this product include the Teensy Header Kit, Straight Headers, Long Straight Headers and Female Headers.
- Schematic
- Eagle Files
- Hookup Guide
- Drawing Bitmaps
- OLED Memory Map
- Datasheet (ER-OLED0.91-1)
- Arduino Library
- GitHub
SparkFun TeensyView Product Help and Resources
TeensyView Hookup Guide
March 16, 2017
A guide to using the TeensyView OLED board to display text and graphics.
Core Skill: Soldering
This skill defines how difficult the soldering is on a particular product. It might be a couple simple solder joints, or require special reflow tools.
Skill Level: Noob - Some basic soldering is required, but it is limited to a just a few pins, basic through-hole soldering, and couple (if any) polarized components. A basic soldering iron is all you should need.
See all skill levels
Core Skill: DIY
Whether it's for assembling a kit, hacking an enclosure, or creating your own parts; the DIY skill is all about knowing how to use tools and the techniques associated with them.
Skill Level: Noob - Basic assembly is required. You may need to provide your own basic tools like a screwdriver, hammer or scissors. Power tools or custom parts are not required. Instructions will be included and easy to follow. Sewing may be required, but only with included patterns.
See all skill levels
Core Skill: Programming
If a board needs code or communicates somehow, you're going to need to know how to program or interface with it. The programming skill is all about communication and code.
Skill Level: Rookie - You will need a better fundamental understand of what code is, and how it works. You will be using beginner-level software and development tools like Arduino. You will be dealing directly with code, but numerous examples and libraries are available. Sensors or shields will communicate with serial or TTL.
See all skill levels
Core Skill: Electrical Prototyping
If it requires power, you need to know how much, what all the pins do, and how to hook it up. You may need to reference datasheets, schematics, and know the ins and outs of electronics.
Skill Level: Rookie - You may be required to know a bit more about the component, such as orientation, or how to hook it up, in addition to power requirements. You will need to understand polarized components.
See all skill levels
Comments
Looking for answers to technical questions?
We welcome your comments and suggestions below. However, if you are looking for solutions to technical questions please see our Technical Assistance page.
Customer Reviews
4.3 out of 5
Based on 6 ratings:
1 of 1 found this helpful:
Best option so far, onboard Teensyduino OLED
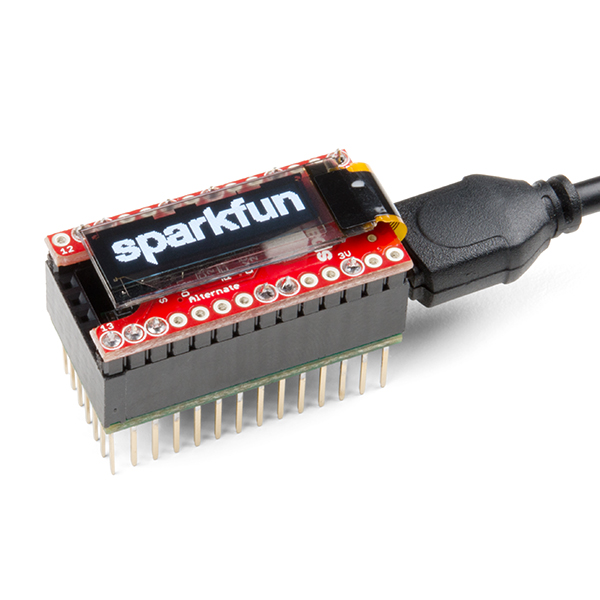
I purchased the TeensyView to work with the Teensyduino 3.2 and AudioBoard. I used two connection kits to stack the the three boards together. From the bottom, Teensyduino, AudioBoard and then the TeensyView on top.
I was able to soldered, up and running in about 30 minutes. The TeensyView is working great so far.
2 of 2 found this helpful:
Works with Teensy 4.1
I carefully checked the pin assignments of the Teensy 4.1, and all of the pins for the default pin assignment (no traces cut) are present on the same pins on both Teensy 3.6 and Teensy 4.1. I then tested the example, and it works with both my Teensy 3.6, and Teensy 4.1
0 of 4 found this helpful:
Was great, now doesn't work
The demo's worked fine and I had it running with my own code for days. Just last week I decided it would be interesting to add to another working project and couldn't get it to display anything. I'm not 100% certain that the TeensyView is the problem but don't want to mess with it again to find out.
Hello!
Have you contacted our technical support department @ techsupport@sparkfun.com ? They're usually really good at helping figure out what's going wrong with setups, I am sure they would be happy to help you troubleshoot the issue.
The TeensyView is Awesome!
This display does not obstruct valuable breadboard real estate and is great for debugging and small interactive displays. I hope it stays in production forever!
Wonderful debugging tool
I've deployed 5 Teensy 3.5 processor boards, on adapters I home etched, in a distributed system connected by RS485. Each node has one of these TeensyView OLED displays piggy-backed on top. They are fabulous for quickly displaying local status.
Although the data sheet states that the SPI interface can be clocked up to 10 MHz, just to see what would happen I ran it up to 75 MHz on the Teensy and it still ran great.
Perfect for physically small projects
The Teensy is great for physically small jobs, but until now adding a display to it has been a nuisance, since most of the available displays have been larger or, if they were small enough, had a messy interface or needed extra parts. The TeensyView seems to solve this tidily. The Arduino examples for it were just right for getting off and running with this display.

To anyone attempting to use this product with a 328p:
I've created a branch that supports 328 things. It's up to you to divide the signal voltages down to 3.3V though.
Direct link to branch zip: https://github.com/sparkfun/SparkFun_TeensyView_Arduino_Library/archive/Multi-platform.zip
This includes an example specific to the 328, however, the template, screen demo, and high speed examples should work.
I have been using Adafruit's "Monochrome 128x32 SPI OLED graphic display" and it works great. I have 2 of them but they are all in use. I recently needed a monochrome Oled display (they are very comfortable on the eyes) and so I looked around and found I have a Teensview I bought from Sparkfun a while back and forgot about it. It looked remarkably identical to my the Adafruit "Monochrome 128x32 SPI OLED graphic display" and after researching a bit I find that they are indeed one and the same and use the same driver chip SSD1306.
I have tested it after determining the SPI pins and running it using the Adafruit Arduino SPI library on Arduino pro mini 3.3V and it works great. The name Teensview is perhaps a little misleading, maybe it should be something like teensyduinoView lol, since it runs on Arduino and Teensy.
Works with Teensy 4.1, with all signals set to standard. Alternate signals need some caveats:
*Pin 13 is the standard SCK signal, but also is hooked up to the Teensy's on-board LED, so the board will flash its LED whenever it writes to the TeensyView. Pin 14 does not appear to support SCK on the Teensy 4.0 or 4.1
*Pin 15 is the standard RESET pin, but also the only available pin for GPT capture. The GPT isn't even supported in Arduino/Teensyduino by default, but is there if you do lower-level register-level programming. My project needed that as the input for a GPS PPS, so I had to use the alternate pin 2, which works fine (plain GPIO).
*D/C and CS are plain GPIO pins, so either standard or alternate will work.
*Pin 11 is the standard DAT signal. Pin 7 (alternate) doesn't appear to support MOSI on the Teensy 4.0 or 4.1
Can i use this with the new teensy 4.0 and 4.1 ?
Can confirm it works with Teensy 4.1, with the standard (no pads cut) pin assignments.
I believe so, but double check the pin changes to be sure.
Under "Documents" lists "Arduino Library" so I ordered 2 thinking I could use these with any of the many Arduino boards I have kicking around. Just sat down to run the demo and find that the library won't run on regular "Arduino" hardware? Not good. Now what?
Just found that the "Micro OLED Breakout" P/N: LCD-13003 uses the same controller (SSD1306) and has Arduino library. Maybe that library can be used.
This is the bees knees!!
While of course a "mere" Arduino, say the Pro Mini, could not generated and plot a real-time frequency display for two audio channels, does this product actually NEED a Teensy, if the user is satisfied with "just" some text?? Library issues? What? It interfaces via a simple SPI... or is it I2C?... interface, after all?
Sure! The Teensy is just a SPI master with data/command control line added on. It's all at 3.3V. The library uses the Teensy style SPI settings though, so it would have to be reworded (see hardware.cpp in the library).
The "re-wording" would be beyond me, and quite few others, I suspect. Sorry to mess with the catchy product name... (^_^) ... but a library for us Arduino folk would be very welcome! Looks a neat device. Perhaps if you offered a free "development sample" to one or two with the skills?...
Pehaps the text at the top of...
https://github.com/sparkfun/SparkFun_TeensyView_Arduino_Library
... should be expanded to explain that while the library is fine for the Arduino IDE, the code will only work if the target board is a Teensy?
Schematic shows the spi lines are all that is needed, all you would need to do is hookup spi to an arduino and communicate with the OLED.
If using any Arduino with 5V signals, you'd need to level shift them down to 3.3V.