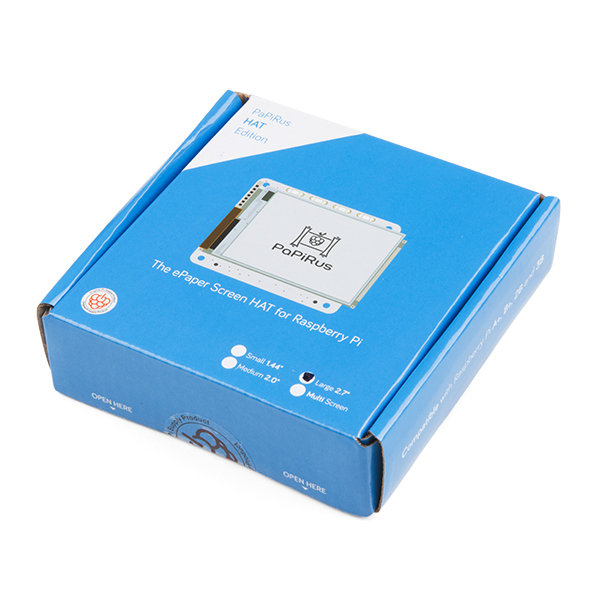
PaPiRus ePaper / eInk Screen HAT for Raspberry Pi
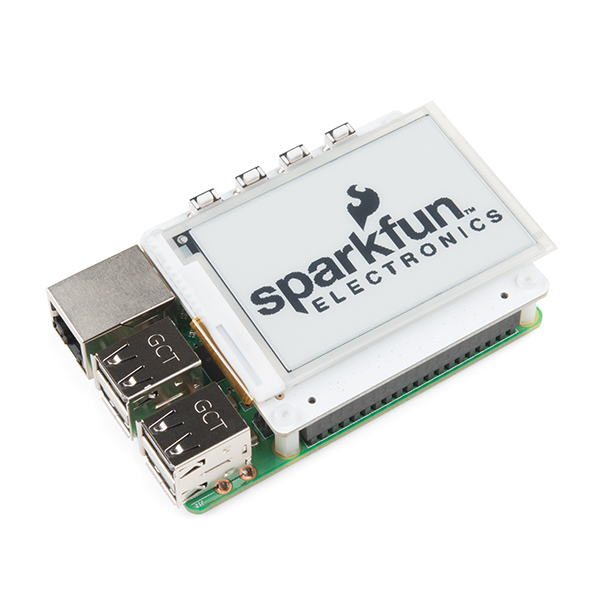
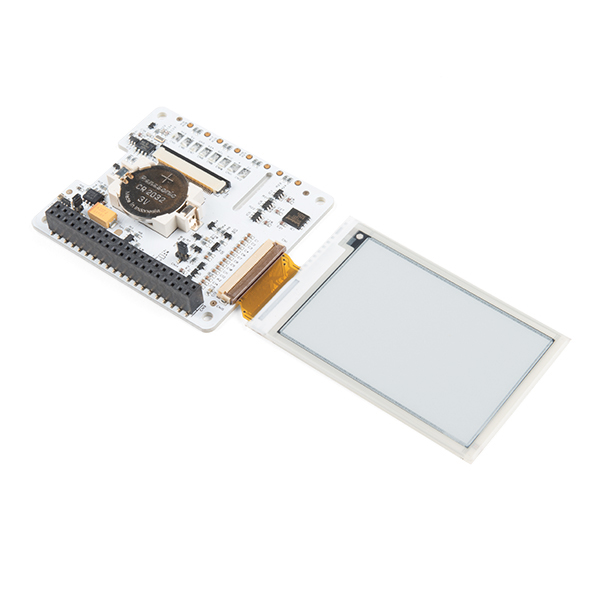
The PaPiRus is a HAT for the Raspberry Pi that is capable of driving an ePaper display with ease by making use of the existing open source RePaper codebase and examples. ePaper / eInk is a display technology that mimics the appearance of ink on paper. Unlike conventional displays, ePaper reflects light just like ordinary paper and is capable of holding text and images indefinitely, even without electricity.
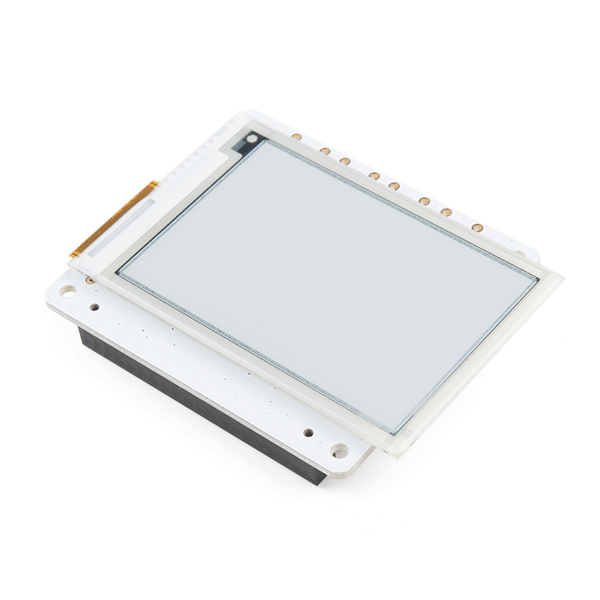
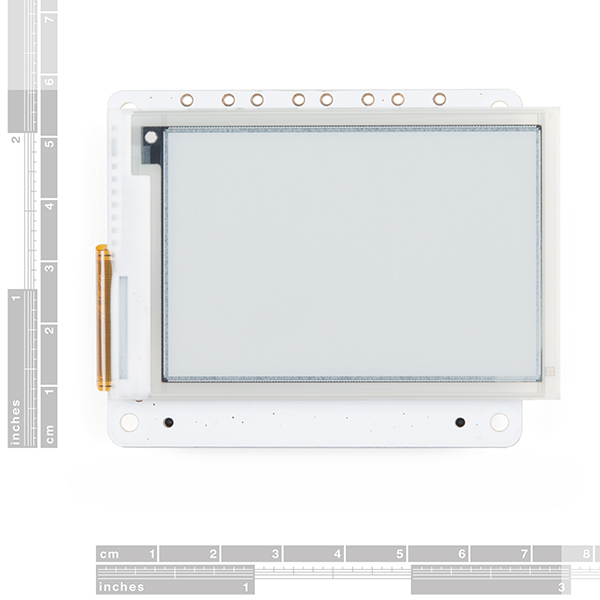
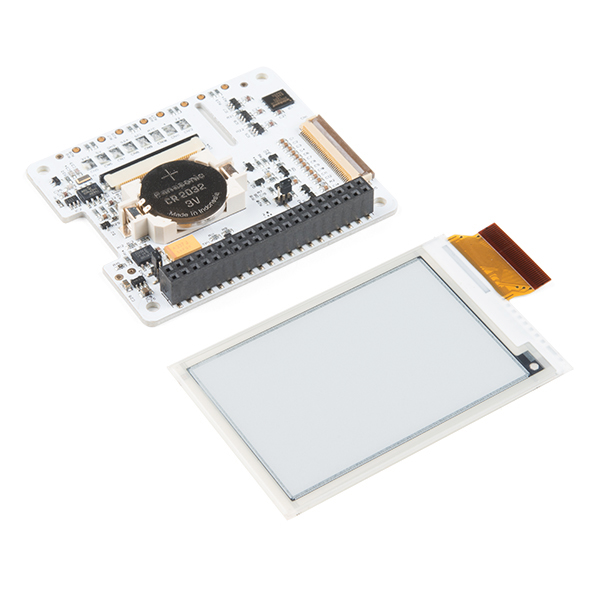
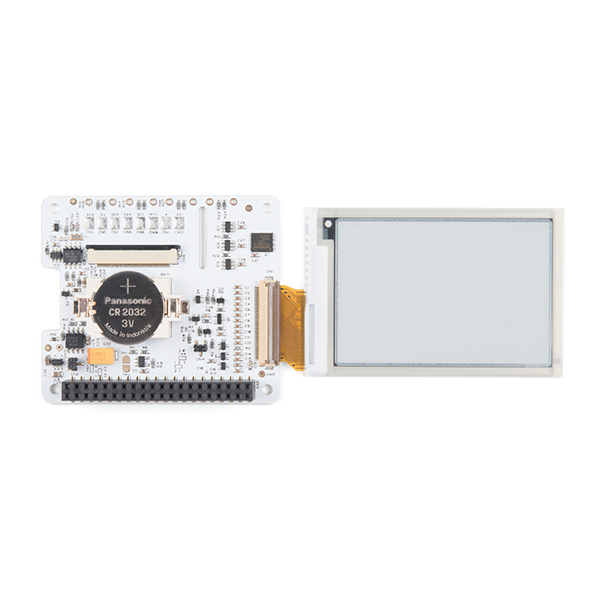
All signals are broken out to a 40 pin female header. This version of the HAT works perfect with the Raspberry Pi 3 B an B+ and is equipped a 2.7" diagonal and 264 x 176 resolution true ePaper / eInk graphical display.
The display does not require any power to keep the image and will stay 'on' without any power connection for many days before slowly fading. Of course, its also daylight readable and is very high contrast. This makes it excellent for data-logging applications, outdoor displays, or any other ultra-low power usages.
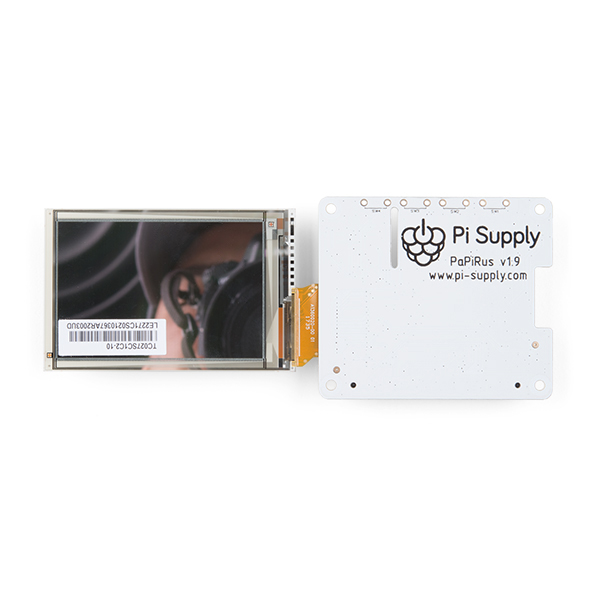
- PaPiRus HAT
- ePaper Screen - 2.7"
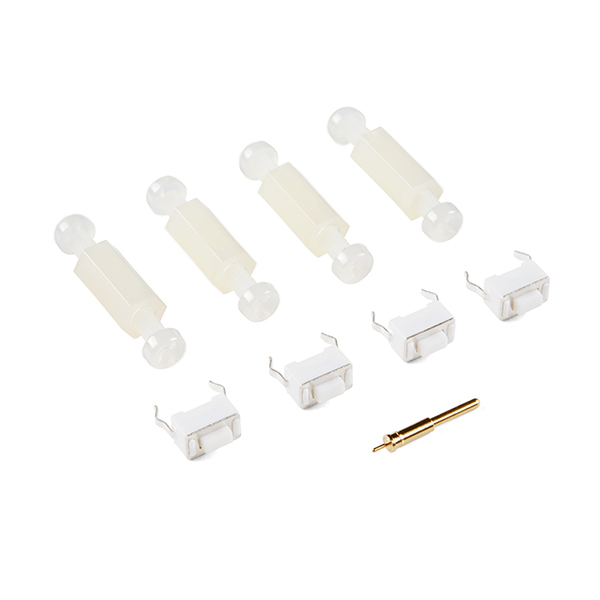
- Mounting Hardware
- Info Card
- Stickers
- Ultra-low power ePaper display
- Easy to Read - Sunlight readable
- High Resolution - Display small details
- Thin and Light - Easy to integrate
- 4x Programmable Buttons
- Fully Assembled
PaPiRus ePaper / eInk Screen HAT for Raspberry Pi Product Help and Resources
Core Skill: DIY
Whether it's for assembling a kit, hacking an enclosure, or creating your own parts; the DIY skill is all about knowing how to use tools and the techniques associated with them.
Skill Level: Noob - Basic assembly is required. You may need to provide your own basic tools like a screwdriver, hammer or scissors. Power tools or custom parts are not required. Instructions will be included and easy to follow. Sewing may be required, but only with included patterns.
See all skill levels
Core Skill: Programming
If a board needs code or communicates somehow, you're going to need to know how to program or interface with it. The programming skill is all about communication and code.
Skill Level: Competent - The toolchain for programming is a bit more complex and will examples may not be explicitly provided for you. You will be required to have a fundamental knowledge of programming and be required to provide your own code. You may need to modify existing libraries or code to work with your specific hardware. Sensor and hardware interfaces will be SPI or I2C.
See all skill levels
Core Skill: Electrical Prototyping
If it requires power, you need to know how much, what all the pins do, and how to hook it up. You may need to reference datasheets, schematics, and know the ins and outs of electronics.
Skill Level: Rookie - You may be required to know a bit more about the component, such as orientation, or how to hook it up, in addition to power requirements. You will need to understand polarized components.
See all skill levels
Comments
Looking for answers to technical questions?
We welcome your comments and suggestions below. However, if you are looking for solutions to technical questions please see our Technical Assistance page.
Customer Reviews
No reviews yet.

This doesnt seem to be compatible with the pi 3 b+ as the one pin has moved
Has anyone tested these with older Pis with a 26 pin header? From the pinout (https://i1.wp.com/learn.pi-supply.com/wp-content/uploads/2017/02/PaPiRus-Pinout.png?ssl=1) it looks like the SDA and SCL pins are duplicated on 27 and 28 (Or does it need a second !2C? But it doesn't show those pins used on the zero) and you would only lose the on board button pins. You'd probably need to mod the driver if it threw errors looking for pins 27 - 40.
Found hint in the damaged screen section of the getting started guide that you can use other size screens https://learn.pi-supply.com/make/papirus-assembly-tips-and-gotchas/
Can the driver board with this display drive the larger bare epaper displays such as the 7" https://www.sparkfun.com/products/14846