SparkFun ESP8266 Thing Dev Starter Kit
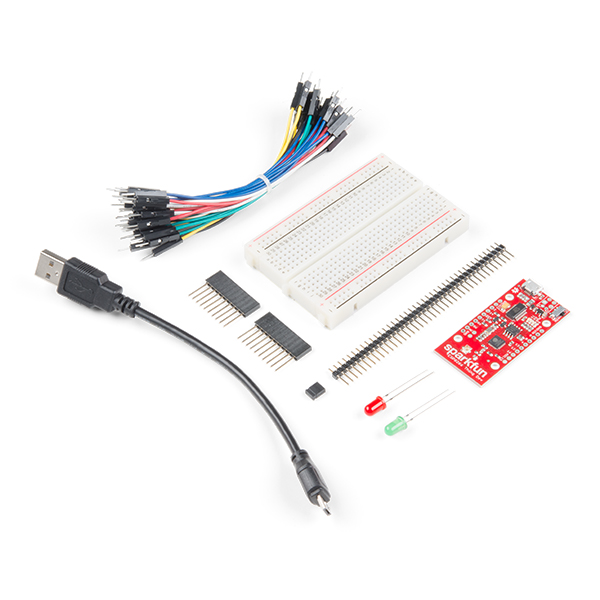
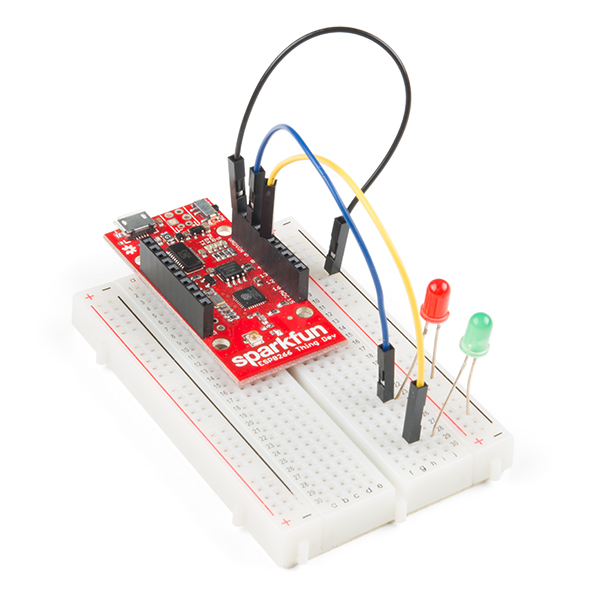
The SparkFun ESP8266 Thing Dev Starter Kit is a great place to start learning about the Internet of Things (IoT) and programming in Arduino. Inside this kit you will find a SparkFun ESP8266 Thing Dev (and USB cable), jumper wires, breadboard, LEDs, and plenty of headers. We've also included a pair of stackable 10-pin headers as well as 40 regular headers to connect your Serial Basic Breakout to the Thing or breadboard. If you have ever been interested in learning about IoT, Arduino, and wireless solutions, the SparkFun ESP8266 Thing Starter Kit is a perfect place to start!
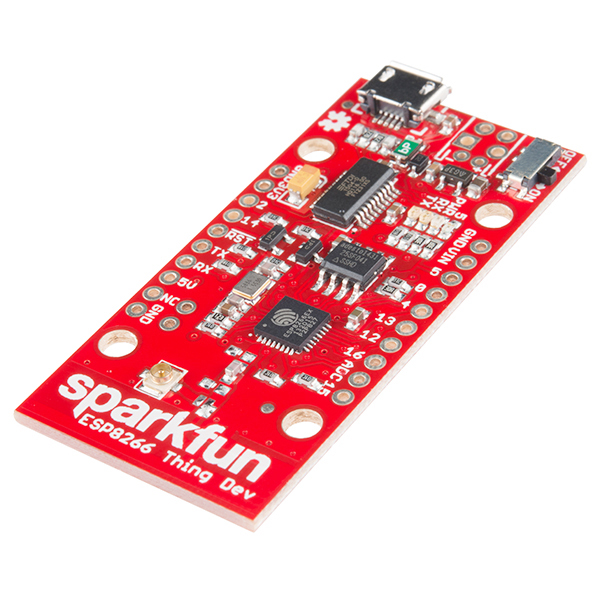
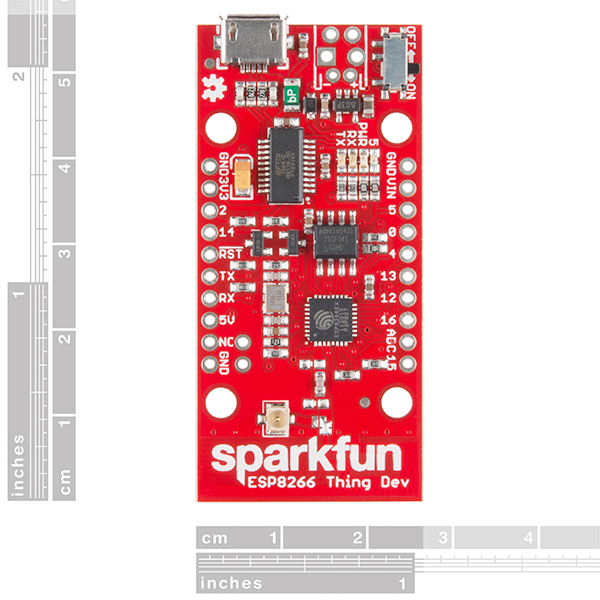
The SparkFun ESP8266 Thing Dev is a development board that has been solely designed around the ESP8266, with an integrated FTDI USB-to-Serial chip. The ESP8266 is a cost-effective, and very capable WiFi-enabled microcontroller. Like any microcontroller, it can be programmed to blink LEDs, trigger relays, monitor sensors, or automate coffee makers, and with an integrated WiFi controller, the ESP8266 is a one-stop shop for almost any Internet-connected project. To top it all off, the ESP8266 is incredibly easy-to-use: firmware can be developed in Arduino, and uploaded over a simple, serial interface. The ESP8266 Thing Development Board breaks out all of the module’s pins, and the USB-to-serial converter means you don’t need any peripheral components to program the chip. Just plug in a USB cable, download the Arduino board definitions, and start IoT-ing.
Why the name? We lovingly call it the “Thing” due to it being the perfect foundation for your Internet of Things project. The Thing does everything from turning on an LED to posting data, and can be programmed just like any microcontroller. You can even program the Thing through the Arduino IDE by installing the ESP8266 Arduino addon.
The Thing Dev Board even includes a PCB trace antenna as a default WiFi antenna, it’s cost-effective and actually works really well! If you need to connect a more sensitive antenna, or need to route outside an enclosure, a U.FL connector is also available on the board. Some soldering will be required to get the U.FL connector functioning but instructions can be found in the Hookup Guide we have written for the dev board.
- All module pins broken out
- On-board FTDI USB-to-Serial
- 802.11 b/g/n
- Wi-Fi Direct (P2P), soft-AP
- Integrated TCP/IP protocol stack
- Integrated TR switch, balun, LNA, power amplifier and matching network
- Integrated PLLs, regulators, DCXO and power management units
- Integrated low power 32-bit CPU could be used as application processor
- +19.5dBm output power in 802.11b mode
SparkFun ESP8266 Thing Dev Starter Kit Product Help and Resources
How to Install FTDI Drivers
June 4, 2013
How to install drivers for the FTDI Basic on Windows, Mac OS X, and Linux.
ESP8266 Thing Development Board Hookup Guide
November 5, 2015
An overview of SparkFun's ESP8266 Thing Development Board - a development board for the Internet of Things.
Three Quick Tips About Using U.FL
December 28, 2018
Quick tips regarding how to connect, protect, and disconnect U.FL connectors.
Using Home Assistant to Expand Your Home Automations
May 9, 2019
An introduction to Home Assistant, an open source home automation hub.
Core Skill: Soldering
This skill defines how difficult the soldering is on a particular product. It might be a couple simple solder joints, or require special reflow tools.
Skill Level: Noob - Some basic soldering is required, but it is limited to a just a few pins, basic through-hole soldering, and couple (if any) polarized components. A basic soldering iron is all you should need.
See all skill levels
Core Skill: Programming
If a board needs code or communicates somehow, you're going to need to know how to program or interface with it. The programming skill is all about communication and code.
Skill Level: Rookie - You will need a better fundamental understand of what code is, and how it works. You will be using beginner-level software and development tools like Arduino. You will be dealing directly with code, but numerous examples and libraries are available. Sensors or shields will communicate with serial or TTL.
See all skill levels
Core Skill: Electrical Prototyping
If it requires power, you need to know how much, what all the pins do, and how to hook it up. You may need to reference datasheets, schematics, and know the ins and outs of electronics.
Skill Level: Rookie - You may be required to know a bit more about the component, such as orientation, or how to hook it up, in addition to power requirements. You will need to understand polarized components.
See all skill levels
Comments
Looking for answers to technical questions?
We welcome your comments and suggestions below. However, if you are looking for solutions to technical questions please see our Technical Assistance page.
Customer Reviews
5 out of 5
Based on 1 ratings:
Best kit I've bought in a while.
So easy to get started with the ESP8266. With the breadboard and headers, it was easy to solder and get started with the jumpers. On-board FTDI serial chip means you just plug in the USB cable and get started. Great starter kit ... for me.


