Qwiic Button - Blue
This product has gone red! You can now get the Qwiic button in any color you'd like (or red if you don't want to solder).
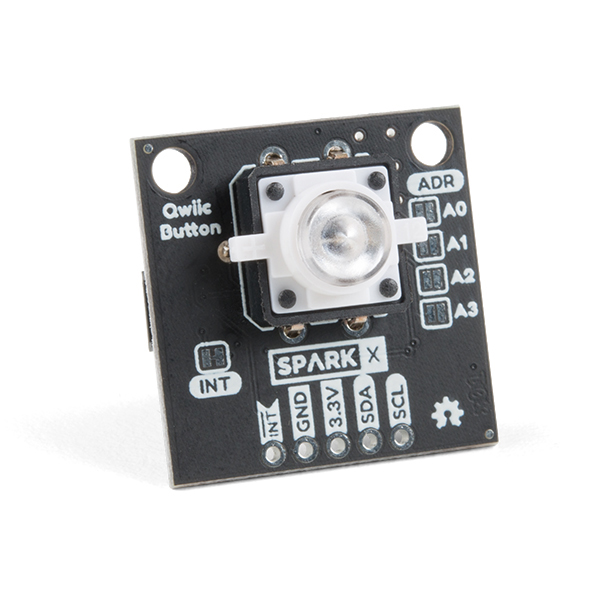
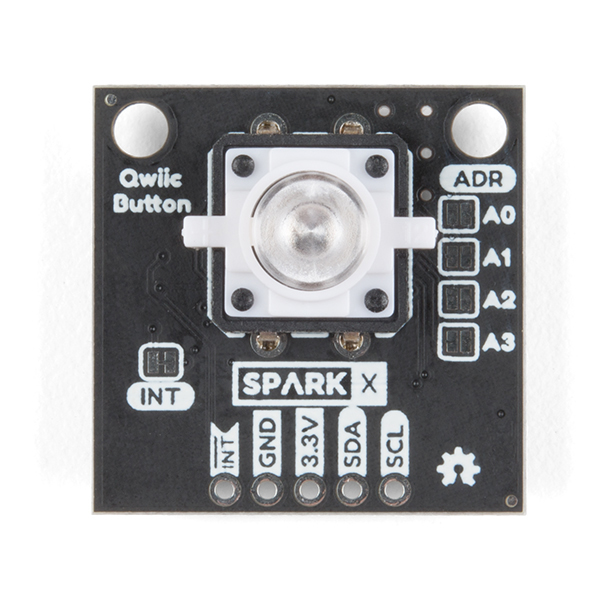
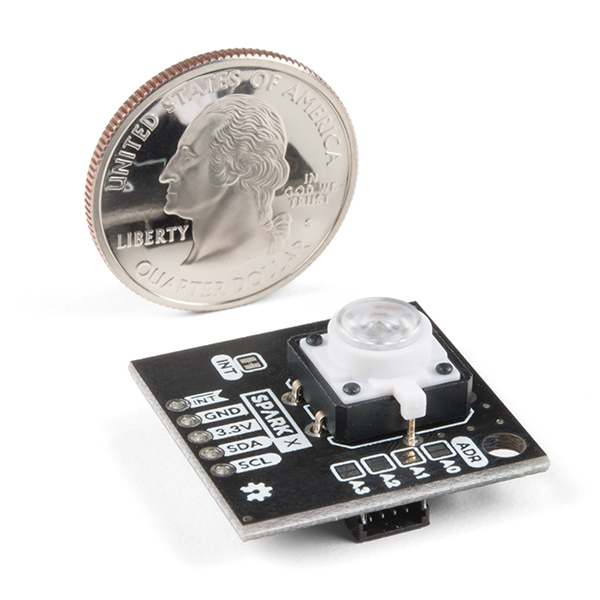
Buttons are an easy, tactile way to interface with your project but why would you want to deal with debouncing, polling, and wiring up pull-up resistors? The Qwiic Button simplifies all of those nasty worries away into an easy to use I2C device! With our Qwiic system, no soldering is required, and using the button is as simple as calling button.isPressed().
The button also has a built-in blue LED that illuminates the button, which can be configured for your desired level of blinkiness!
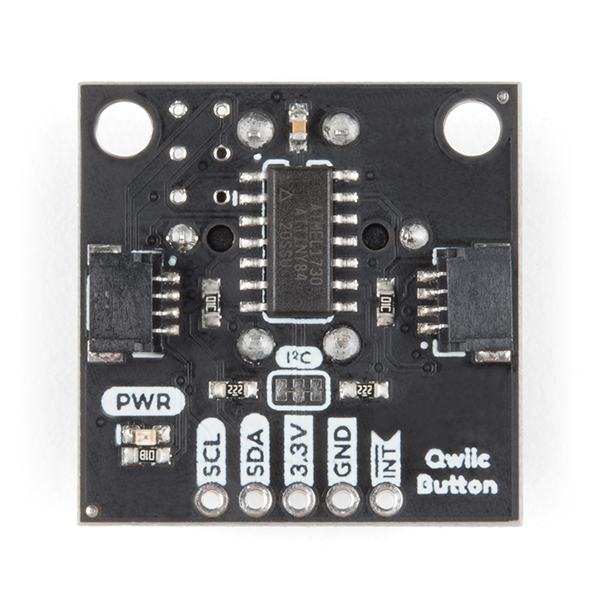
If you need multiple buttons for your project, fear not! Each button has a configurable I2C address, so you can daisy-chain multiple buttons over Qwiic and still address each one individually. We've got an example in our Arduino Library that provides a super-easy way to configure your Qwiic Button to whatever I2C address you desire.
In addition to handling blinking and debouncing the Qwiic Button has configurable interrupts which can be configured to activate upon a button press or click. This means that code on your microcontroller need not waste valuable processing time checking the status of the button but instead can run a small function whenever the button is pressed or clicked! For more information on interrupts check out our guide here!
We've also taken the liberty of implementing a FIFO queue onboard the Qwiic Button where it keeps an internal record of when the button was pressed. This means that if you happen to be Alex Trebek and you have a network of Qwiic Buttons running your Jeopardy Game, you can determine who pushed their button first without polling them constantly! This saves your microcontroller time to do other, more important things - like winning the game itself.
We've written an Arduino library to help you get started quickly. You can download the library through the Arduino library manager by searching 'SparkFun Qwiic Button' or you can get the GitHub repo as a .zip file and install the library from there.
This board is one of our many Qwiic compatible boards! Simply plug and go. No soldering, no figuring out which is SDA or SCL, and no voltage regulation or translation required!
We do not plan to regularly produce SparkX products, so get them while they’re hot!
Experimental Product: SparkX products are rapidly produced to bring you the most cutting edge technology as it becomes available. These products are tested but come with no guarantees. Live technical support is not available for SparkX products. Head on over to our forum for support or to ask a question.
- The Arduino Library can be found by searching SparkFun Qwiic Button in the Arduino Library Manager, or through our GitHub Repo!
- Schematic
- Hardware Repo
Comments
Looking for answers to technical questions?
We welcome your comments and suggestions below. However, if you are looking for solutions to technical questions please see our Technical Assistance page.
Customer Reviews
No reviews yet.


Schematic file for the Qwiic Button is missing: https://cdn.sparkfun.com/assets/1/e/5/4/4/QwiicButtonSchematic.pdf Also can't figure out the i2c address.
Hi there, it sounds like you are looking for assistance. As mentioned in the product description, please head over to our forum for assistance. Otherwise, based on the library, I think the default I2C address is
0x6F. I'll also get the link fixed.I think this is a really neat idea!
However, there's always room for improvement, so here are a couple of suggestions that come to mind if you decide to do a "production version":
Put a clearly marked set of holes for an "off-board switch" (e.g., a Big Red Dome)
Have a version with an RGB LED (maybe a NeoPixel?)
I am not sure about any plans for a NeoPixel, but the new Qwiic Switch should work with arcade buttons and the dome buttons.
Yes, it does. #confirmed
Even the toggles: https://imgur.com/1yfuRYL