GPIB-ETHERNET Controller
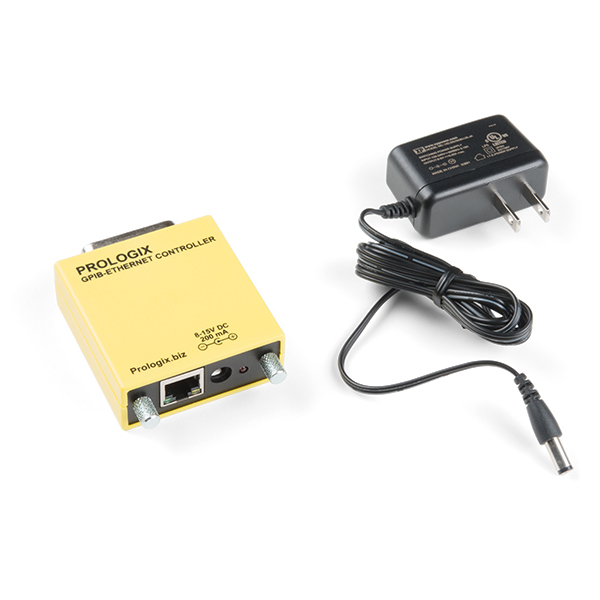
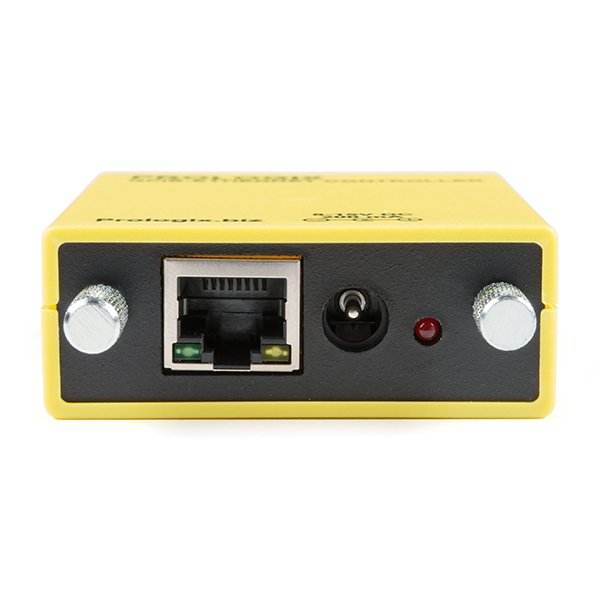
Access GPIB instruments over an ethernet network using this affordable, easy to use, Prologix GPIB-ETHERNET controller. Attach the GPIB-ETHERNET controller to any GPIB enabled equipment to control it over a network from anywhere in the world!
Use this controller to remotely control and download screen plots from Oscilloscopes, Logic Analyzers, Spectrum Analyzers, Function Generators, Power Supplies and other GPIB enabled instruments all over ethernet.
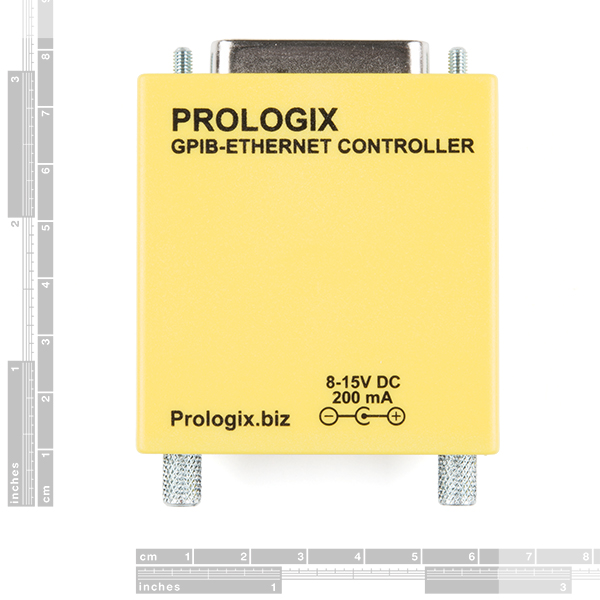
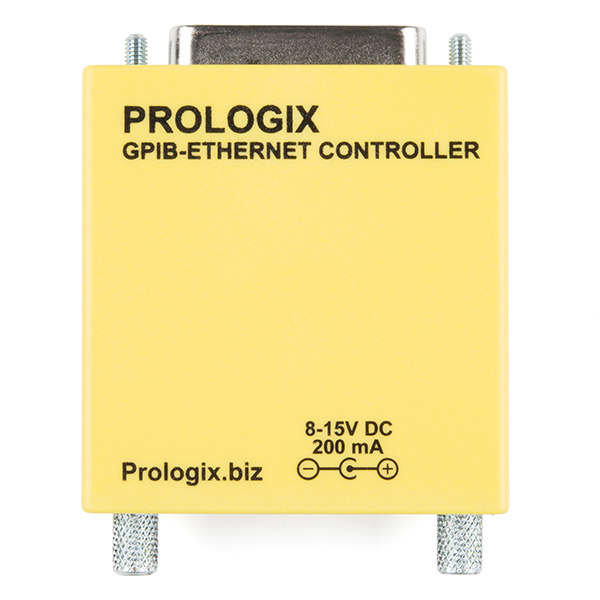
GPIB-ETHERNET may also be used with a wireless bridge to access your instruments wirelessly. Requires external power supply of 8-15VDC (included).
- No drivers required
- Power supply included
- Support multiple instruments on GPIB bus
- Same command interface as the popular Prologix GPIB-USB controller
- All software configuration - No switches
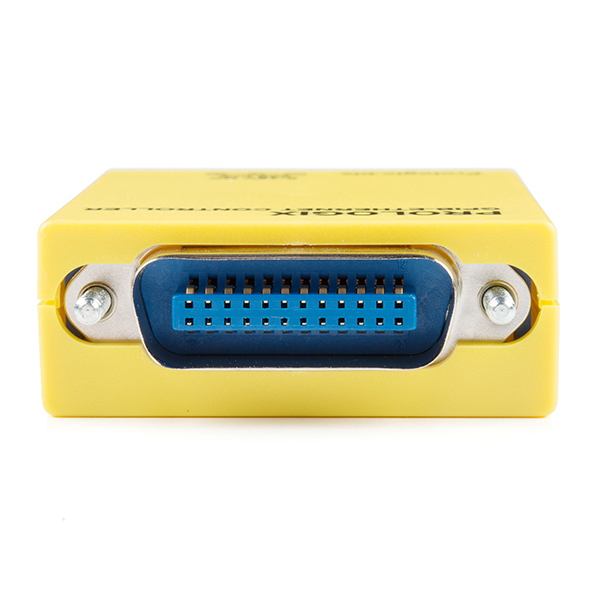
- Standard RJ-45 and IEEE 488 (Male) connectors
- No GPIB cable required - the GPIB-ETHERNET can be attached directly to a GPIB enabled piece of equipment
- 3.0"x2.5"x0.9"
GPIB-ETHERNET Controller Product Help and Resources
Core Skill: Electrical Prototyping
If it requires power, you need to know how much, what all the pins do, and how to hook it up. You may need to reference datasheets, schematics, and know the ins and outs of electronics.
Skill Level: Noob - You don't need to reference a datasheet, but you will need to know basic power requirements.
See all skill levels
Comments
Looking for answers to technical questions?
We welcome your comments and suggestions below. However, if you are looking for solutions to technical questions please see our Technical Assistance page.
Customer Reviews
4.7 out of 5
Based on 3 ratings:
1 of 1 found this helpful:
Up and running in 5 minutes
I have a 20 year old HP 34401A I have been eager to interact with programmatically. Within 5 minutes I was up and running and able to connect to it.
Basically it was:
- Connect it up
- Find it's IP address (you can download software from Prologix to help find the IP if you don't want to scan the network for it).
- Connect to it and change the target GPIB (or HP-IB) address
And I'm set.
Very happy with the product!
Works as advertised
Easy to setup, works flawlessly. Very quick delivery from SparkFun to Australia. Recommended vendor.
convenient adapter for old technology
I am purchasing my second unit for latest eBay find, a Fluke 8520A multimeter based on positive experience with the first unit. My first unit was for a Wavetek 275 waveform generator. My experience setting up the first controller included a not unreasonable learning curve, including writing example code to read some information from the Wavetek 275 and create a simple waveform output. The basic activities were: 1) Download and install Prologix GPIB Configurator utility first. (http://prologix.biz/resources.html) 2) Connect GPIB-ETHERNET Controller to instrument. 3) Connect GPIB-ETHERNET Controller to an ETHERNET hub using a straight ETHERNET cable. 4) Connect PC to LAN. I used the PC to set a static IP for the Controller through the router admin page. 5) Use GPIB Configurator to configure GPIB settings. This is a little utility to interactively control the GPIB device. I used it to verify basic operation and try a few commands from the Wavetek manual. 6) Use EZGPIB to implement control applications.
Sparkfun provides a slightly better deal than ordering direct from Prologix by including a power supply and free shipping.

The datasheet link needs to be updated: http://prologix.biz/downloads/PrologixGpibEthernetManual.pdf
The following is an email I sent to Prologix, after discovering some "idiosyncrosies" with it's initial setup. I think it has some useful info: "I'm very excited by the gpib-to-ethernet adapter. But there's some weirdness in getting them to work:
Initially, the adapter shows up at ip address 0.0.0.0. This is NOT a legal address, and most "standard" ip-protocol software refuses such an address. Instead, please choose a canonical default address... say 192.168.1.x ...or anything typical AND legal.
Even worse, the initial port seems to be a random number, not 1234 or a typical open port. All of the computers I use nowadays have firewalls running, and only after multiple days of struggling to "see" the adapter, did I try turning off the firewall.... There it was, spewing out udp packets! Please change the "random port" to 1234, or better yet, a typical open port #.
I am OSX as much as possible, and while I managed to run your netfinder and configurator under an emulator, your software could be implemented EASILY with a web-server (which would also use port 80)... and therefore platform independent. Look at ANY hub, switch, serial server, etc on the market today; they ALL follow this standard.
I'm still eager to put my gpib-enet adapters to use, but your software engineers made a couple very poor decisions instead of following established standards. I welcome a response, but please don't put me on any mailing lists."
Thank you for purchasing our controller and for your feedback.
NetFinder discovery protocol uses UDP broadcast to detect and configure controllers on the network. Since it is broadcast based, it can locate controllers with any IP, or even those with no IP. Hence the reason for the default address of 0.0.0.0. Using a private IP as the default will not be of much help since the customer will have to configure the PC/laptop network interface to be in the same subnet, as you have to do with most hubs and switches. NetFinder saves the customer from having to re-configure their network.
We have a command line version of the NetFinder tool (Python script) that is OS X compatible: http://prologix.biz/downloads/nfcli.tar.gz
Prologix GPIB-ETHERNET uses two ports. UDP/3040 is used by the NetFinder for discovery, and TCP/1234 for GPIB communication.
This is a great product. I couldn't use it for my 8569B spectrum analyzer as I wanted to but I found another use for it with another piece of test equipment. The support from Prologix was outstanding.
Why would anyone purchase this product if the USB version is available and is cheaper? Can this device be used over the internet if it is assigned a global IP address?
Prologix GPIB-LAN does not the cable length restrictions of USB, and can even be used over a wireless net. Further, no host side drivers are needed. Also, when assigned a unique IP (static or DHCP) GPIB-LAN can be accessed from anywhere on the Internet.
Also when you do test development and you have a rack of 20 instruments, LAN is much nicer to work with.