Arcade Joystick
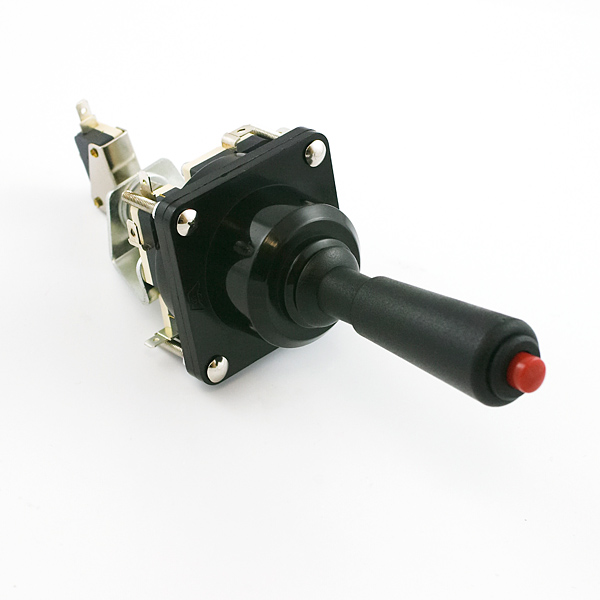
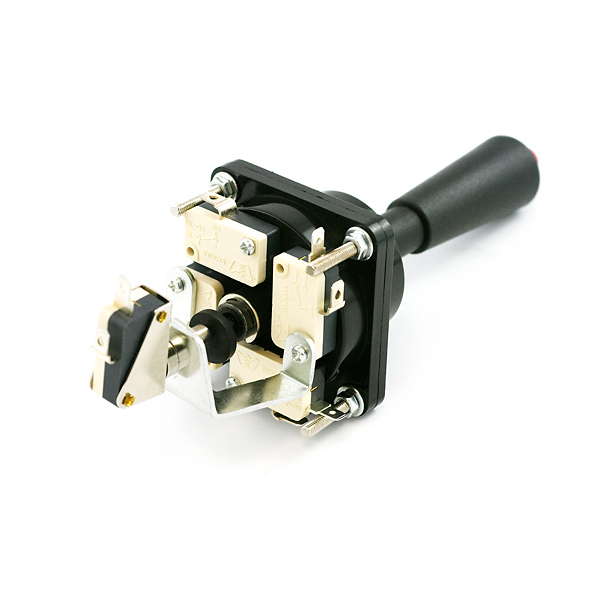
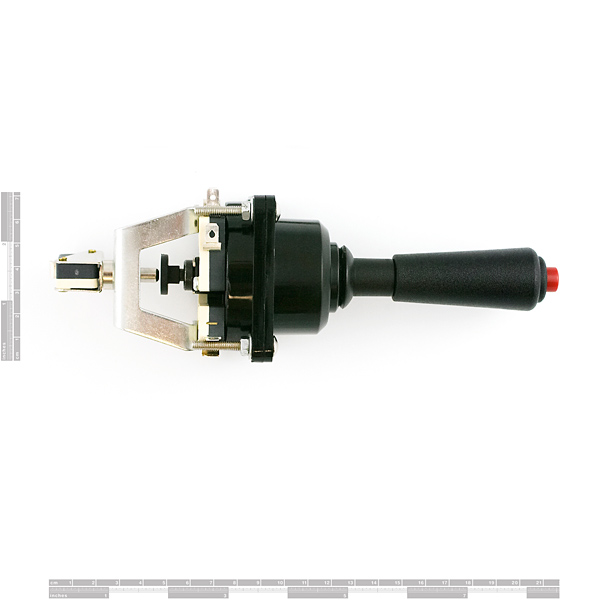
This is a heavy-duty joystick very similar to the ones in claw arcade games. Directional movements are momentary limit switches - one for each direction. This joystick also has a select button that is actuated when the red button is pressed down.
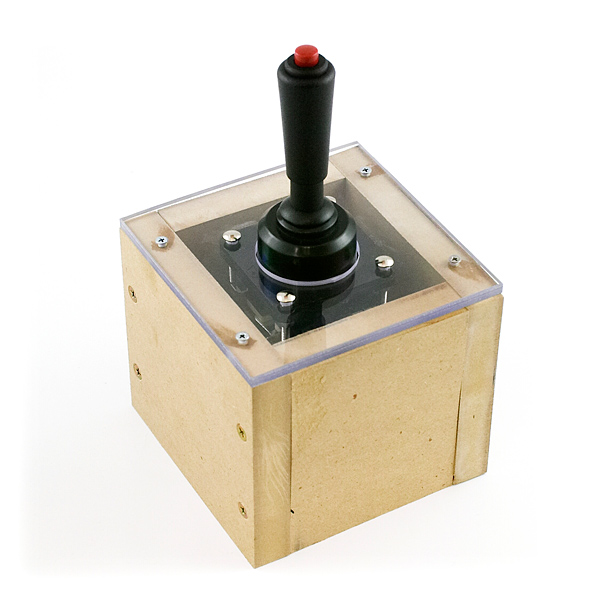
This joystick is pretty beefy and very tall because of it. We built up an enclosure just to see what it would look like. Ideally, this joystick would be panel mounted, but actually reading the movement of the joystick is as simple as setting up the microcontroller to read five switches.
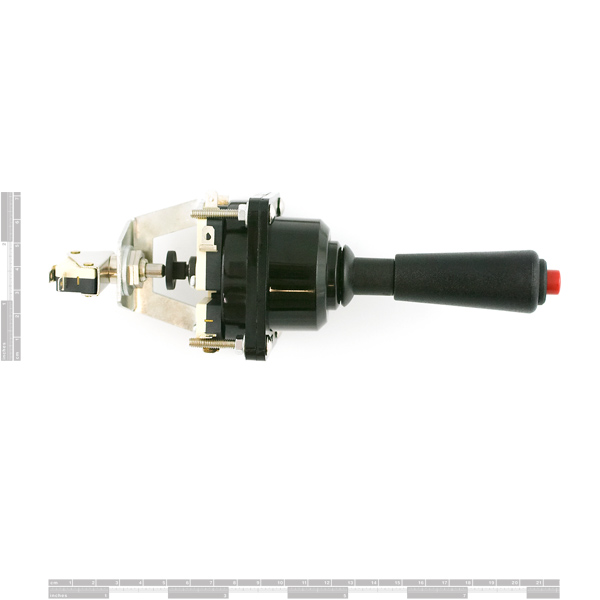
- Joystick height: 79mm
- Overall height: 190mm
- Base: 61.5mm square
Arcade Joystick Product Help and Resources
Core Skill: DIY
Whether it's for assembling a kit, hacking an enclosure, or creating your own parts; the DIY skill is all about knowing how to use tools and the techniques associated with them.
Skill Level: Noob - Basic assembly is required. You may need to provide your own basic tools like a screwdriver, hammer or scissors. Power tools or custom parts are not required. Instructions will be included and easy to follow. Sewing may be required, but only with included patterns.
See all skill levels
Core Skill: Electrical Prototyping
If it requires power, you need to know how much, what all the pins do, and how to hook it up. You may need to reference datasheets, schematics, and know the ins and outs of electronics.
Skill Level: Noob - You don't need to reference a datasheet, but you will need to know basic power requirements.
See all skill levels
Comments
Looking for answers to technical questions?
We welcome your comments and suggestions below. However, if you are looking for solutions to technical questions please see our Technical Assistance page.
Customer Reviews
5 out of 5
Based on 1 ratings:
1 of 1 found this helpful:
Maintenance Manager
Great value for the cost! I bought several and when I need more I will purchase from Sparkfun again.

I think some of the dimensions in the datasheet are inaccurate! I designed an enclosure in CAD and the first iteration didn't fit properly.
This seems like a dumb question to me, but can these things move in 8 directions or just four?
From a comment from 6 years ago:
I think this means it can be set up for 4 directions or 8 directions, depending on whether or not you install the restrictor plate.
These are certainly sturdy enough. Mine did come with an 8 way restrictor plate installed and a 4 way plate in a bag with some mounting screws and washers. You can see in the pictures the square plate is in two parts, it looks like the plates are designed to sandwich a metal panel but it would be easy enough to mount it to a wood panel as well by placing both plate together underneath. May have to dress up the hole a bit.
I have not yet installed them, but the switch design is no different than any other arcade joystick you may find. (Except that these switches are perhaps a bit beefier.) The centering spring has a good feel, firm not not hard to move at all. The only con I see at this point is that the joystick's travel is very short--I mean like 5/8 inch at the top of the stick.
this + Leonardo
Comes with a 4-way restrictor plate too.
I accidentally posted a top-level comment here instead of a reply. There should be a delete button.
Is there a data sheet for this? Links? Anything? I would like more detailed info on it's dimensions. Also, is there any help for hooking this up to an Arduino?
I know this is a late reply, but for anyone else wondering, this does come with a datasheet when shipped. The switches are very basic-the only complicating part is keeping your wires and directions straight when hooking up all 5 of them.
i'd rather know the dimensions BEFORE i buy it
I put in a 3D model request with our team in charge of those, so hopefully we can get one up soon for everyone to view all the dimensions they want.
Looking to use these with a GPIO with and Altera DE2 Board, any advice? I'm trying to figure out exactly how I would connect it, what is the connection specs on this?
Has anyone ever used these with 48V or higher? I need to know if these can handle 48V @ 3.1A.
Possibly. The 48V part, yes. But I'm not so sure about the 3.1A part.
*If Sparkfun could tell us the microswitch part# (hard to see in picture) maybe we could figure out.*
I would love to see some joystick potentiometers in stock here at SparkFun, for that smooth linear action we've come to expect in robotic camera controllers. Or maybe I'm the only one making a robotic camera controller.
Have you looked at this:
http://www.sparkfun.com/commerce/product_info.php?products_id=9032
Will sparkfun soon get these type of joysticks but potentiometer based?...(Not thumbsticks)
This thing is really cool. Really simple to use, too. Just five NO momentary switches.
It comes with the 4-way restrictor plate, as Gregr said, and also the bolts in the photo.
Hey Sciguy, can you help this newby with some simple instructions to hook this joystick up to my Arduino board? Or suggest a link with instructions? THANKS!
WELP, this is a few months late from a different guy, but I can give some simple directions. On these, you'll find five microswitches (one in each corner for directions, then one on the shaft for the button) each with 2 NO contacts. Hook GND to one terminal of each, then hook a separate arduino pin to each of the switches on the other terminal. Then, treat each pin like a normal button. Remember that the switches are opposite the direction of movement (so down actuates the top switch &c.).
Thanks, Sal! You're right -- I was so totally frustrated with the mess of wires and lack of signal in the direction I was moving the joystick that didn't even notice the signal in the opposite direction.
THANKS for your late but EXTREMELY helpful response!
Got to be a sellout record... When do you expect to receive new stock?