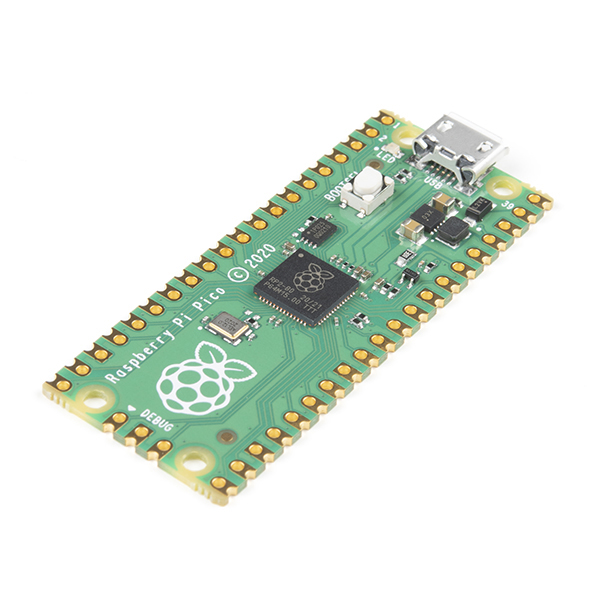
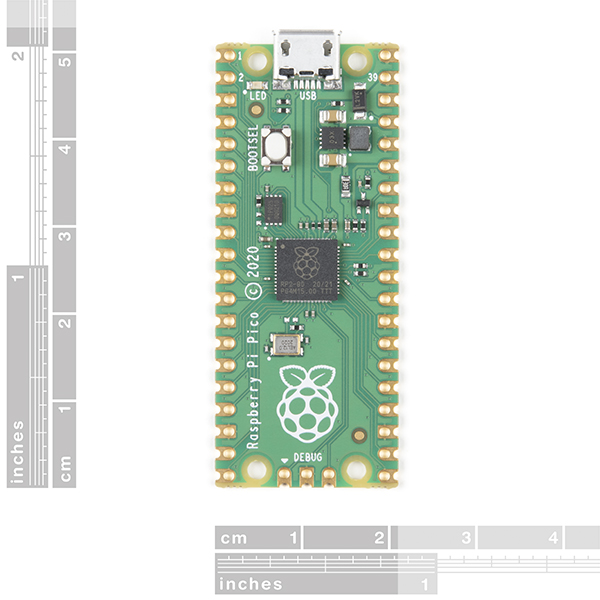
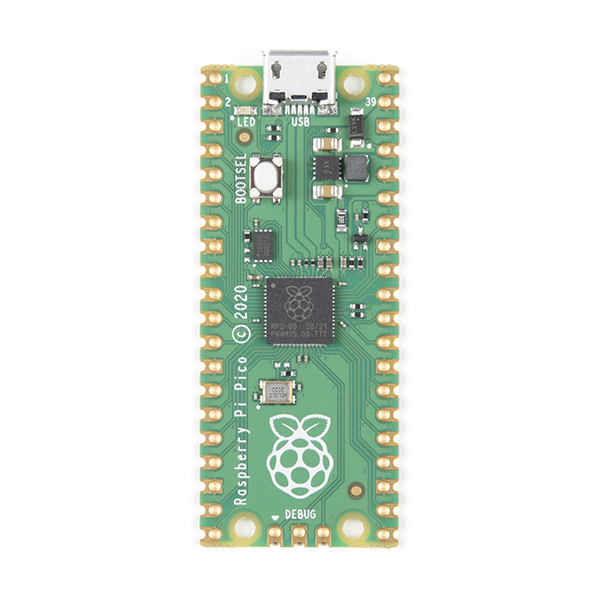
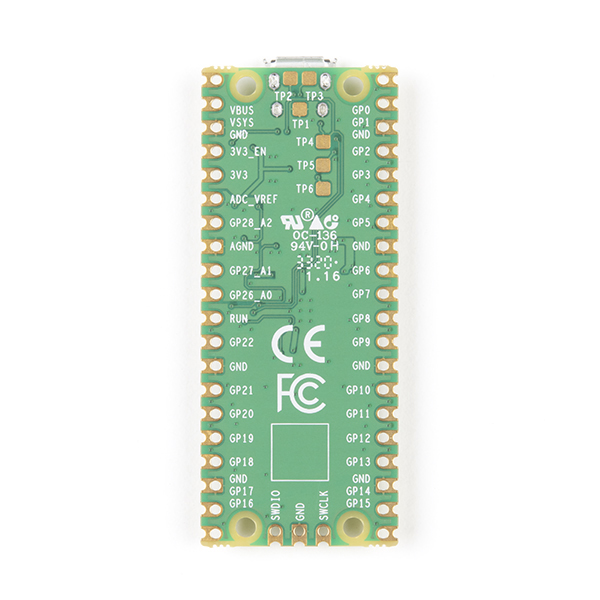
The Raspberry Pi Pico is a low-cost, high-performance microcontroller board with flexible digital interfaces. It feature the RP2040 which marks Raspberry Pi's first microcontroller designed in-house. Pico provides minimal (yet flexible) external circuitry to support the RP2040 chip (Flash, crystal, power supplies and decoupling and USB connector). The majority of the RP2040 microcontroller pins are brought to the user IO pins on the left and right edge of the board. Four RP2040 IO are used for internal functions - driving an LED, on-board Switched Mode Power Supply (SMPS) power control and sensing the system voltages.
Pico uses an on-board buck-boost SMPS which is able to generate the required 3.3 volts (to power RP2040 and externalcircuitry) from a wide range of input voltages (~1.8 to 5.5V). This allows significant flexibility in powering the unit from various sources such as a single Lithium-Ion cell, or 3 AA cells in series. Battery chargers can also be very easily integrated with the Pico powerchain. Reprogramming the Pico's flash memory can be done using USB (simply drag and drop a file onto the Pico which appears as a mass storage device) or via the Serial Wire Debug (SWD) port. The SWD port can also be used to interactively debug coderunning on the RP2040
Pico has been designed to use either soldered 0.1" pin-headers (it is one 0.1" pitch wider than a standard 40-pin DIP package) or can be used as a surface mountable "module", as the user IO pins are also castellated. There are SMT pads underneath the USB connector and BOOTSEL button, which allow these signals to be accessed if used as a reflow-soldered SMT module.
Note: These come to us in tape and reel packaging. If you would like to buy a full reel (2400 units), please send an email to sales@sparkfun.com.
- RP2040 microcontroller chip designed by Raspberry Pi in the United Kingdom
- Dual-core ARM Cortex M0+ processor, flexible clock running up to 133 MHz
- 264kB of SRAM, and 2MB of on-board Flash memory
- Castellated module allows soldering direct to carrier boards
- USB 1.1 Host and Device support
- Low-power sleep and dormant modes
- Drag & drop programming using mass storage over USB
- 26 multi-function GPIO pins
- 2× SPI, 2× I2C, 2× UART, 3× 12-bit ADC, 16× controllable PWM channels
- Accurate clock and timer on-chip
- Temperature sensor
- Accelerated floating point libraries on-chip
- 8 × Programmable IO (PIO) state machines for custom peripheral support
Raspberry Pi Pico Product Help and Resources
Core Skill: Soldering
This skill defines how difficult the soldering is on a particular product. It might be a couple simple solder joints, or require special reflow tools.
Skill Level: Noob - Some basic soldering is required, but it is limited to a just a few pins, basic through-hole soldering, and couple (if any) polarized components. A basic soldering iron is all you should need.
See all skill levels
Core Skill: Programming
If a board needs code or communicates somehow, you're going to need to know how to program or interface with it. The programming skill is all about communication and code.
Skill Level: Competent - The toolchain for programming is a bit more complex and will examples may not be explicitly provided for you. You will be required to have a fundamental knowledge of programming and be required to provide your own code. You may need to modify existing libraries or code to work with your specific hardware. Sensor and hardware interfaces will be SPI or I2C.
See all skill levels
Core Skill: Electrical Prototyping
If it requires power, you need to know how much, what all the pins do, and how to hook it up. You may need to reference datasheets, schematics, and know the ins and outs of electronics.
Skill Level: Rookie - You may be required to know a bit more about the component, such as orientation, or how to hook it up, in addition to power requirements. You will need to understand polarized components.
See all skill levels
Comments
Looking for answers to technical questions?
We welcome your comments and suggestions below. However, if you are looking for solutions to technical questions please see our Technical Assistance page.
Customer Reviews
5 out of 5
Based on 3 ratings:
3 of 3 found this helpful:
Great tiny board
This is an awesome board. While I've only used CircuitPython, it's phenomenal so far. The price (it's okay if it breaks) is a major plus. Highly recommend.
2 of 2 found this helpful:
Excellent documentation
The documentation for python, C, and hardware are all excellent and complete. I've played with one for a week now (mostly in C), and the board seems really well-designed, doing a limited set of things very well.
1 of 1 found this helpful:
No Complaints it is a fun board :)
It is Raspberry Pico, so much hardware for so little price. Tool chain is on github. Works great.


The anticipation is killing me!
good