Shawn Hymel
Member Since: August 12, 2013
Country: United States
Have you been curious about trying Python on a microcontroller? The ESP32 is a great way to start!
Our newest (sorta-Python-related) tutorial shows you a few ways to run a script whenever a Raspberry Pi boots up.
In the latest Python tutorial series, we look at loading MicroPython onto six different microcontroller development boards.
We've updated our popular "Raspberry Pi SPI and I2C Tutorial" with some Python examples.
If you're looking to make your own dashboard or slick graphical interface, Python can help you out with the Tkinter package.
Whether you are teaching a class or want to create a dashboard to plot sensor data, the matplotlib Python package has you covered! We introduce a new guide that walks you through the basics of using matplotlib.
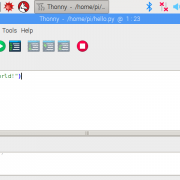
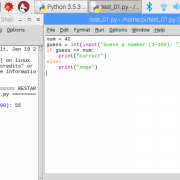
A quick look at the default IDEs that come with the Raspbian for developing Python applications.
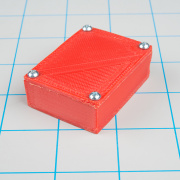
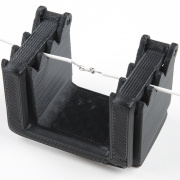
In this tutorial, we show you how to design a project enclosure with Tinkercad and then make it on a 3D printer.
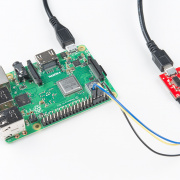
By default, the Raspberry Pi is used like a computer, where you need a keyboard, mouse and monitor. Here are some other ways to configure it.
We wanted to get you started on a high tech prank that's sure to annoy your friends and coworkers. We combine an Arduino Pro Micro with a USB Male connector to create a hardware mouse jiggler.
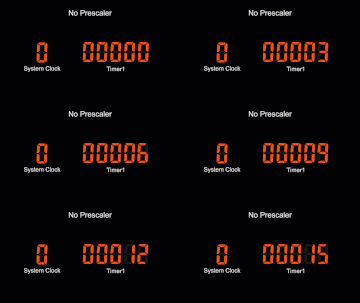
Let's continue digging deeper into Arduino to see what's really going on with registers.
We reached out to some longtime customers and fans of SparkFun to see what they were working on 10-15 years ago.
In order to use more advanced features or optimize our code for space and speed, we need to understand how to work with registers directly in microcontrollers.
Let's recap a fun DIY build from last month and examine how those infamous Imperial hover bikes were made for "Return of the Jedi."
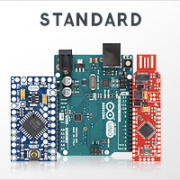
We've compiled a list of all the Arduino-compatible boards that SparkFun sells. Choose wisely.
With all the information needed to construct a combat bot, let's actually build one!
We bring back Jamie to give us some design tips when creating a 3D-printed plastic ant bot.
We get a combat bot veteran to talk about the different weapon types for fighting robots.
We can use digital magnetic field detectors as a compass to give our robot an absolute heading.
Let's gaze upward and look at how some of those nifty satellites can give us position data.
It's Monday, and that means it's time for Adventures in Science! This week, we dive into the mysterious world of rotary encoders.
Time for the ever-popular loops discussion! We look at the three basic loops you can use in Arduino.
Let's take a look at three current and upcoming technologies that try to expand internet coverage to places where WiFi can't reach.
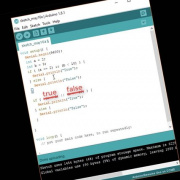
Building on our last Arduino programming episode, we look at creating compound conditional statements using logic operators.
Someone has been stealing my sandwiches. We'll use the two-way radio communication on the micro:bit to catch the thief.
For Part 3 of the "Getting started with micro:bit" series, we read temperature from a built-in sensor and rotate a servo.
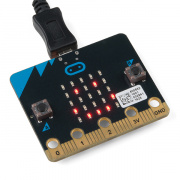
The BBC micro:bit is being released in the United States! I'll show you how to get started with it using Microsoft's MakeCode block editor.
The tech news world has been buzzing with the recent congressional vote to overturn FCC privacy rules that were passed last year. We look at how ISPs can access and use data from your IoT devices.
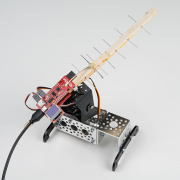
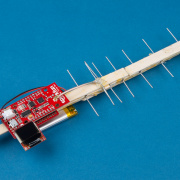
I create a Yagi antenna out of Popsicle sticks and paperclips and use it to measure connection strength (RSSI) to WiFi access points.
micro:bit Breakout Board Hookup Guide
June 17, 2021
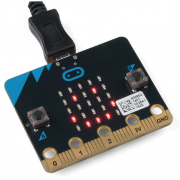
How to get started with the micro:bit breakout board.
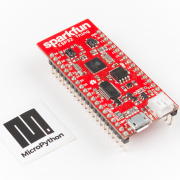
MicroPython Programming Tutorial: Getting Started with the ESP32 Thing
September 26, 2018
MicroPython is an implementation and subset of the Python 3 programming language that can be used on microcontrollers. This guide will walk you through writing MicroPython programs for the ESP32 Thing development board.
How to Run a Raspberry Pi Program on Startup
September 18, 2018
In this tutorial, we look at various methods for running a script or program automatically whenever your Raspberry Pi (or other Linux computer) boots up.
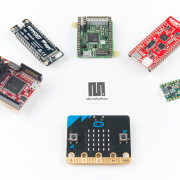
How to Load MicroPython on a Microcontroller Board
September 4, 2018
This tutorial will show you how to load the MicroPython interpreter onto a variety of development boards.
Python GUI Guide: Introduction to Tkinter
August 13, 2018
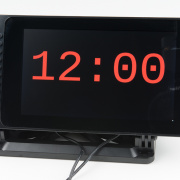
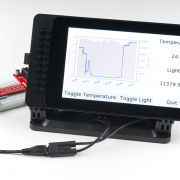
Tkinter is the standard graphical user interface package that comes with Python. This tutorial will show you how to create basic windowed applications as well as complete full-screen dashboard examples complete with live graph updates from matplotlib.
Graph Sensor Data with Python and Matplotlib
July 23, 2018
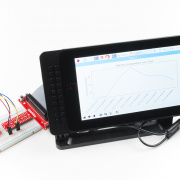
Use matplotlib to create a real-time plot of temperature data collected from a TMP102 sensor connected to a Raspberry Pi.
How to Use Remote Desktop on the Raspberry Pi with VNC
July 9, 2018
Use RealVNC to connect to your Raspberry Pi to control the graphical desktop remotely across the network.
Python Programming Tutorial: Getting Started with the Raspberry Pi
June 27, 2018
This guide will show you how to write programs on your Raspberry Pi using Python to control hardware.
LIDAR-Lite v3 Hookup Guide
May 16, 2018
A tutorial for connecting the Garmin LIDAR-Lite v3 or the LIDAR-Lite v3HP to an Arduino to measure distance.
Getting Started with 3D Printing Using Tinkercad
April 30, 2018
Tinkercad is a great, easy-to-use online modeling software that can have you 3D printing quickly. This tutorial will walk you through designing a simple project enclosure.
Setting up a Raspberry Pi 3 as an Access Point
April 23, 2018
This guide will show you how to configure a Raspberry Pi as an access point and connect it to your local Ethernet network to share Internet to other WiFi devices.
Headless Raspberry Pi Setup
April 23, 2018
Configure a Raspberry Pi without a keyboard, mouse, or monitor.
Tech Prank: Hardware Mouse Jiggler
March 12, 2018
Create an innocuous-looking USB stick with an Arduino Pro Micro and a 3D printed case that moves your mouse pointer randomly every few seconds. Sure to anger your coworkers and friends!
AT42QT101X Capacitive Touch Breakout Hookup Guide
January 25, 2018
Learn how to use the simple SparkFun AT42QT1010 and AT42QT1011 capacitive touch breakout boards.
Endless Runner Game
November 28, 2017
We make a simple side-scrolling endless runner game using parts from the SparkFun Inventor's Kit v4.0.
Clap On Lamp
November 28, 2017
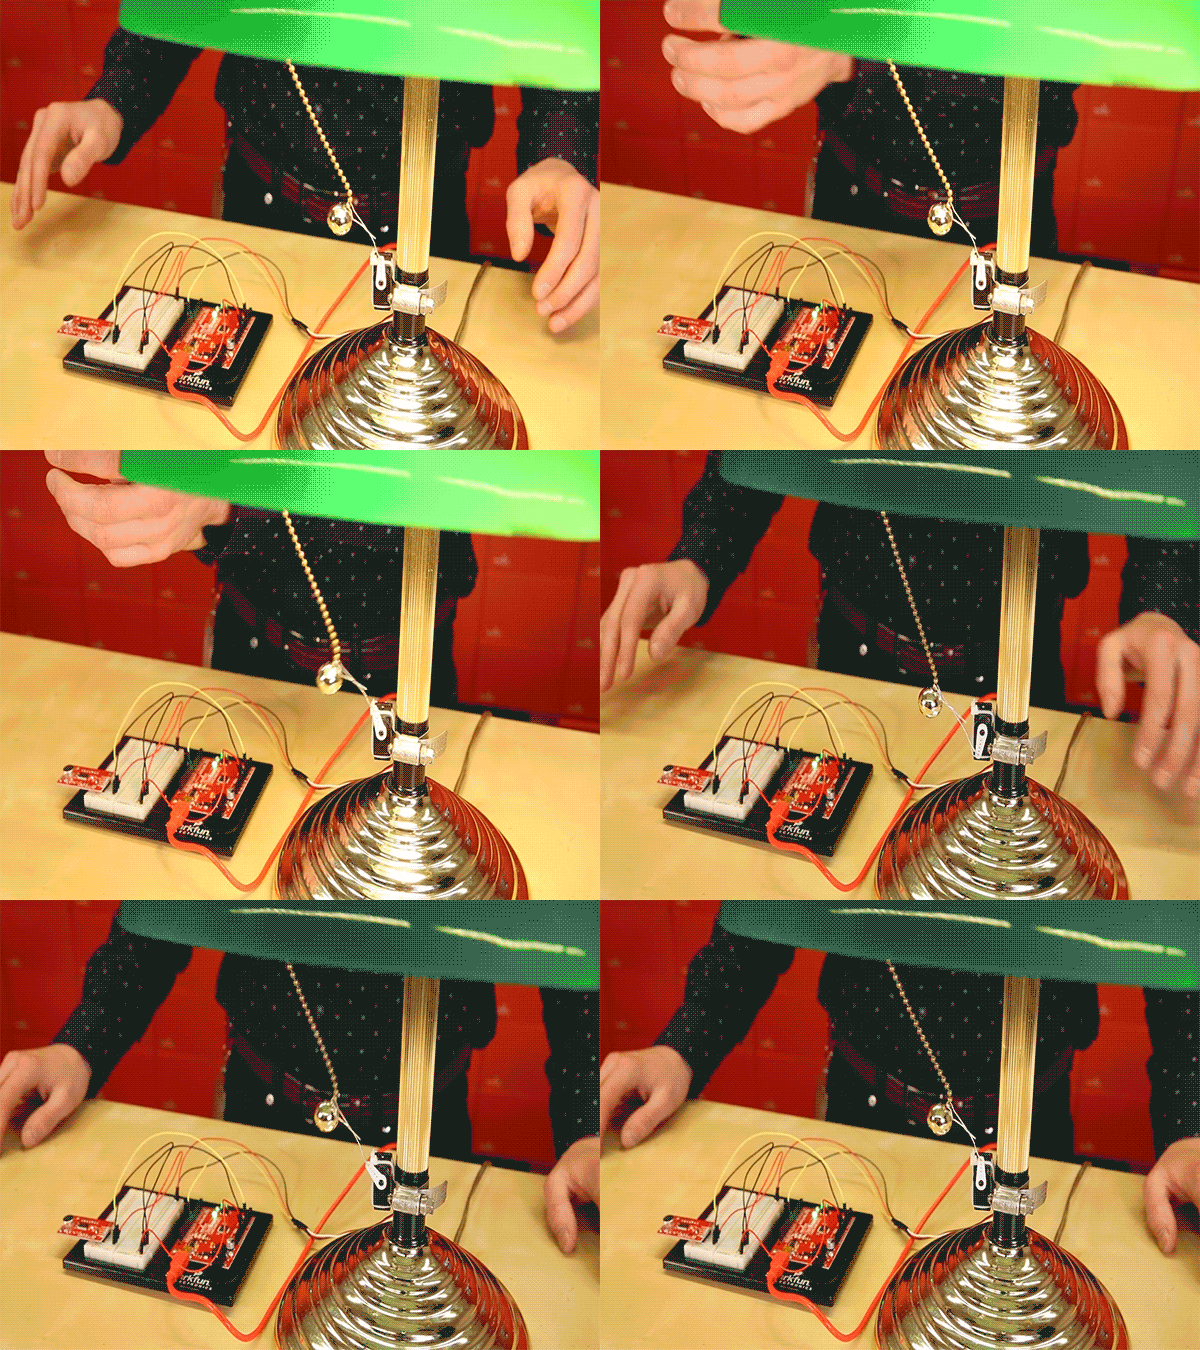
Modify a simple desk lamp to respond to a double clap (or other sharp noise) using parts from the SparkFun Inventor's Kit v4.0.
Light-Seeking Robot
November 28, 2017
We use parts from the SparkFun Inventor's Kit v4.0 to create a light-seeking robot that mimics the behavior of single-celled organisms.
Wireless Motor Driver Shield Hookup Guide
August 17, 2017
Get started with the SparkFun Wireless Motor Driver Shield!
ZX Distance and Gesture Sensor SMD Hookup Guide
June 1, 2017
How to connect and use the SparkFun ZX Distance and Gesture Sensor with an Arduino.
Roshamglo Project: TV-B-Gone
March 12, 2017
Turn your Roshamglo board into a (nearly) universal TV power button.
How to Install an ATtiny Bootloader With Virtual USB
February 14, 2017
With this, you will be able to upload Arduino sketches directly to the ATtiny84 over USB without needing to use a programming device (such as another Arduino or FTDI chip).
Importing Custom Images into Eagle
December 5, 2016
How to create custom graphics and import them into Eagle for silk, copper, etc.
Internet of Things Experiment Guide
November 23, 2016
The SparkFun ESP8266 Thing Dev Board is a powerful development platform that lets you connect your hardware projects to the Internet. In this guide, we show you how to combine some simple components to remotely log temperature data, send yourself texts and control lights from afar.
Vox Imperium: Stormtrooper Voice Changer
October 25, 2016
Add some flair to your Imperial uniform by changing your voice using a Teensy 3.2 and Prop Shield.
Experiment Guide for the Johnny-Five Inventor's Kit
June 28, 2016
Use the Tessel 2 and the Johnny Five Inventors kit to explore the world of JavaScript enabled hardware through 14 awesome experiments!
ASCII
June 13, 2016
A brief history of how ASCII came to be, how it's useful to computers, and some helpful tables to convert numbers to characters.
Sparcade: Edison as a Web Server for Browser Games
May 19, 2016
Turn the Intel® Edison into an access point that serves a simple browser-based game. High scores from the game are displayed on a character LCD.
Measuring Internal Resistance of Batteries
May 5, 2016
Classroom STEM activity that has students build a battery from a lemon, measure the open and closed circuit voltages, and determine the battery's internal resistance.
What is a Battery?
May 3, 2016
An overview of the inner workings of a battery and how it was invented.
SIK Keyboard Instrument
April 15, 2016
We can use the parts and concepts in the SparkFun Invetor's Kit to make a primitive keyboard instrument.
SparkFun LED Array (8x7) Hookup Guide
March 10, 2016
Getting started with the Charlieplexed 8x7 LED array.
BadgerHack: Gaming Add-On Kit
February 16, 2016
Make a Breakout clone with the BadgerHack Gaming Add-On Kit.
Interactive Smart Mirror
February 8, 2016
Build a smart mirror that displays weather data using the Intel® Edison.
Using an LCD on the Edison
February 8, 2016
How to connect an LCD controlled by an ILI9341 driver to the Intel® Edison.
SparkFun Inventor's Kit for Edison Experiment Guide
December 17, 2015
Learn how to harness the power of the Intel® Edison using JavaScript to post data to the cloud, control electronics from smartphones, and host web pages that interact with circuits.
Raspberry Pi SPI and I2C Tutorial
October 29, 2015
Learn how to use serial I2C and SPI buses on your Raspberry Pi using the wiringPi I/O library for C/C++ and spidev/smbus for Python.
BadgerHack
September 23, 2015
This tutorial shows users how to solder their SparkFun interactive badges as well as put them to use in other projects.
SparkFun Blocks for Intel® Edison - 9 Degrees of Freedom Block
August 19, 2015
A quick overview of the features of the 9 Degrees of Freedom Block.
SparkFun Blocks for Intel® Edison - Pi Block
July 28, 2015
Tutorial on setting up and using the Pi Block for Intel Edison.
Electric Imp Breakout Hookup Guide
June 25, 2015
An electric imp HUG! Provides an overview of the imp card and breakout. Both hardware and firmware subjects are covered.
Large Digit Driver Hookup Guide
June 25, 2015
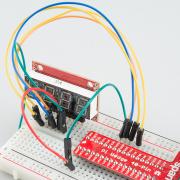
Getting started guide for the Large Digit display driver board. This tutorial explains how to solder the module (backpack) onto the back of the large 7-segment LED display and run example code from an Arduino.
Experiment Guide for RedBot with Shadow Chassis
May 28, 2015
This Experiment Guide offers nine experiments to get you started with the SparkFun RedBot. This guide is designed for those who are familiar with our SparkFun Inventor's Kit and want to take their robotics knowledge to the next level.
Assembly Guide for RedBot with Shadow Chassis
May 28, 2015
Assembly Guide for the RedBot Kit. This tutorial includes extra parts to follow to go along with the RedBot Inventor's Kit tutorial.
Sound Page Guide
May 22, 2015
How to use the Lilypad MP3 Player and some Bare Conductive Paint to make a fandom silhouette sound trigger page.
How to Solder: Castellated Mounting Holes
May 12, 2015
Tutorial showing how to solder castellated holes (or castellations). This might come in handy if you need to solder a module or PCB to another PCB. These castellations are becoming popular with integrated WiFi and Bluetooth modules.
Loading Debian (Ubilinux) on the Edison
December 5, 2014
How to load a Debian distribution (specifically Ubilinux) onto the Edison.
APDS-9960 RGB and Gesture Sensor Hookup Guide
November 6, 2014
Getting started guide for the Avago APDS-9960 color, proximity, and gesture sensor.
USB Type A Female Breakout Hookup Guide
February 13, 2014
An above-and-beyond example using the USB Type A Female Breakout board.
INA169 Breakout Board Hookup Guide
November 20, 2013
How to interface with the INA169 Breakout Board to measure current.
Raspberry Pi Twitter Monitor
November 19, 2013
How to use a Raspberry Pi to monitor Twitter for hashtags and blink an LED.
Alternating Current (AC) vs. Direct Current (DC)
September 5, 2013
Learn the differences between AC and DC, the history, different ways to generate AC and DC, and examples of applications.
-
The cathode is the terminal from which conventional current leaves the device, and an anode is the terminal into which conventional current enters. Note that this has nothing to do with whether the terminal is positive or negative.
On a battery, conventional current leaves from the positive terminal (cathode) and enters on the negative terminal (anode).
On something like a diode, conventional current leaves from the negative terminal (still the cathode) and enters on the positive terminal (still the anode).
The cathode and anode Wikipedia articles do a good job of explaining the nomenclature in better detail.
-
In theory, DC is not supposed to vary with time, but it practice, you will often find direct currents that vary. For example, a rectified AC signal or the output of a buck or boost converter will have some ripple to it (even though it's usually considered "DC"). Even a battery will lose some of it's voltage over time.
This post gives some good examples with graphs.
-
The ZX Sensor gives you a reading in 2 dimensions of the detected object: how far above the sensor and how far side-to-side from the center. The APDS-9960 does not really give you distance information in any dimension but is better at detecting gestures (swipe left, swipe up, etc.), and it comes in a smaller package.
-
They've definitely confounded more than one passerby. I believe they're silicone, so it's fun to call them "floppy floppies" :P
-
Glad you like them...it was a solid Amazon find :)
-
Thanks for the wishes! I do wonder what kinds of fun chemicals I've been leeching into my body from drinking out of a not-quite Lego mug for years...I suppose it might be time to switch to a new mug :)
I try to keep good segregation between soldering and food & drink
Sage advice. I recommend this to everyone, but I'm not great about following it myself ;)
-
Woot, thanks! :D
-
Of the ones in the guide, rc.local and systemd run as root, so you should be able to run your Python program as root with those. Some of the other methods might (for example, you'd need to use the root user's crontab if you want to use crontab).
-
Thanks! I made some videos for Digi-Key earlier this year (getting started with KiCad). Time permitting, I'm hoping to add more to my own channel eventually. :)
-
Aaaah...that would be most unfortunate. What do you mean "noticable?" Is this a workshop?


Getting Started With Raspberry Pi - Ep. 2
Components needed to get started with the Raspberry Pi, as...


Getting Started With Raspberry Pi - Ep. 1
Components needed to get started with the Raspberry Pi, as...


Getting Started With Raspberry Pi - Ep. 3
Components needed to get started with the Raspberry Pi, as...


mbed Starter Kit - Part 6: USB Host and Threading
The parts listed are required for the mbed Starter Kit -...


M2X Tutorial - Temperature Data Logging
Parts needed for connecting an Arduino and CC3000 to AT&T's...


mbed Starter Kit - Part 8: Temperature Logging
The parts listed are required for the mbed Starter Kit -...


mbed Starter Kit - Part 4: Accelerometer
The parts listed are required for the mbed Starter Kit -...


mbed Starter Kit - Part 5: Internet Clock
The parts listed are required for the mbed Starter Kit -...


mbed Starter Kit - Part 2: Buttons and PWM
The parts listed are required for the mbed Starter Kit -...


mbed Starter Kit - Part 10: Hardware Soundboard
The parts listed are required for the mbed Starter Kit -...
